

Kids will love bringing skeletons to life with this fun articulated skeleton craft – just print, cut, and decorate your own spooky or colorful creation for October celebrations.
Meet Monsieur (or Mademoiselle) Bones! Our own Bones family loves nothing more than getting dolled up in new outfits and posing for the camera…
Monsieur Bones is a skeleton of many tastes…
Today, a beret, a jaunty Halloween-inspired ascot, and a lovely late fall rose boutonniere to complete the look.
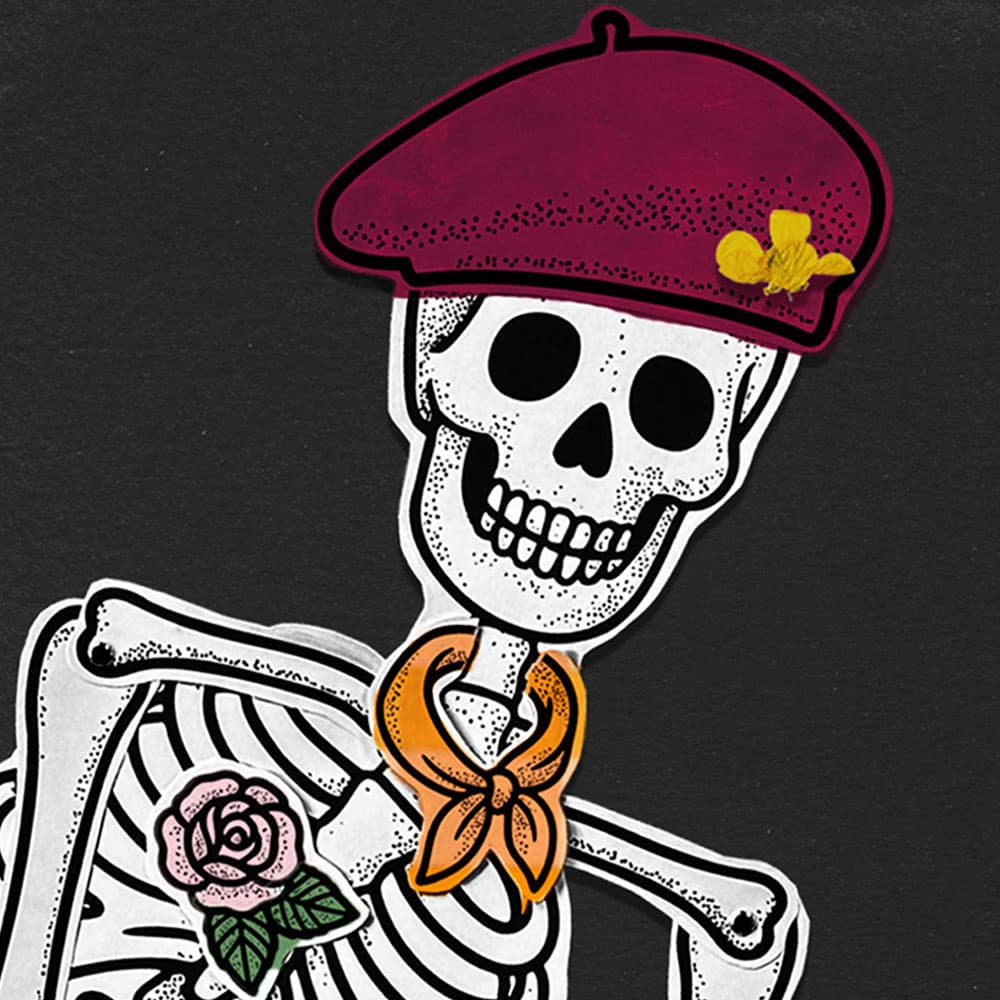
Impossible to keep from singing “Rassss-berrry beret…,” right along with every addition to this vogue skelly.
Tomorrow? Maybe something more casual….a baseball cap and shades perhaps…
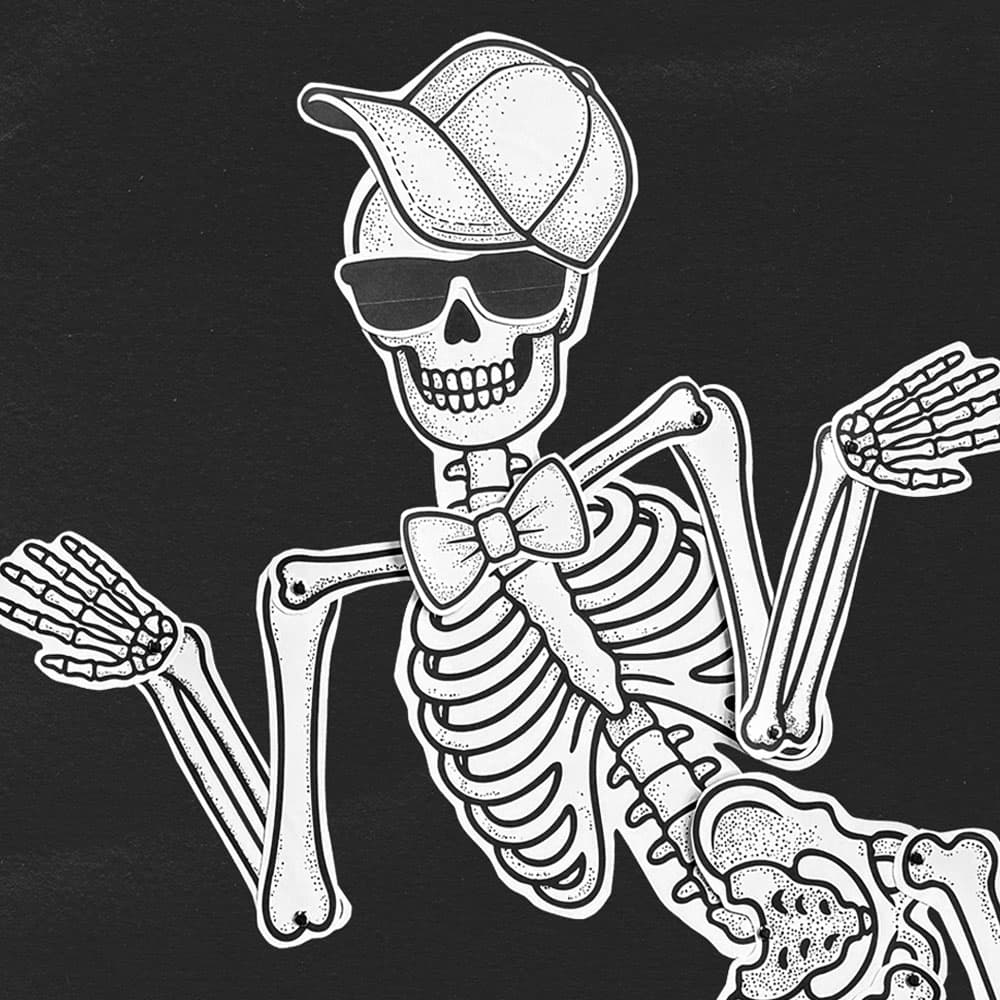
Or something a bit fancier…une cravate avec a most élégante monocle, peut-être.

A step beyond the classic seasonal skeleton decor, this activity provides a way for kids to explore their own creativity, learn about anatomy and movement, and create decorations they can accessorize with the very latest fall fashions.

Whether for Halloween, Día de los Muertos, or a rainy fall afternoon, this activity blends fun, art, and imagination into an October art project kids will remember.
Another benefit of these ‘ol bones? Once assembled, you can fold the whole thing up into a box or bag to save for another year of decoration and play.
With so many ways to customize, no two skeletons will ever look the same. And that’s the real beauty of these silly skellys – endless variation and creative opportunities!
Note: We prefer to shop locally or use what we have at home, but this list contains Woodpeckers Crafts, Etsy, Blick Art Materials, Bookshop.org and/or Amazon affiliate links for reference. As affiliates (and Amazon Associates), we make a small commission on qualifying purchases.*
BASIC SUPPLIES:
OPTIONAL SUPPLIES:
$1.99
A 9-page PDF set optimized for black & white printing.

Download and print our skeleton template on standard letter-sized cardstock (for extra durability).
90 lb. cardstock or lamination is a great choice if you plan on displaying the finished skeletons on doors or bulletin boards.
Cut along or around the outlines of the bones and accessories. Older kids will be able to do this on their own, but younger kids might need a little help.
To save a bit of time you can pre-cut pieces.
A nice feature of these skeletons is that you can save them to last beyond one season!
Laminate each of the pieces before assembly (either before or after coloring, depending on your preferred use).
Invite kids to color the skeleton bones and accessory pages. They can stick to traditional white bones, or get creative with rainbow hues, patterns, and doodles.
Accessories like hats, masks, or glasses can be customized too.
Punch quarter-inch holes in your bones with a hole punch – wherever you need to attach pieces or want to create movement (shoulders, elbows, hips, and knees).
Use metal craft brads/paper fasteners to connect the bones at their joints.
Glue on hats, attach googly eyes, or accessorize with ribbons, sequins, and more! This is where your skeleton really comes to life.
Add a whole new layer of fun by posing your skeletons.
One of the most exciting parts of this craft is that it can take on so many different looks depending on the holiday or theme. Here are a few creative directions kids can explore:

Once your skeleton is decorated, don’t stop there! These creations can be displayed and enjoyed in so many ways:
Teachers can have each student create a skeleton and then display them on a bulletin board as a “skeleton crew.” Pose them in different positions for extra fun.
Pair your skeleton with a cardboard sign, speech bubble, or a similar accessory to jazz up October classroom announcements, learning station directions, and more.
Because they’re moveable, skeletons can be used in puppet shows or storytelling. Kids can act out Halloween tales or create their own spooky stories.
Affix thin strips of cardboard to the back of your jointed paper skeleton for stability, then add string or yarn to the arms and legs to make a BIG articulated skeleton puppet.
These printable skeletons also make a great framework for teaching basic anatomy.
By connecting bones with brads, kids can bend elbows, knees, and shoulders to see how hinge and ball-and-socket joints operate.
From there, you can layer in other systems: ribbon or pipe cleaners can be used to show the winding digestive tract, red and blue yarn can be taped or glued across the skeleton to represent arteries and veins, showing how blood travels through the body.
Strips of red or orange tissue paper can be added over bones to mimic muscles, while paper or plastic bags, or sponge pieces make easy stand-ins for lungs, a heart, or a stomach.
This mix of craft and science makes the skeleton a flexible teaching resource that can be scaled up or down depending on age.

GETTING READY TO TRY this?
I love seeing all the ways people make these ideas their own! If you're sharing the results of one of our projects, mention or tag me with @barleyandbirch, or share it in the comments of one of our Pinterest project pins.


