

How many of these classic October scenarios sound familiar…?
One: you’ve promised your kids “a Halloween activity” before dinner, but just realized the glue sticks are completely dried out, scissors have disappeared into the mysterious void where socks and Lego pieces go, and you only have 15 minutes before someone declares boredom an emergency.
Two: you’re hosting a library or classroom group craft and need an option that won’t require buckets of paint water, gallons of glitter, or a full hazmat team for cleanup.
Three: it’s 8:30 p.m., the trick-or-treat candy bowl is full, and you’re silently begging the universe for a way to channel all that sugar energy into something calm and mesmerizing instead of a sugar-fueled conga line through your living room.
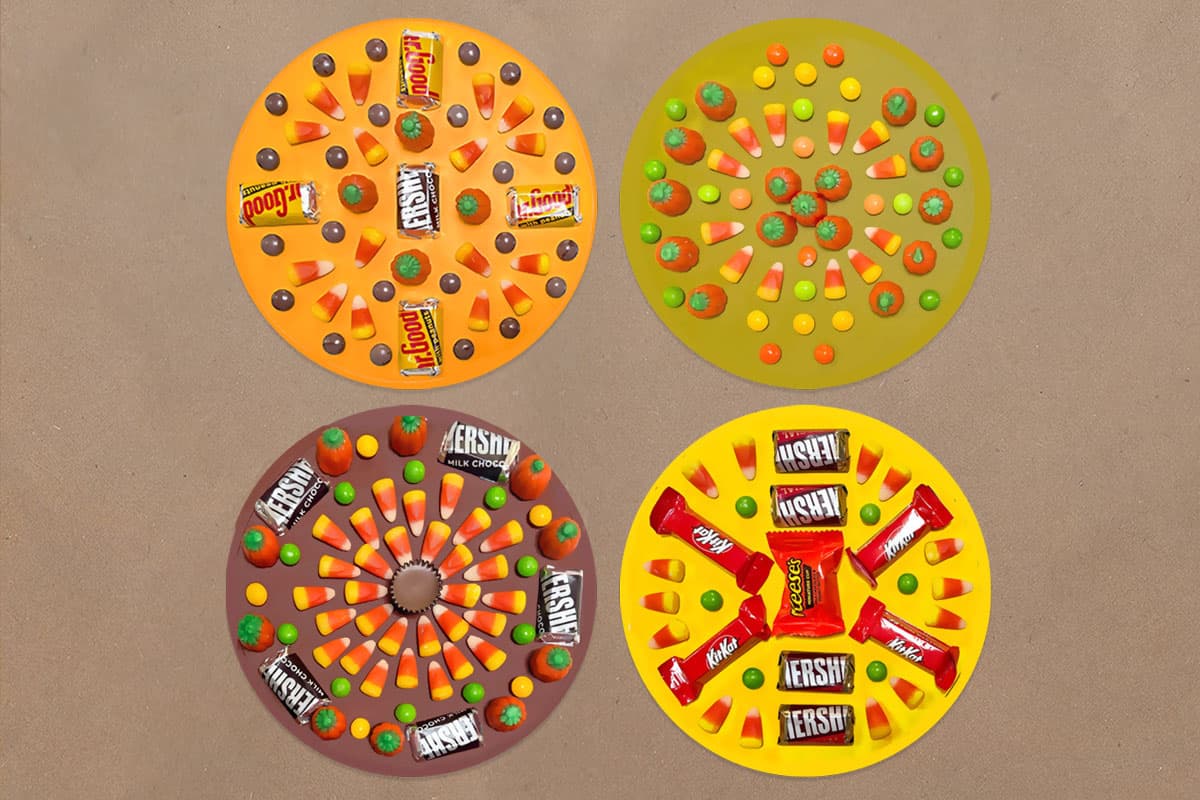
That’s where the candy mandala swoops in. This seasonal superhero is quick, low-prep, endlessly adaptable, and just the right blend of art activity and Halloween treat magic.
Even better: it doesn’t require glue, scissors, or hours of adult oversight. Kids get to build something beautiful, you get a moment of peace, and cleanup is basically “eat a piece, sweep the rest back into a bowl.” Done.
Halloween comes with a lot of pressure to do it all: decorate the house, attend the events, sew the costume, organize the treats, and somehow keep the kids entertained all month long.
Luckily, these concentric candy circles are one of those rare projects that meet kids exactly where they are – hungry for candy, buzzing with seasonal excitement, and ready to make something quick and colorful, and you (barely) have to lift a finger.
Note: We prefer to shop locally or use what we have at home, but this list contains Woodpeckers Crafts, Etsy, Blick Art Materials, Bookshop.org and/or Amazon affiliate links for reference. As affiliates (and Amazon Associates), we make a small commission on qualifying purchases.*
BASIC SUPPLIES:
OPTIONAL SUPPLIES:
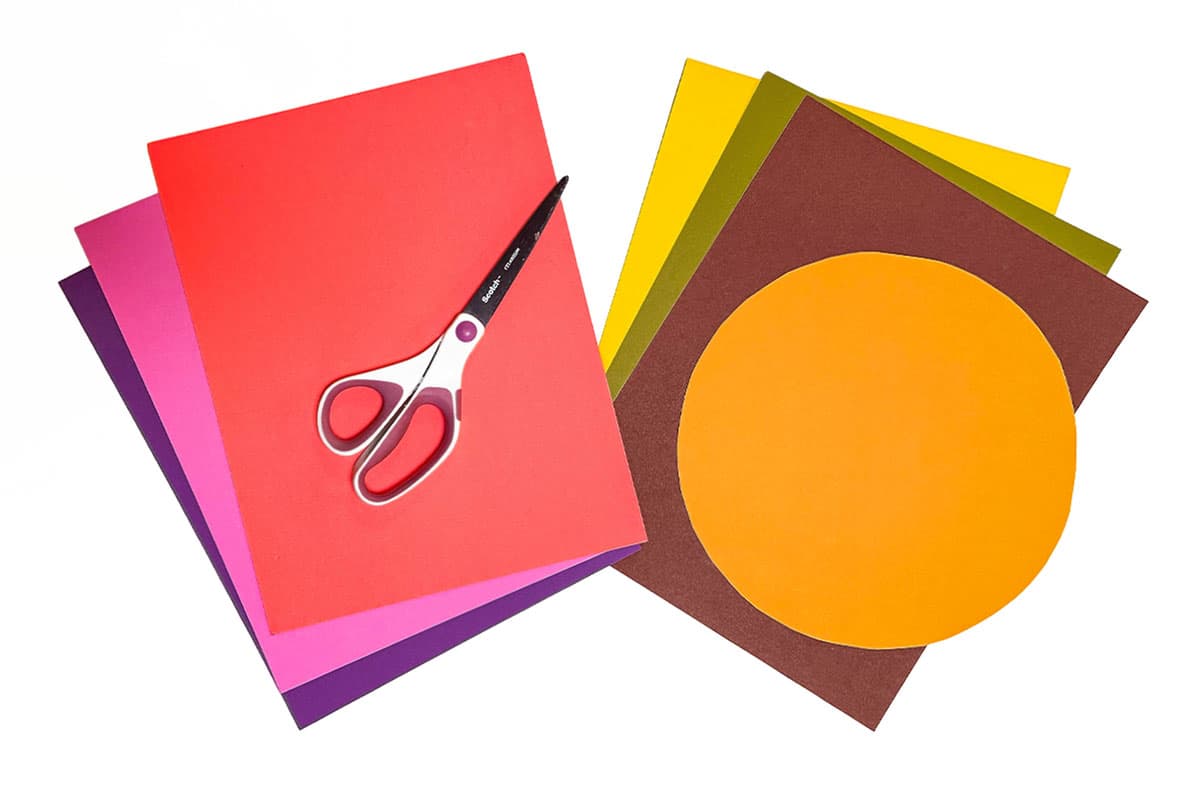
Lay out a piece of paper, paper plate, or tray as a work surface.
We traced around a bowl and cut out circles, but you don’t have to!
Tip: In a pinch, a round baking sheet makes a handy background for kids to arrange their designs on!

Set out bowls of candy – these can be organized into color piles, sorted by size, or (as I did) wrapped and unwrapped.
This project can be as seasonal or non-seasonal as you like – use Halloween candy for a festive spin, swap in crackers, pretzels, and cereal for a less sugary snack-based version, or go full autumn vibes with pumpkin seeds and popcorn.
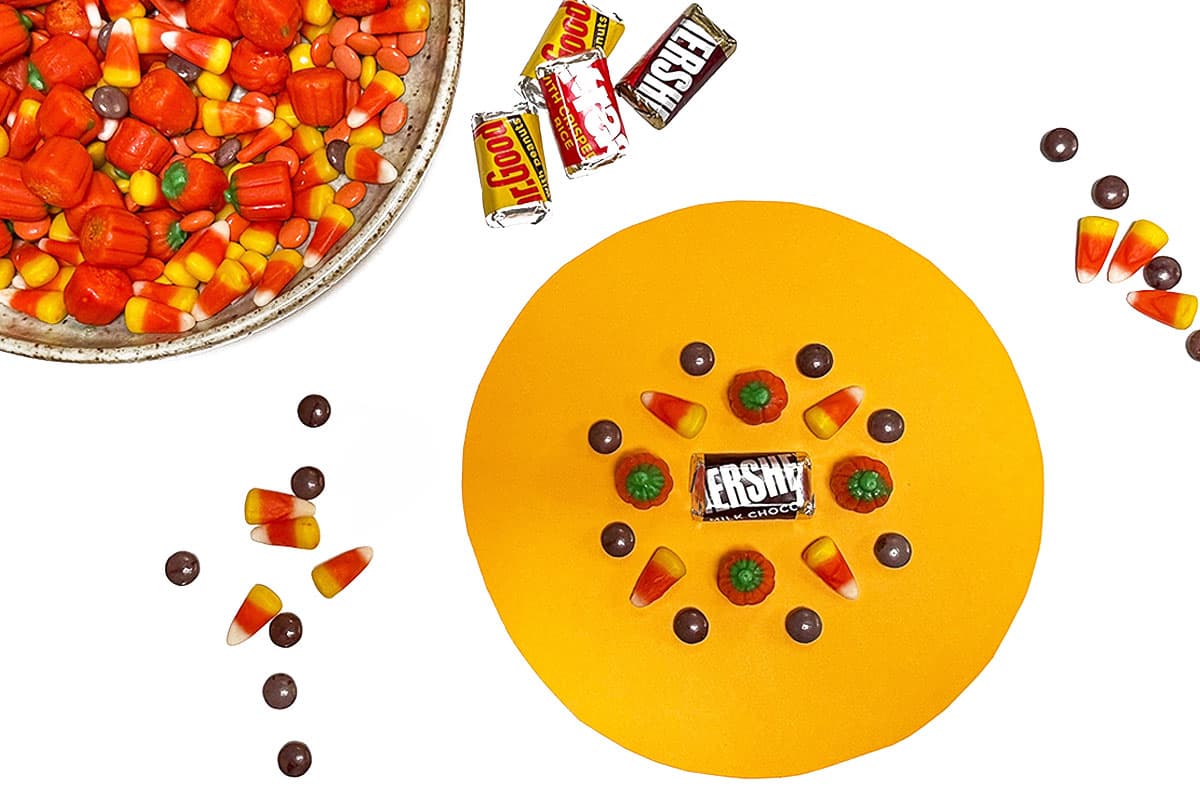
Mandalas are typically designed from the inside out, and using one candy or snack for the middle “anchor” piece is an easy way to start.
But unless a little more direction is asked for, kids can guide their own mandala-making.
Build layer after layer, until the circle is filled.
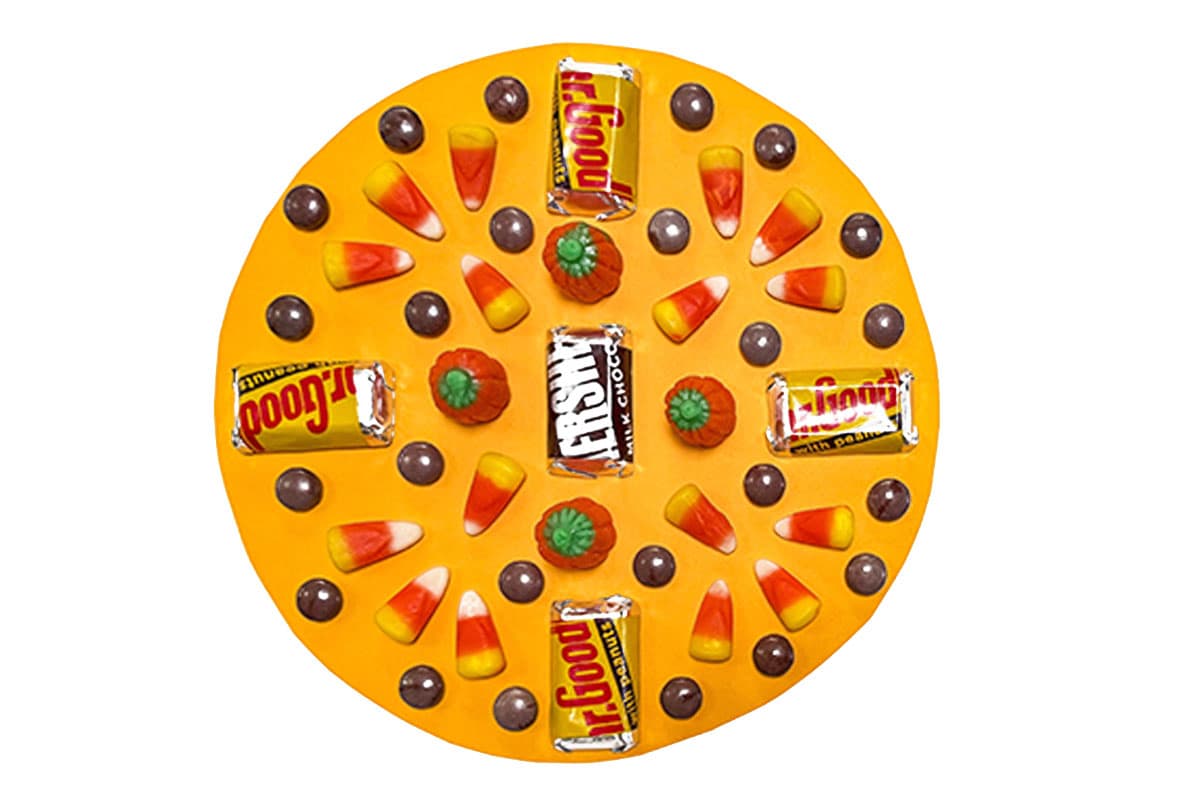
Pause to notice patterns, symmetry, and how the shapes work together. Is there anything in their compositions kids want to change?
Take a quick photo – an easy way to “save” the work and share these impermanent creations with others.
Sweep leftover pieces back into a bowl or toss remaining loose candy into small bags to save for later (…of course, you might just have to taste-test a few pieces too – I know I did).
These sweet mandalas are quick, low-stakes, and – much like October itself – ephemeral. When kids know their creation won’t be glued down forever, they are typically more willing to experiment, to play, to try something wild and see what happens.
It’s art without pressure (and it doesn’t hurt that it holds the promise of future snacking!).
The beauty of candy mandalas is that kids get it immediately, no long explanation required. But here are some ways to set the stage and make it extra engaging...
This little project works almost anywhere Halloween fun is needed. Here are a few perfect settings…
Whether you’re a parent trying to fill a 20-minute window before bedtime, a teacher searching for a classroom-safe project, or a caregiver hoping to add a calm activity to a chaotic October schedule, this project delivers.
It’s easy, it’s flexible, it’s fun, and it reminds kids (and us adults) that creativity doesn’t always need glue, glitter, or perfection. It basically requires only a handful of candy and the willingness to play.
At the end of October, it can feel like you have a billion new kid-made treasures you should be holding onto forever (or at least until next year). Not the case with these munchable mandalas…and frankly? That’s a bit of a treat in of itself.
GETTING READY TO TRY this?
I love seeing all the ways people make these ideas their own! If you're sharing the results of one of our projects, mention or tag me with @barleyandbirch, or share it in the comments of one of our Pinterest project pins.


