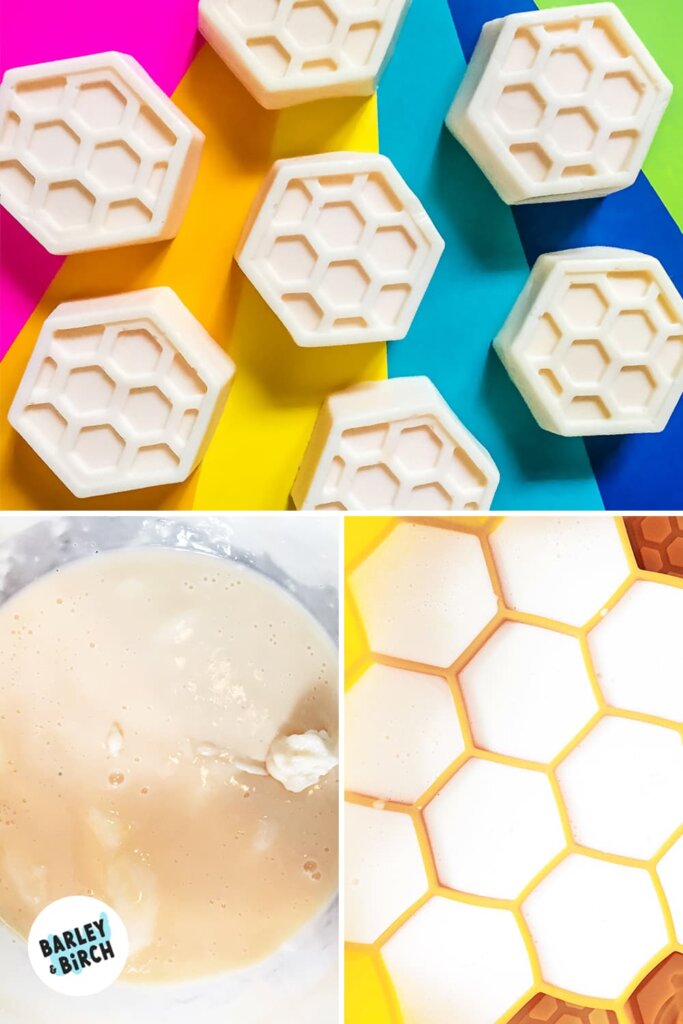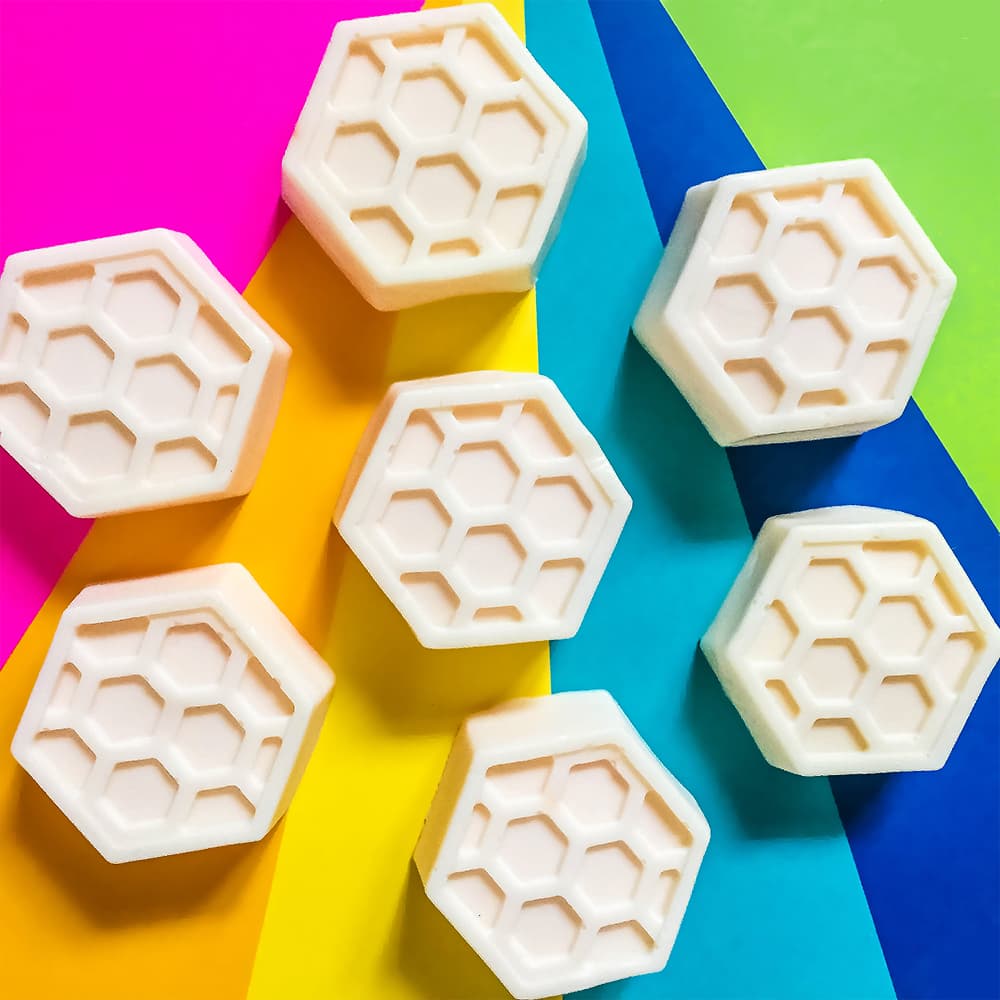
This gentle, fragrance and dye-free homemade Manuka honey goat’s milk soap recipe is perfect for sensitive skin and an easy DIY your kids can help make.
It’s been rainy all day today, and in a quest to find a fun, quick activity, I ran across a recipe I had saved for a quick and easy homemade soap. As it turns out, soap-making (with a couple of handy, kid-safe shortcuts) is the perfect way for littles to have some fun in the kitchen!
I had recently purchased a HUGE jar of Manuka honey (semi-accidentally) and thought I’d take advantage of its antibacterial and anti-inflammatory properties, so we throw it in the mix. The whole project was SO EASY and worthwhile I had to share it here.
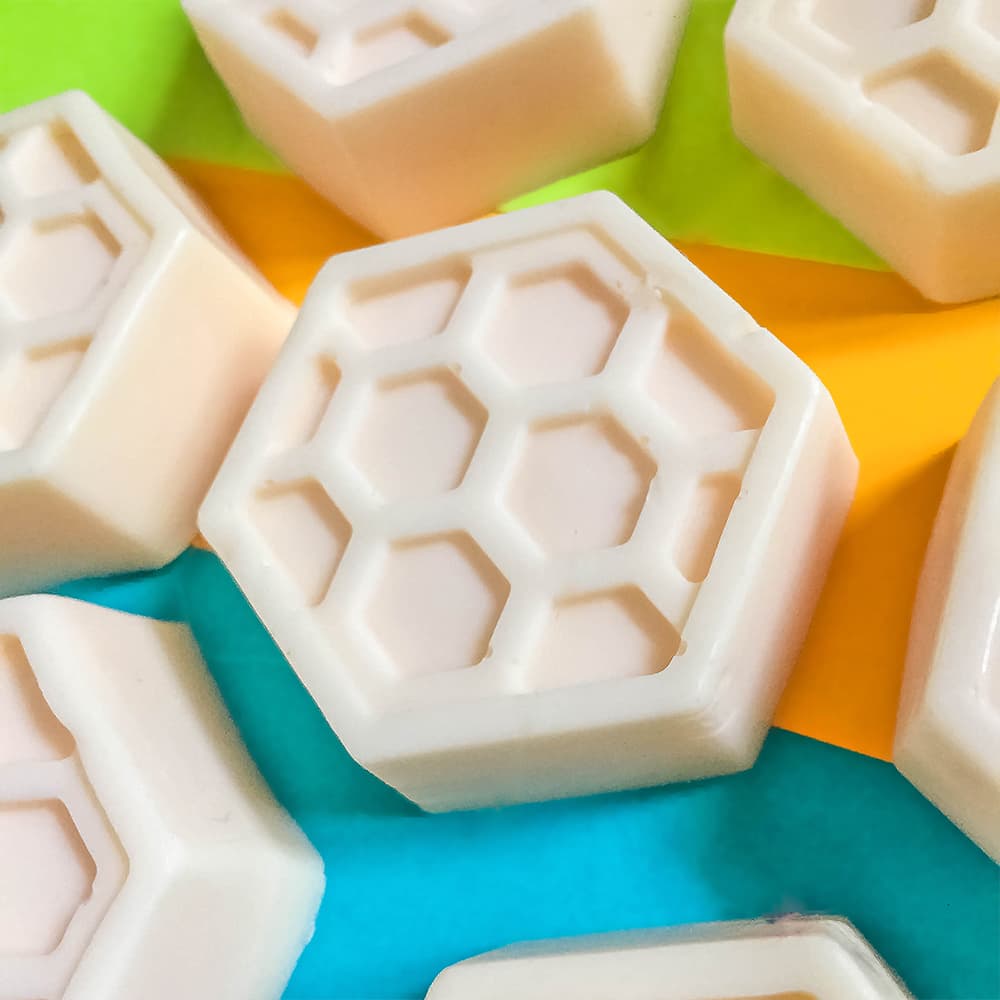
For kids (or adults) with sensitive skin, this is super soft and gentle, and I *swear* it is actually easier than shopping for a dye and fragrance-free soap that isn’t outrageously expensive.
For another natural DIY project your kids will have fun making, visit the tutorial for our DIY pixie dust, a DIY linen powder with magical powers (and an exceptionally clever bottle). Or mix up a bottle of meditation with our eco-friendly DIY glitter jar (biodegradable glitter for the win!).
Note: We prefer to shop locally or use what we have at home, but this list contains Woodpeckers Crafts, Etsy, Blick Art Materials, Bookshop.org and/or Amazon affiliate links for reference. As affiliates (and Amazon Associates), we make a small commission on qualifying purchases.*
Yields: Roughly four average-sized bars of soap or ten smaller bars.
BASIC SUPPLIES:
OPTIONAL SUPPLIES:
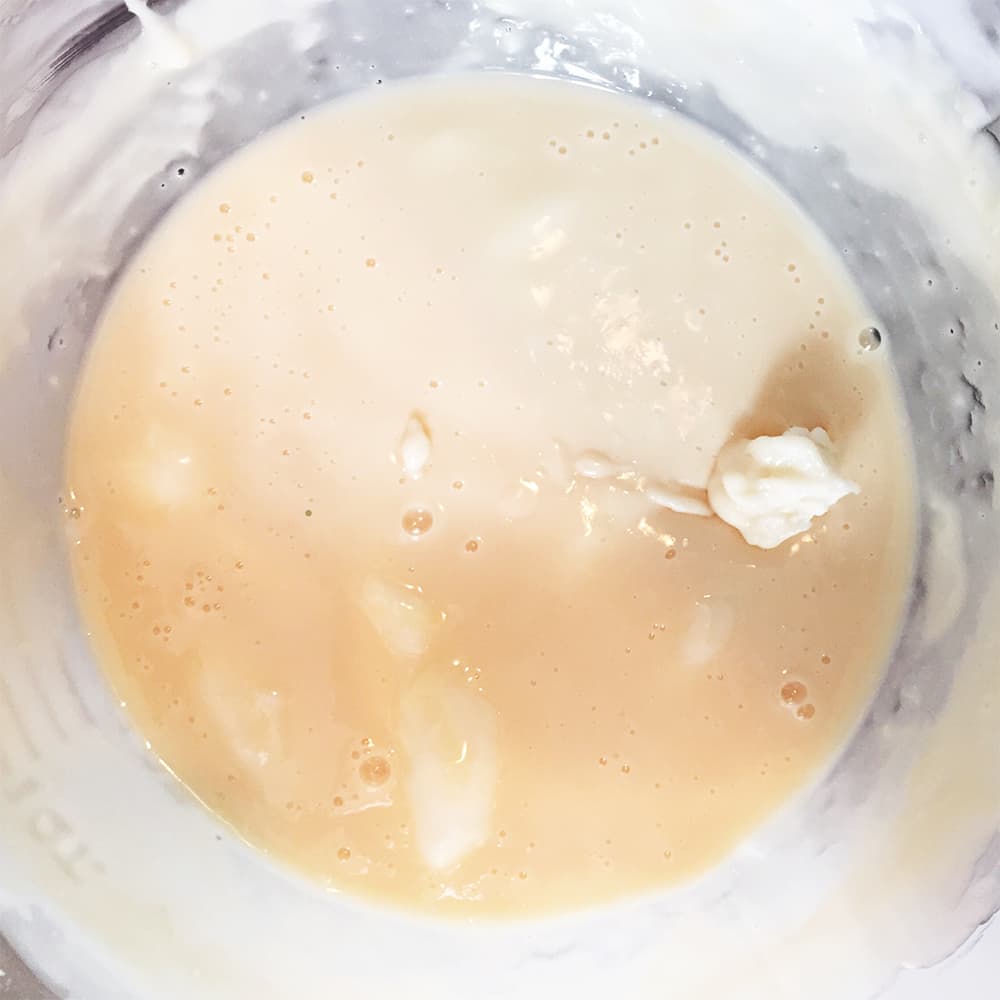
Cut your base into 3″ x 3″ cubes (roughly – any manageable size works). Place the cubes into a microwave-safe container, and alternate heating for 30 seconds, then stirring for 30 seconds until all the cubes are melted.
Stir in the honey and any other colorants or oils. If you’d like to add grated peels, oatmeal, or lavender, place those evenly into the bottom of the mold/molds before pouring.
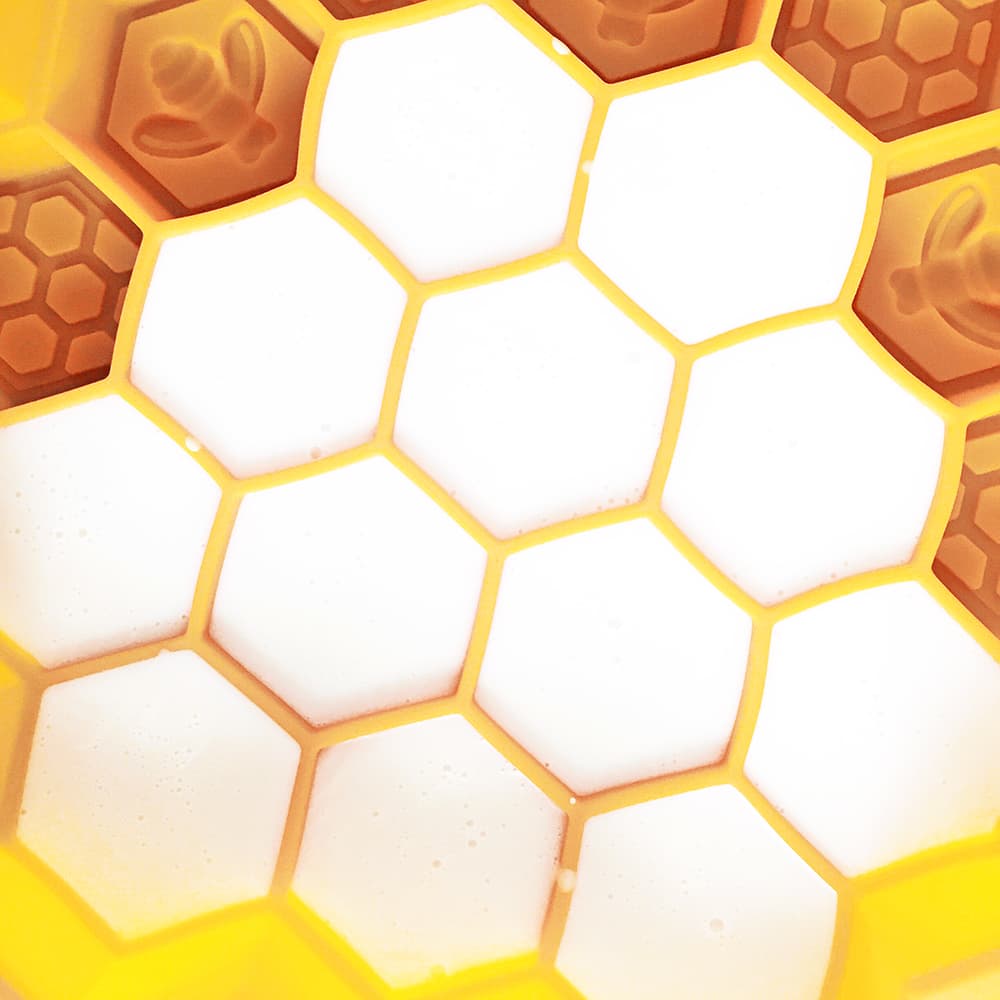
Once you’ve evenly poured the soap mixture into the mold, the job is basically done! Put it aside and give it 2 hours to fully harden.
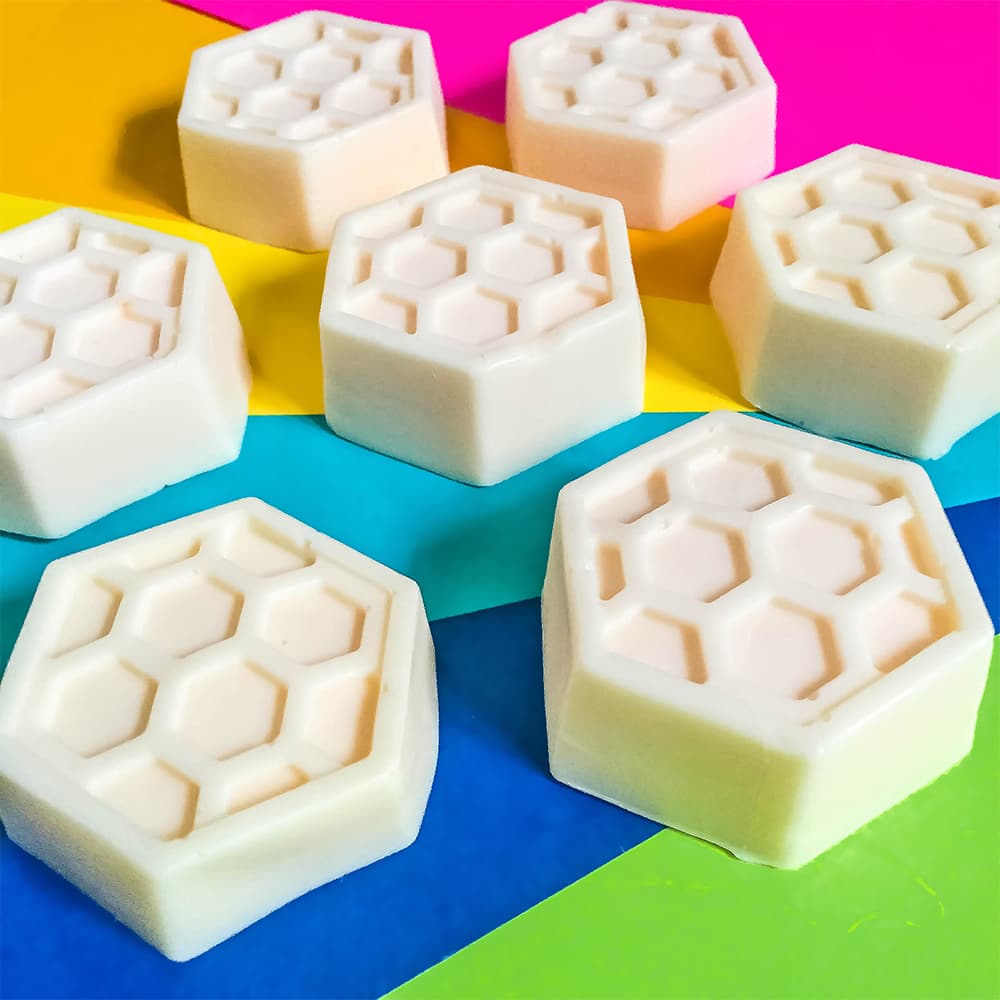
Gently push your hardened soaps out of the mold. We cut small squares of tissue paper and folded them around the bars we wouldn’t use immediately, then stacked them in a small storage container to keep under the sink. In a cool spot, they’ll last until you need them!
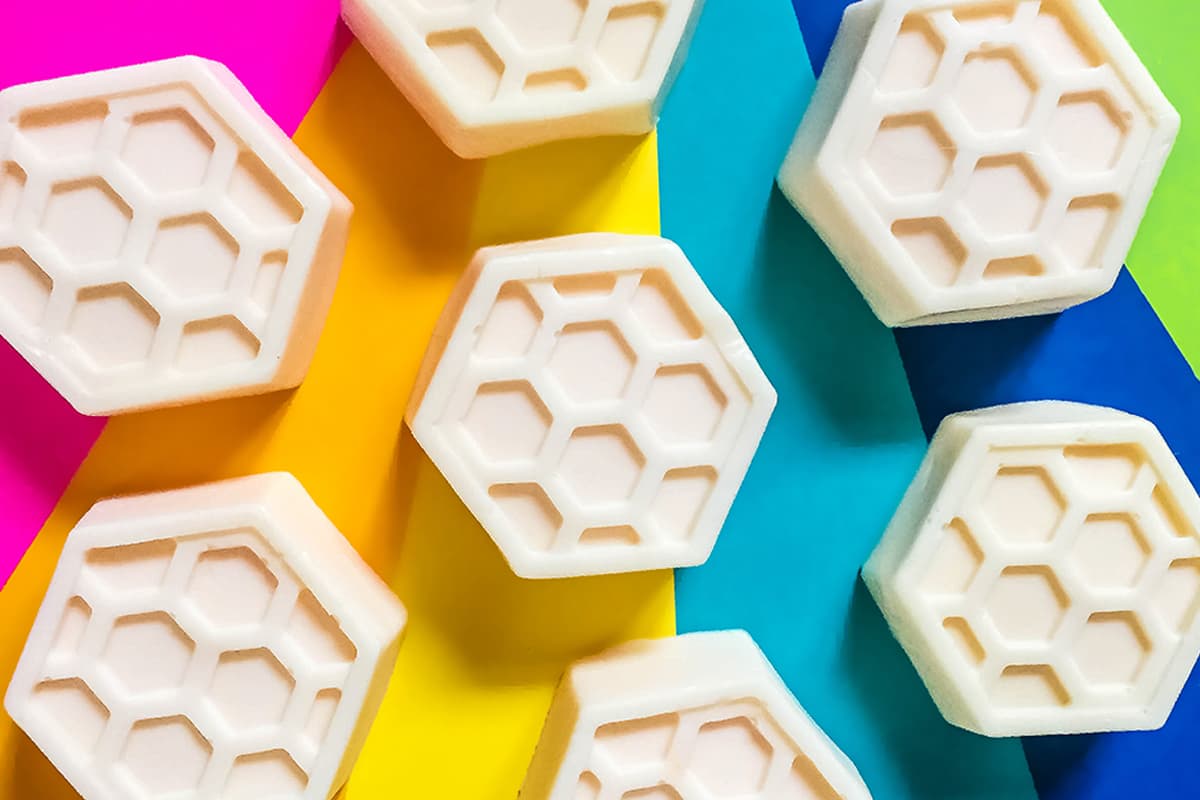
YAY! Soft and gentle soap for little faces and bodies. We specifically made ours fragrance-free – but even without aromatics and color, there is a lovely barely-there honey scent and warm off-white hue.
This was a great way to get in some pouring practice and introduce some basic kitchen utensils for the younger of the two little biscuits who joined in the soap-making process. And we ALL loved popping the soaps out of the molds to see what we had come up with.
My only regret was that I hadn’t planned ahead and ordered a couple of colorants – color-mixing would have been the perfect addition to this activity, and I’m already excited to try it with our next round.

Honey and goat’s milk both offer a range of benefits for your skin. Honey is a natural humectant, helping to retain moisture and providing antibacterial properties.
Goat’s milk is rich in nutrients and vitamins, making it gentle and nourishing for sensitive skin. Combined, they create a luxurious and soothing soap that leaves your skin feeling soft and refreshed.
Yes, you can use essential oils to add fragrance to your honey goat’s milk soap. Be sure to choose skin-safe essential oils, such as lavender, chamomile, or sweet orange. Start with a small amount (a few drops per batch) and adjust according to your preference. Remember to always conduct a patch test before using essential oils on your skin or your child’s skin.
When making honey goat’s milk soap with kids, there are a few safety tips to keep in mind. First, supervision is required at all times during the process. Use a microwave or double boiler to melt the soap base, and handle the hot container with caution. Ensure kids stay at a safe distance if it’s too hot for them to safely handle. Wear gloves when handling essential oils and soap colorants to avoid skin irritation. Educate children on the importance of soap safety, such as avoiding contact with eyes or ingestion. Lastly, conduct a patch test before using the soap on your skin or your child’s skin, especially if you’ve added essential oils or colorants.

FYI, these are suggestions based on our specific honey goat’s milk soap recipe. Other soap recipes may use ingredients or processes that may NOT be appropriate for kids to help create.
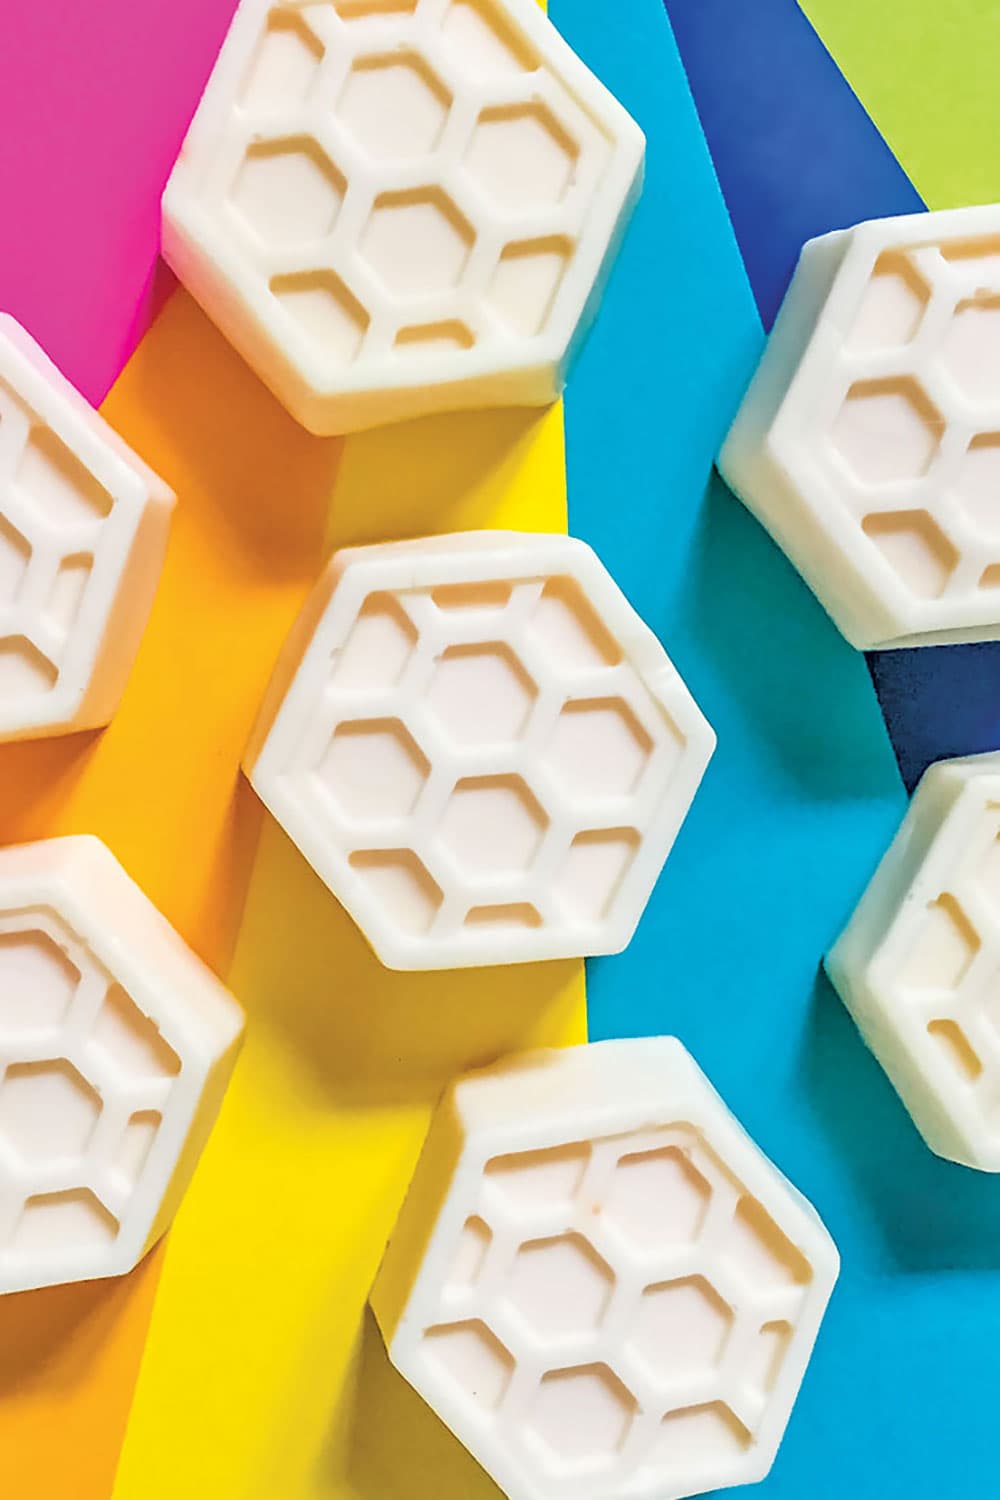
Homemade soap is definitely having a moment, and now that I’m on the bandwagon, I’ve found so many other soap-spiration kids would enjoy…
*A note about affiliate links: We strive to use simple, earth-friendly supplies that can be purchased locally whenever we can, but sometimes we find the best universally available options, a rare eco-friendly find, or a niche product only available on Blick Art Materials, Amazon, Etsy, or Woodpeckers Crafts. When included in our supply list, these products are affiliate links, and if you click through to make a purchase we receive a small commission that helps us re-order these supplies!
GETTING READY TO TRY this?
I love seeing all the ways people make these ideas their own! If you're sharing the results of one of our projects, mention or tag me with @barleyandbirch, or share it in the comments of one of our Pinterest project pins.