

Open the pages of this oversized book, and a big, bold colorful foldout city is revealed! Made entirely of cardboard and paper, you don’t need anything more than scrap cardboard, colorful construction paper, scissors, and a glue stick to make your own as a big backdrop for imaginative play!
Inspired by one of my very favorite artists, Stuart Davis, and the work of a few classic mid-century animators (Bob McIntosh, Jules Engel, Saul Bass, and John Sutherland, to name a few) this project is one part art, one part construction and 2 parts play!
Want a little preview of the process and a peek at the inside of our book? Check out the video below!
Music: One For the Good Times by Jeff Kaale / Support the artist by visiting: https://soundcloud.com/jeff-kaale or https://jeffkaale.bandcamp.com
This is a fabulous exercise in the practice of building layers to create depth and perspective! Because we used simple square cutout paper shapes, it’s easy to move things around, try out different compositions, and learn the basics of creating perspective in 2D art.

The best part of this project is bringing it to life with your own toys and DIY accessories (or DIY cardboard food trucks) or by adding a few Mid-Century modern shoebox houses. You can even add a small city block park with our cardboard fold-out secret garden!
BASIC SUPPLIES:
OPTIONAL SUPPLIES:
$2.99
A 6-page PDF set optimized for both color and black & white printing.


To create our landscape book pages, we used a box cutter to cut out 3 large rectangles that measured 12 inches wide by 16 inches tall.

To hold our book pages together, I used water-activated kraft tape (you can find the link to the exact kind I prefer up in the supply list). I know this probably *isn’t* something you have lying around the house, but I prefer it for a couple of reasons. ONE: it completely disappears when you paint over it, and TWO: it’s biodegradable! If you make a lot of cardboard projects, it’s well worth a special order!
To bind, trim a piece of tape to length, brush with water, and fold over the edges or place it along the inner page seams. Notice that there’s a bit of room between the cardboard pieces so they will lay flat on top of each other when folded. If you fold the tape over the outside seams while the cardboard pages are stacked on each other, it will ensure you have enough room to lay yours flat too.
As an alternative to this water-activated tape, you can use reinforced kraft packing tape OR wait to tape the pages together until the end and use clear packing tape.
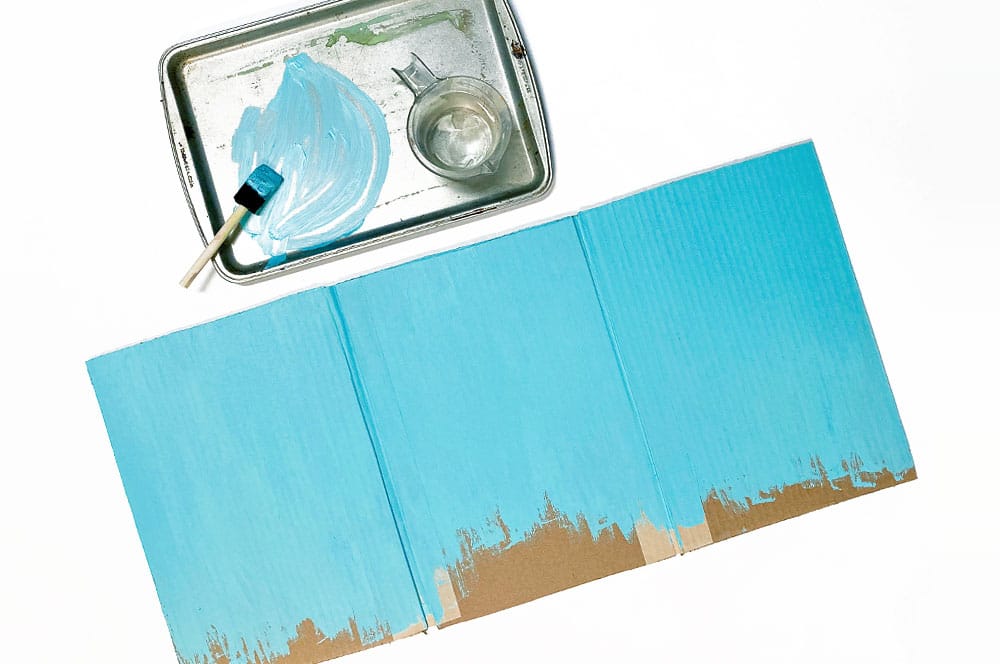
With your book unfolded and flat, use a light blue (or any color you prefer!) paint and foam brush to add paint a “sky” background onto your cardboard.
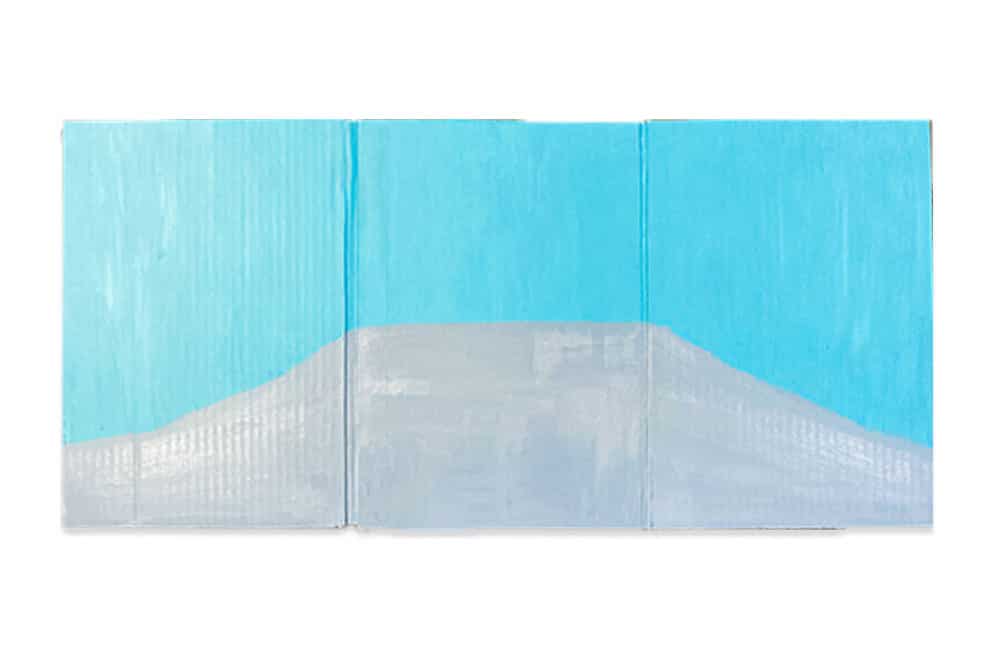
Using a light gray (or any color you prefer), paint a simple flattened hill shape onto the bottom half of your cardboard book (see our example above).
This is going to become the “street” in our city landscape. The edges will be covered with your paper buildings, so don’t worry too much about making it look just like ours or keeping the edges clean.
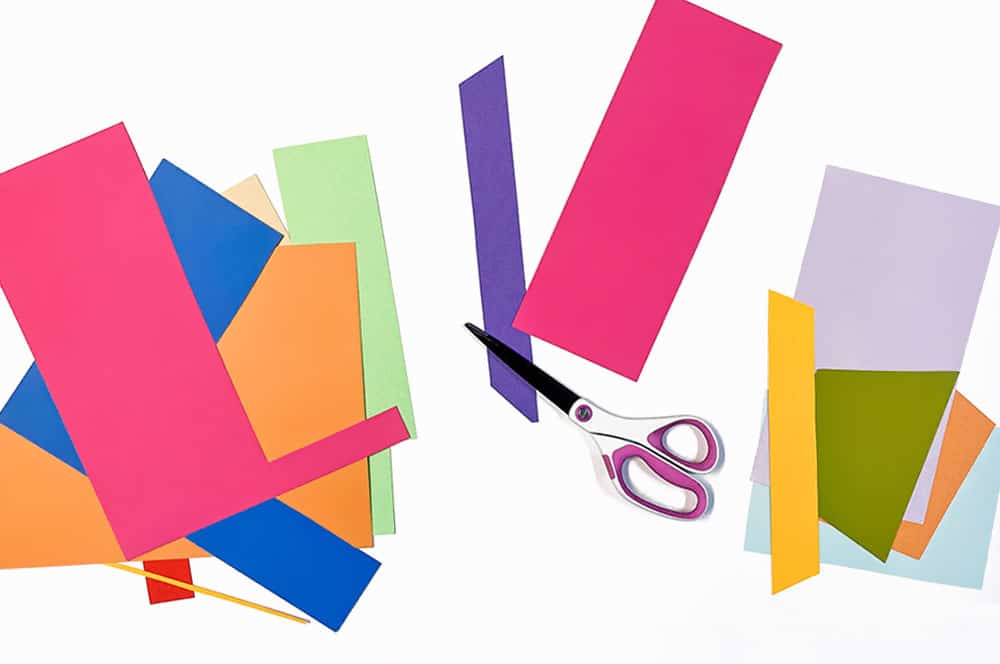
Cut out large colorful squares from construction paper or cardstock. You can choose a specific color palette, cut squares from magazines & newspapers, or use patterned or textured papers for a different look!
These will be the buildings of our cityscape, so lay them on your cardboard pieces to ensure you’re cutting them to the scale you prefer. Because our cardboard pages are big, our buildings are fairly big too!
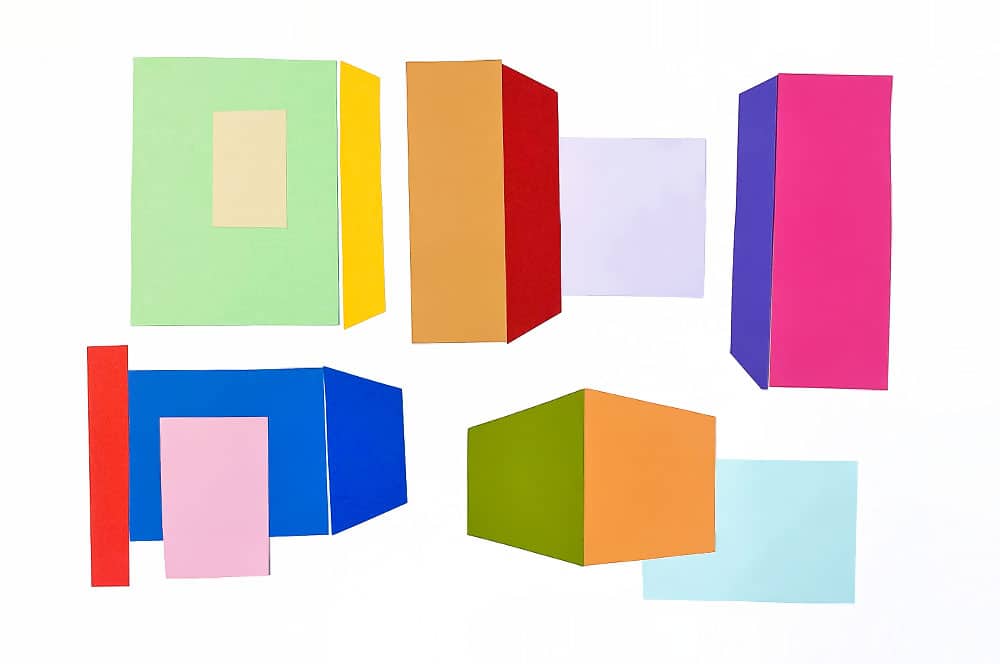
Take a look at our cut paper shapes above. Can you see how we’ve cut some edges off of our squares and aligned them to give the illusion of perspective?
TIP: To make it look like one side of a building is in shadow, use a darker color paper. This adds to the sense of perspective!
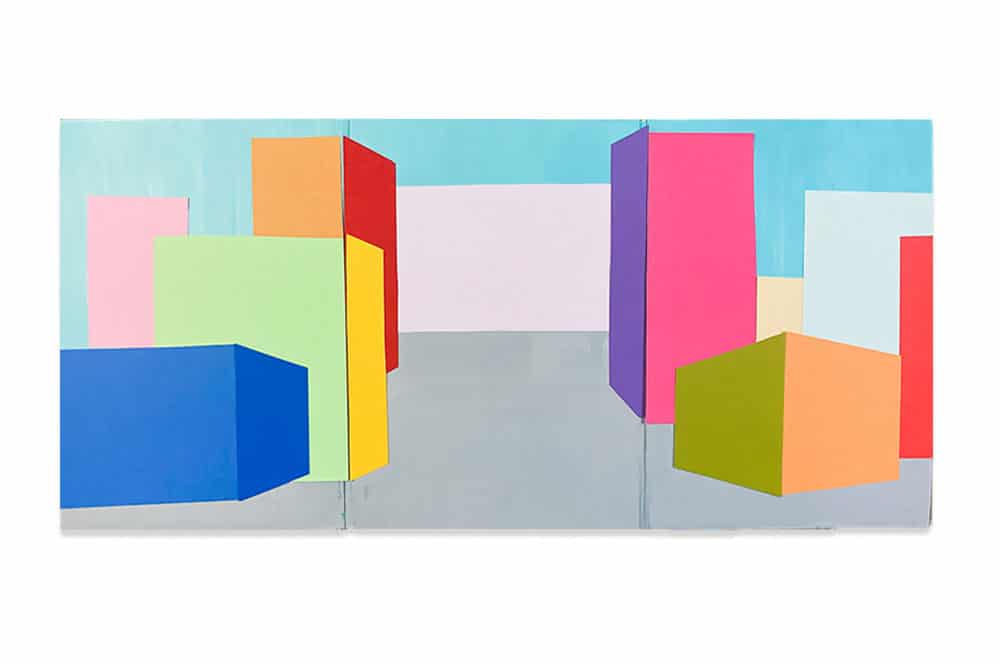
Before you begin gluing, lay your buildings on your cardboard to ensure you’re happy with your composition. I used lighter papers for the buildings in the background so they’d recede and brighter colors toward the front so those buildings would pop forward.
NOTE: Because this folds up, I aligned the paper edges of our buildings with the sides of the cardboard pages – leaving a small opening along the creases. This will ensure everything still lays flat when folded, and there aren’t any crinkly bubbles in your buildings when your landscape book is opened.
Once you’re happy with the layout, use a glue stick to glue all your building pieces to the cardboard.
It’s time to add some windows! We cut simple squares and rectangles out of black paper, then glued them to the buildings with a glue stick. For some variations, you can use different shapes or colors of paper. What kinds of windows do you see in your neighborhood?
You can also add some awnings to your buildings as we did! Can you see how we cut a parallelogram out and glued it over the tops of our windows and doors?

To finish our cityscape, we added some simple hand-drawn details with a white colored pencil (you can use oil pastels as well, just be sure whatever you use won’t smudge when you close your book!).
Can you see how we angled the lines of our street to add perspective? And we chose to draw in light windows for our background buildings. As in real life, the farther you get from a building, the less detail you can see clearly – we wanted the details to fade into the buildings.
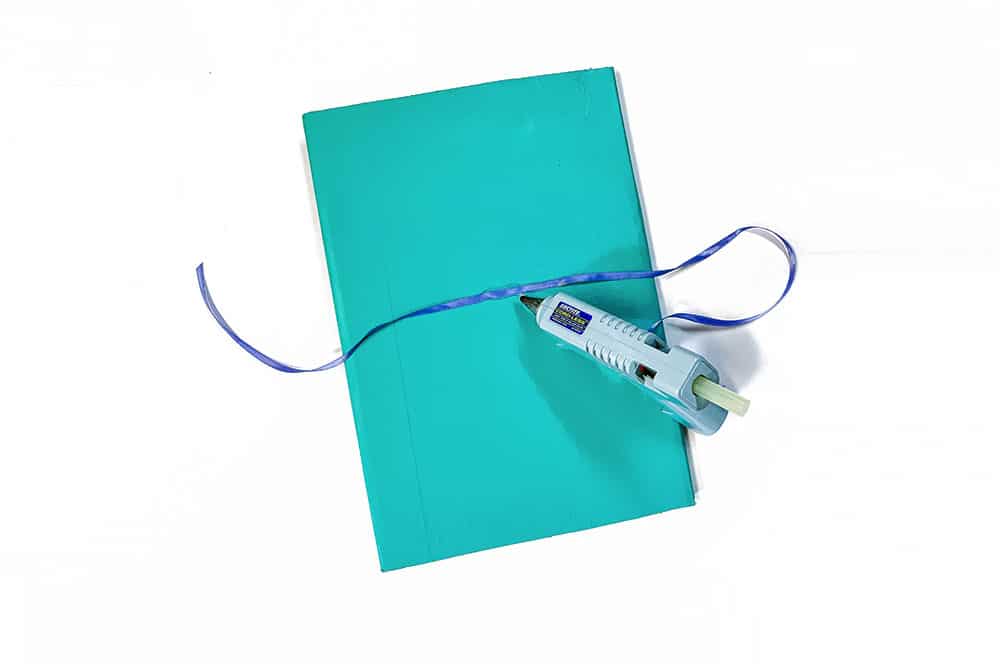
Just for fun, we painted the outside of our book a bright color, but you may want to skip that to move right on to play – it’s completely up to you! To finish your book, use a glue gun or craft glue to add a few dabs of glue in the middle of the back of your book.
Press a long piece of ribbon into the glue and let it dry. Now you have a simple way to tie your book closed so you can slip it on your bookshelf when it’s not in use!

As an optional final step, you can add a label to the front of your book as we did.
This is the first in a series of landscape books we plan on making, so we wanted an easy way to quickly identify each landscape book and tell them apart!
If you think your city landscape book will see some heavy usage, or you’ll want to add some removable details later for play, you may want to coat your city landscape with a layer of mod podge.

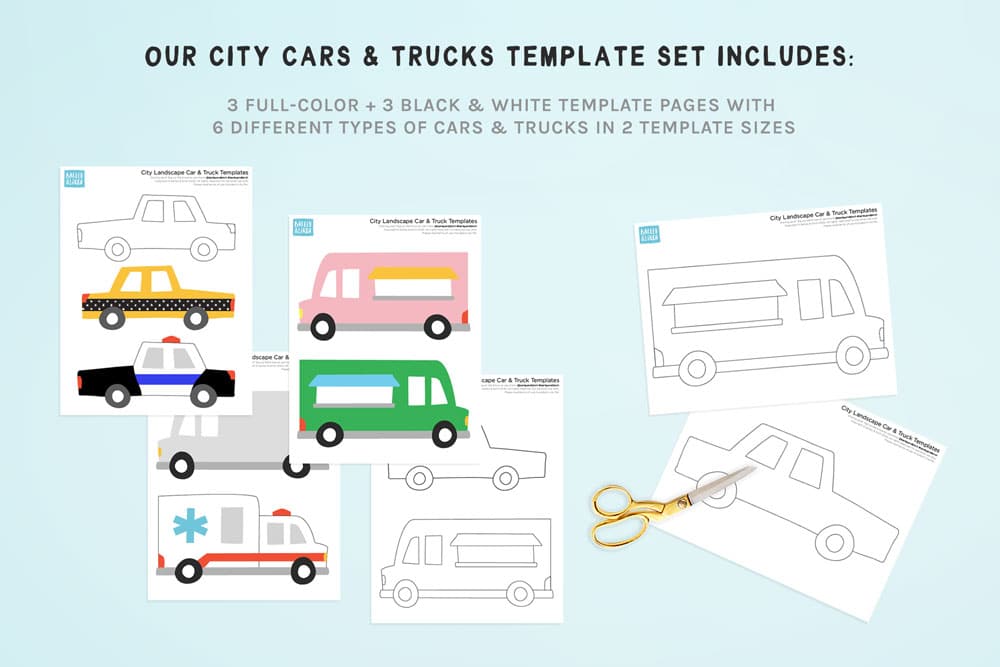
You can also pair this fun retro backdrop with our recycled cardboard box city, or download a set of printable city vehicles you can color or decorate to add your cityscape!

If these cardboard houses set your heart a-flutter, you might also like our Burga-inspired cardboard building block castles or upcycled toadstool gnome home. Be sure to check out our 100 Little Homes STEAM-Building Challenge as well!
GETTING READY TO TRY this?
I love seeing all the ways people make these ideas their own! If you're sharing the results of one of our projects, mention or tag me with @barleyandbirch, or share it in the comments of one of our Pinterest project pins.


