

Learn how to make an easy DIY confetti popper from a recycled cardboard tube and other simple household supplies. No balloon is necessary for this earth-friendly craft, and these launchers make a wonderful (and inexpensive!) party activity for kids!
We happen to have some big occasions to celebrate this month! In lieu of partying with you in person, I thought I’d share a few special crafts to help you share in the fun with some ideas you can use for all kinds of festive fêtes of your own.

Click the video tutorial below to watch the full process.
For more easy kids’ party crafts make your own earth-friendly DIY confetti mix or visit the tutorial for our DIY paper sparklers.
Note: We prefer to shop locally or use what we have at home, but this list contains Woodpeckers Crafts, Etsy, Blick Art Materials, Bookshop.org and/or Amazon affiliate links for reference. As affiliates (and Amazon Associates), we make a small commission on qualifying purchases.*
BASIC SUPPLIES:
BASIC SUPPLIES:


Begin by cutting a small 1 – 2-inch slit into one end of your cardboard tube. Roll your tube around to the opposite side and cut a parallel slit of the same length.

Work a rubber band into the slits in the cardboard tube.
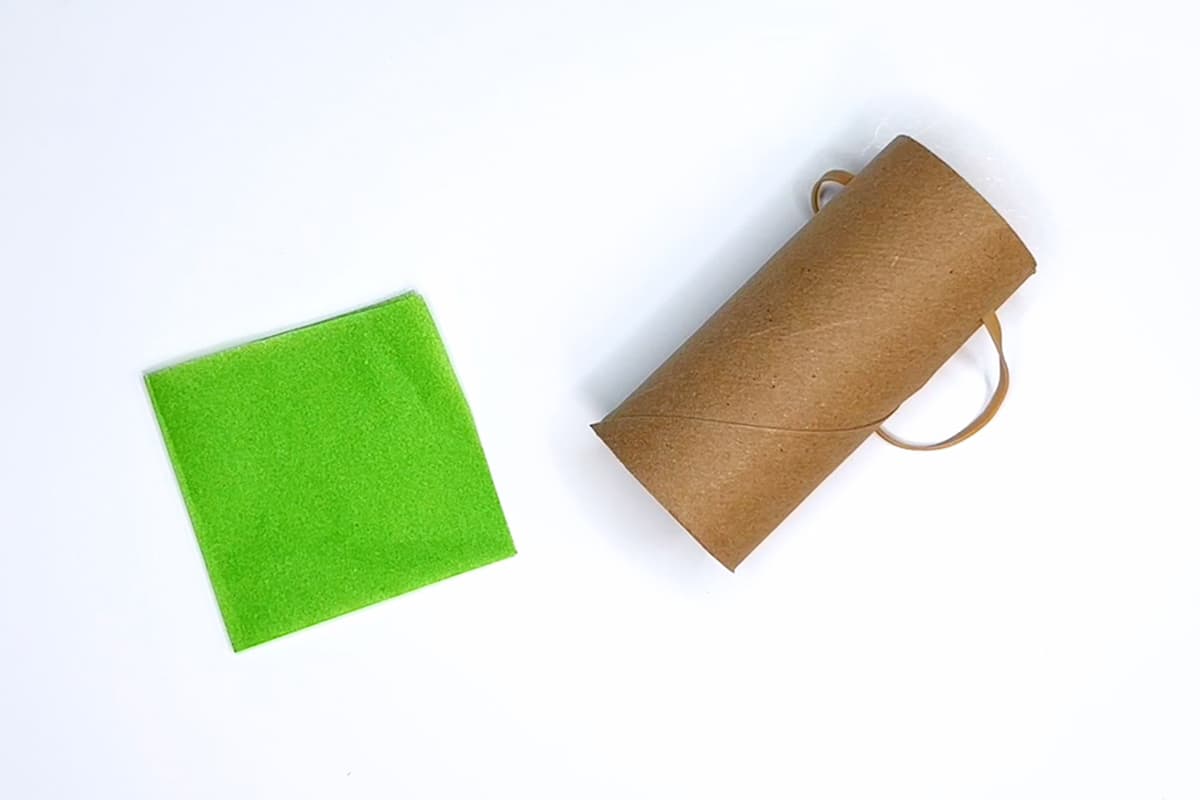
Cut a square out of tissue paper – it will need to be large enough to completely cover the end of your cardboard tube. We used a double layer of tissue to give it a bit more strength.
Working at the end opposite the rubber band, use a glue stick to cover the bottom inch of your cardboard tube with glue. Place the tube in the center of your tissue paper square and pull the edges up around the bottom of your tube until it’s completely covered and secure.
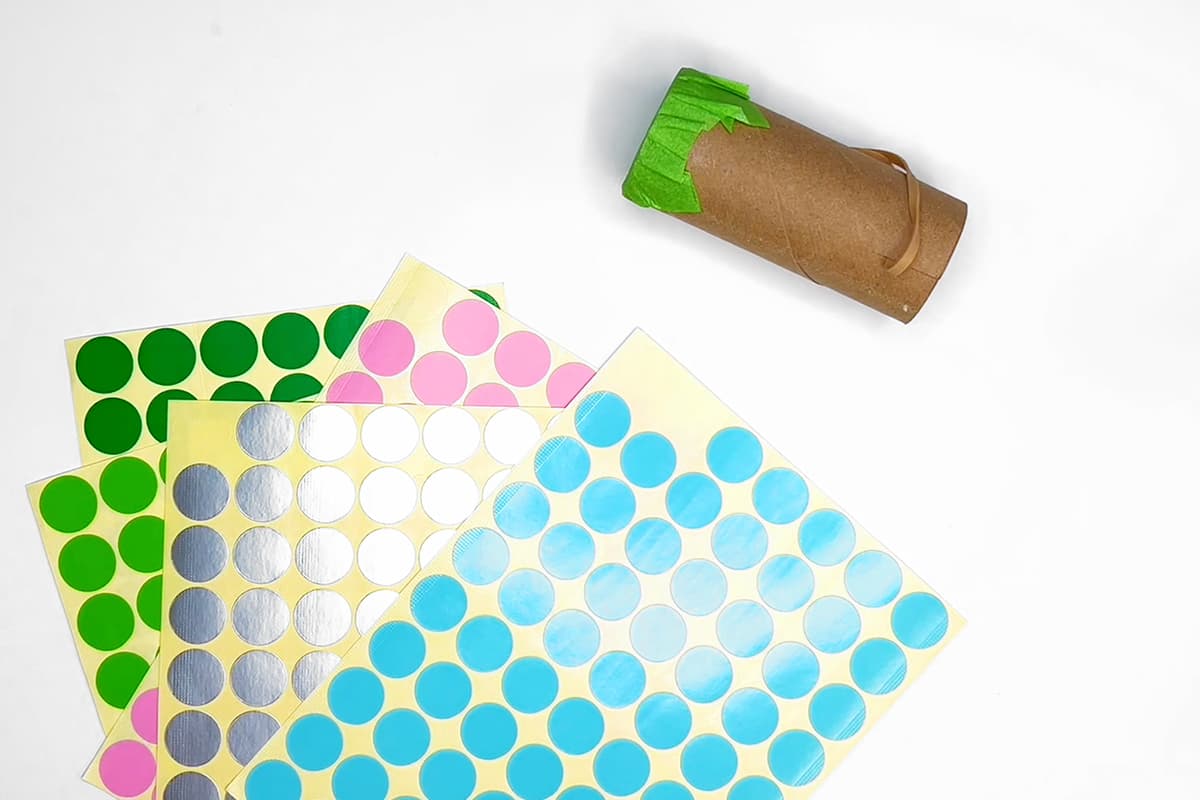
You can use stickers, washi tape, paint pens, markers, or other decorative elements to add flair and pizazz to your confetti popper!

Gently pull your rubber band around the covered end of your cardboard tube. When the rubber band is pulled and released, it will pop back against the tissue paper, sending your confetti flying.
You want a snug fit, so it pops back with enough force to eject the confetti, so if it’s too loose, grab a smaller rubber band.
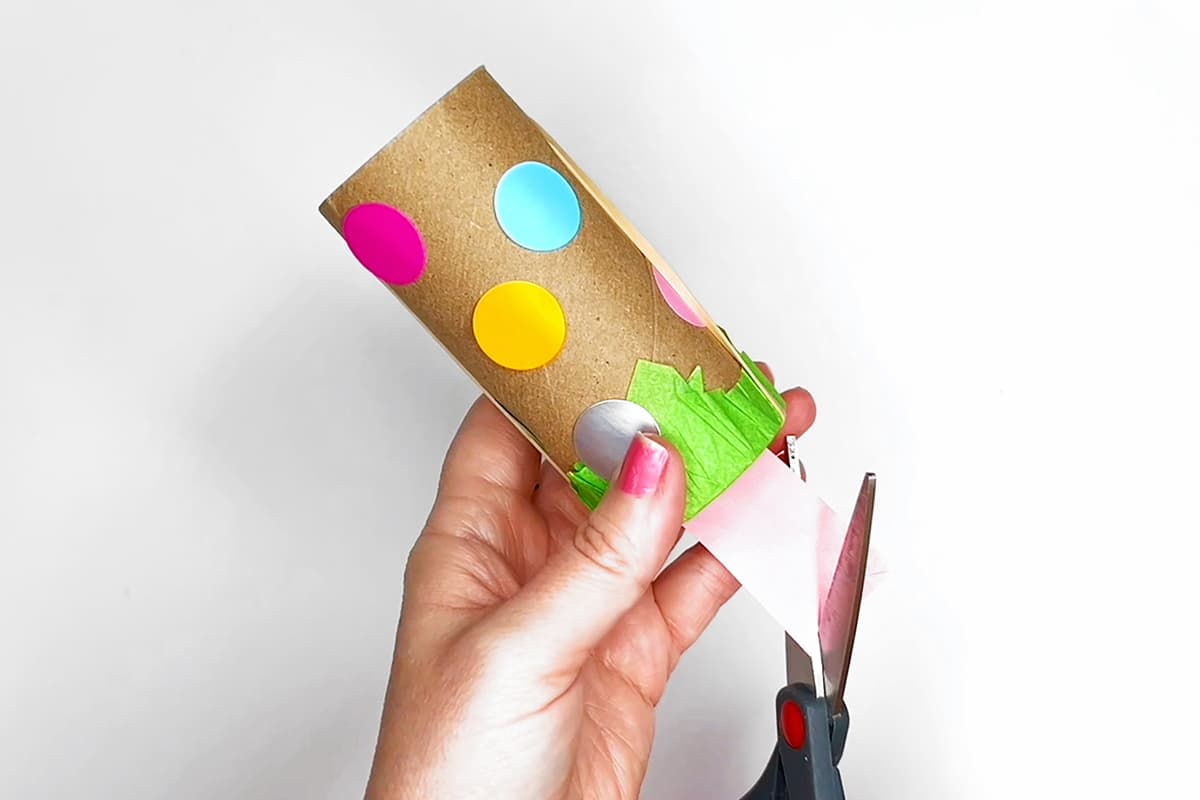
We added a simple pull tab kids can use to easily grab and pull back the rubber band. You can cut a small strip of paper or cloth, slide it between the tube and the rubber band, gluing the sides together so they loop around the band to create a pull tab. You can also use a strip of tape as we did.
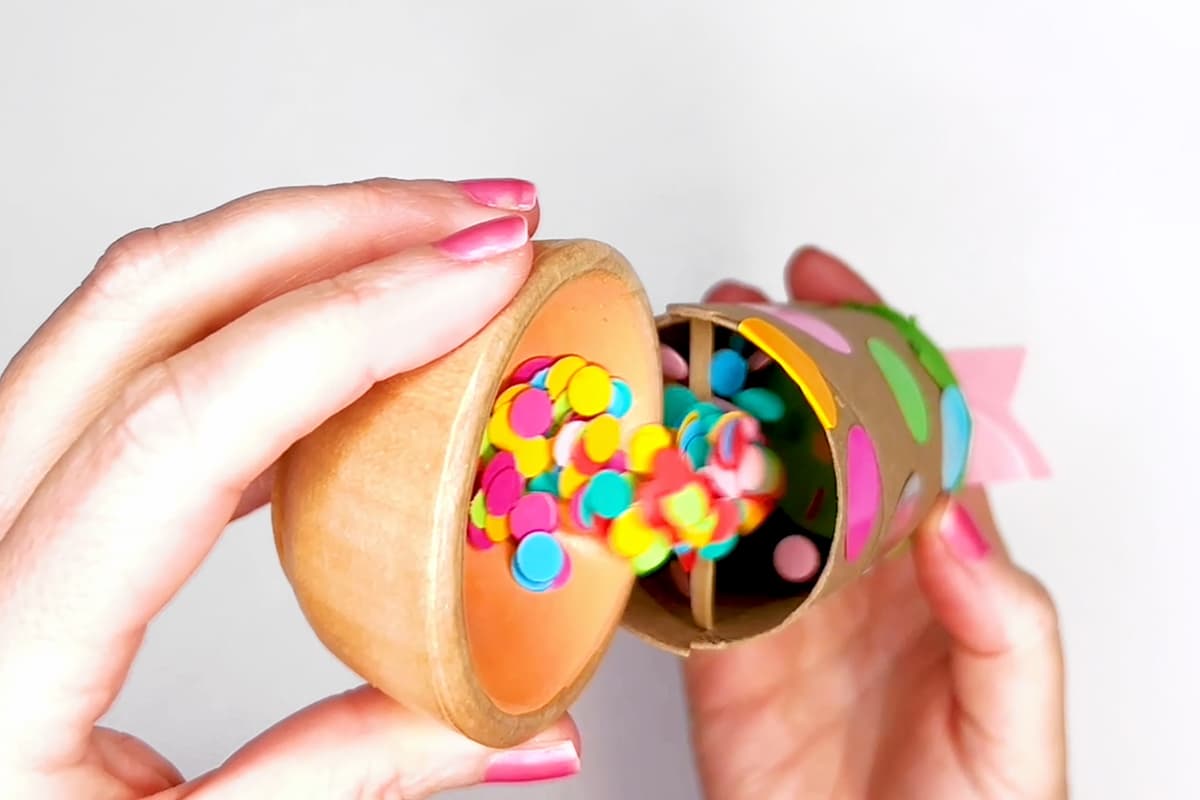
Oooo the anticipation is building now! Pour confetti into the open end of your tube, pull back on the rubber band, release, and POP! Instant party! Just a heads up, these do make a fairly loud popping noise, so if someone in your household is bothered by sudden loud noises, you may want to give them a little warning before the popping commences.
A little confetti goes a long way. We used about a tablespoon of homemade confetti, and it took two or three pulls to completely empty our confetti launcher.
There are a few handy tips we learned while making these. First, small paper confetti pieces seem to work the best. The tissue paper confetti and larger torn paper pieces didn’t bounce off the bottom with quite the same pizazz – total failure to launch.

The second bit of advice I have is to snap these gently if you’ve covered the bottom with tissue paper (even if it’s doubled up). A couple of ours broke through the tissue paper after a few stronger snaps.
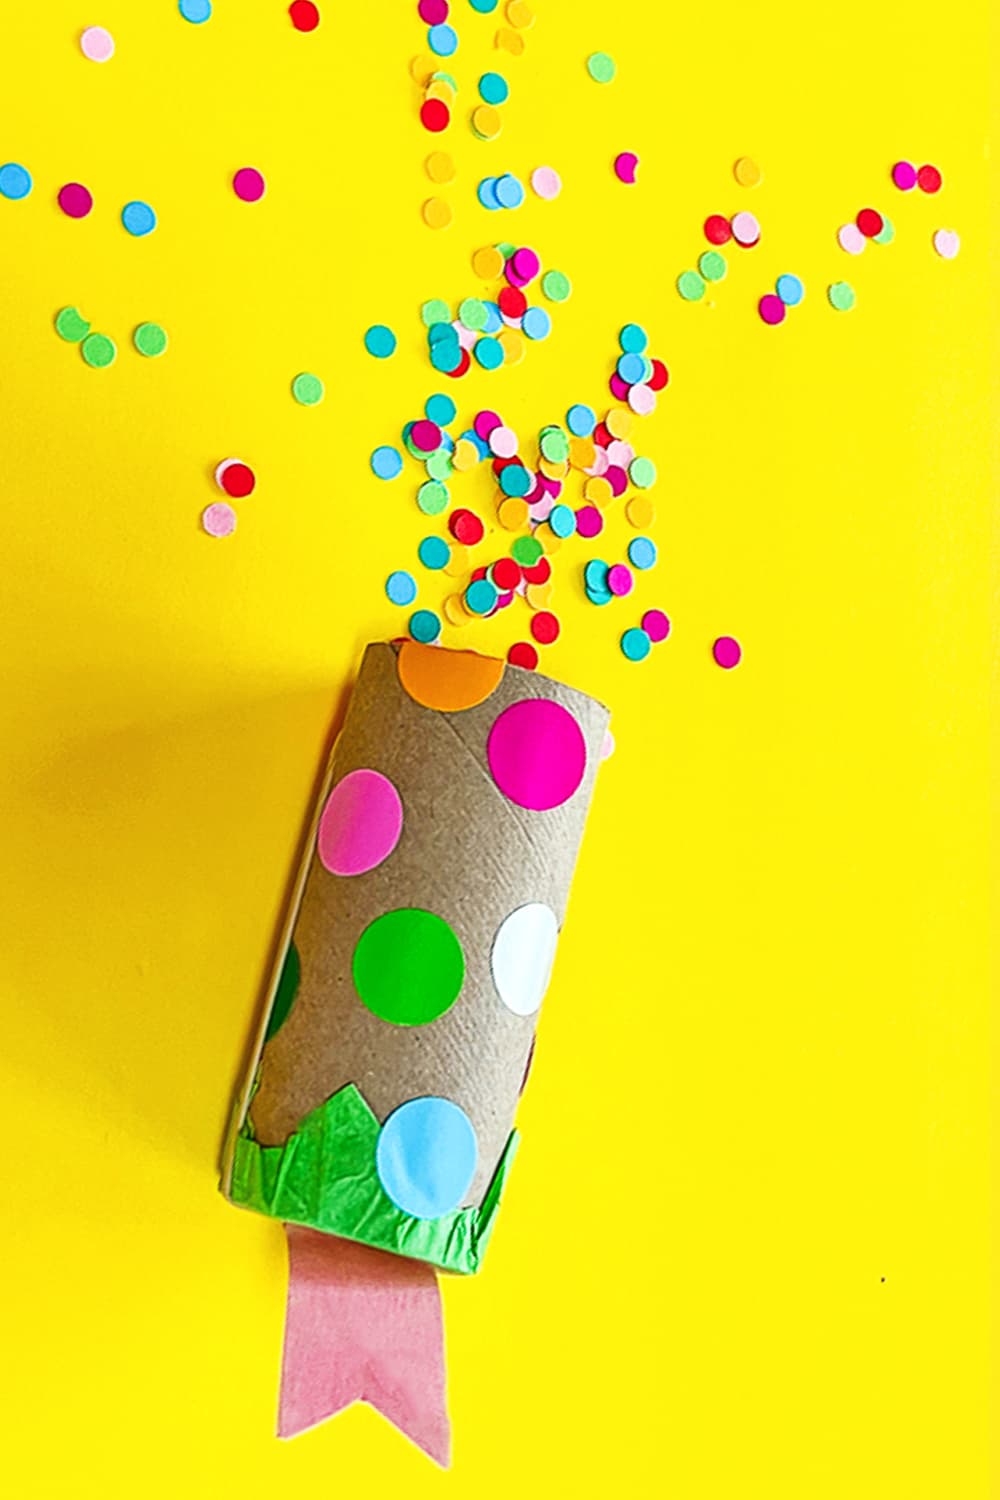
If you’re having trouble with the tissue paper, or break your own, you can recover the base and use it again (wax or parchment paper may be able to hold up to snappier snaps).
And of course, you can always use the balloon method (switch out the tissue paper for a balloon that’s been tied and trimmed so it fits over the end) – it just isn’t quite as eco-friendly.

*A note about affiliate links: We strive to use simple, earth-friendly supplies that can be purchased locally whenever we can, but sometimes we find the best universally available options, a rare eco-friendly find, or a niche product only available on Blick Art Materials, Amazon, Etsy, or Woodpeckers Crafts. When included in our supply list, these products are affiliate links, and if you click through to make a purchase we receive a small commission that helps us re-order these supplies!
GETTING READY TO TRY this?
I love seeing all the ways people make these ideas their own! If you're sharing the results of one of our projects, mention or tag me with @barleyandbirch, or share it in the comments of one of our Pinterest project pins.


