

This lovely bison art uses an unexpected supply to create rich color and unique texture: coffee! In addition to a cultural introduction to the Great Plains, this project is a fantastic way to experiment with the use of natural art supplies, mark-making, and give an art lesson in landscapes.
BASIC SUPPLIES:
OPTIONAL SUPPLIES:
$1.99
A 3-page PDF set optimized for black & white printing.

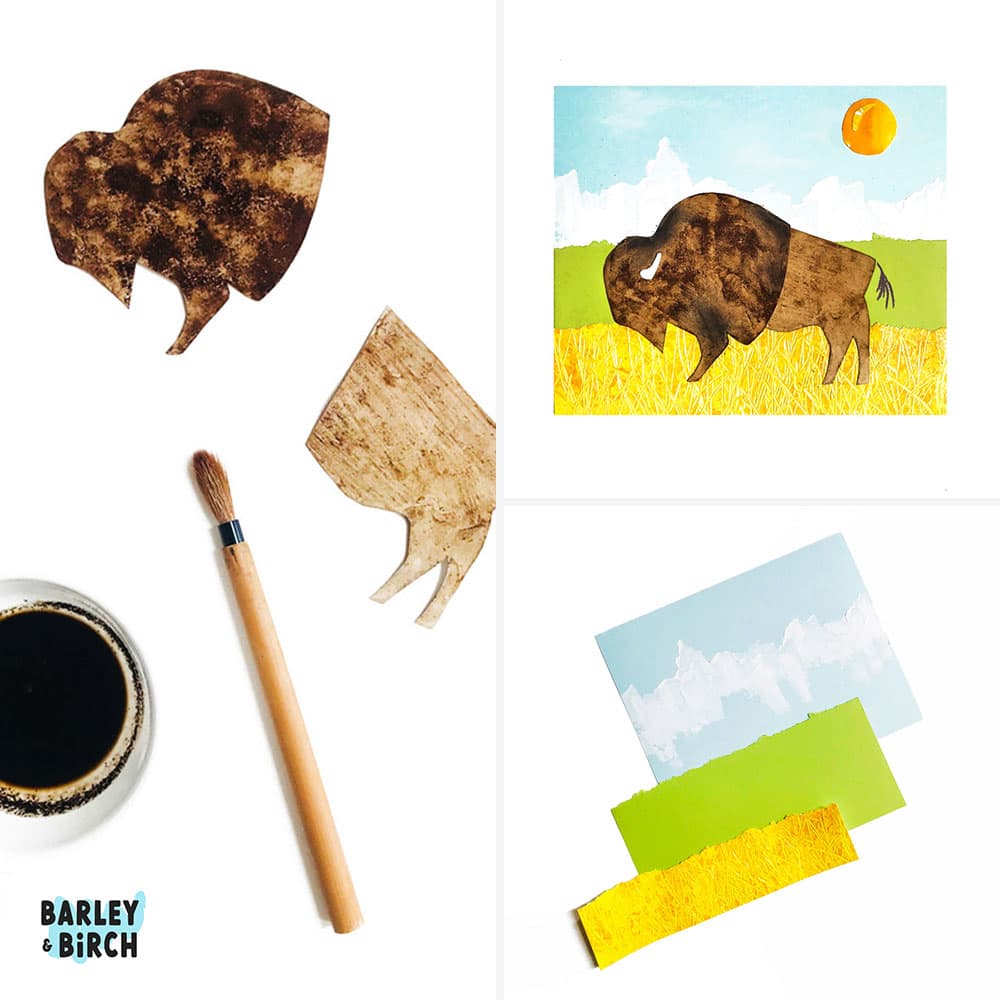
Download, print, and cut out a bison from our printable bison art template set. You can also draw your own bison!

Brush your bison with wet coffee grounds (add just enough water that it makes them wet – a little soupy, but not like actual coffee) until the template is completely covered.
Set the back half of your bison aside while you continue to add layers of brushed-on coffee grounds to the front half.
Keep adding layers until there is a nice contrast between the two halves of your bison (this gives the front a nice thick, furry look!).
Set your bison aside to dry.
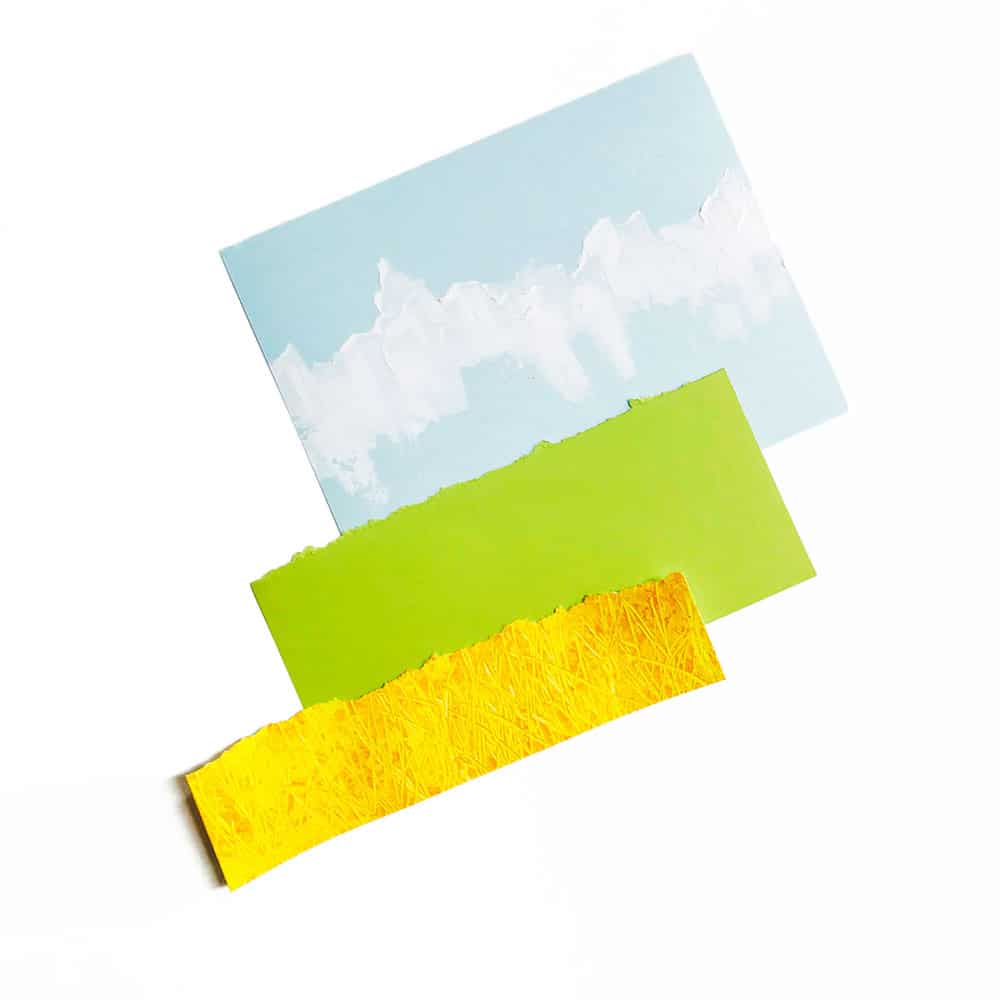
For the background landscape, I used one large piece of blue cardstock as the background, and two torn scraps of paper to create our landscape layers on top.
This is a wonderful opportunity to discuss background, mid-ground, and foreground. How do things look the further away we get from them? How do we create them in art? Which layers should include the most detail?
To create a snow-covered mountain range, I dotted the blue background paper with a line of small white paint circles and then used an old plastic rewards card to scrape the paint. While dragging the card, I pushed it up and down as I crossed the paper, to create an uneven line of jagged mountain shapes.
For the field of long green grass, I simply used a scrap of green paper that had been torn in half (horizontally).
For the dry yellow grass in the foreground, I started with a scrap of torn yellow paper. I painted a thick layer of darker yellow-orange paint on, then used a painting technique called sgraffito to create the illusion of dry grass. Sgraffito is one of my favorite ways to create textures (especially if you’re trying to do grasses!). Simply scratch lines or patterns into the wet paint using the back of your paintbrush, a palette knife, or a similar tool.
Once the paint on each of your layers has dried, glue them down on top of each other.

Gently tap your buffalo to brush off any excess coffee grounds, then use a glue stick to add your bison.

You can finish this by drawing a little tail and adding other details (like the sun we included) to your landscape. We used charcoal to smudge in a couple of areas of dark shadows to our bison as well!
You can use this project as an opportunity for discussions about:
Last year, PBS aired a fantastic 3-part documentary series called The American Buffalo that I highly recommend for older kids (and adults!) that touches on all of the above discussion points.
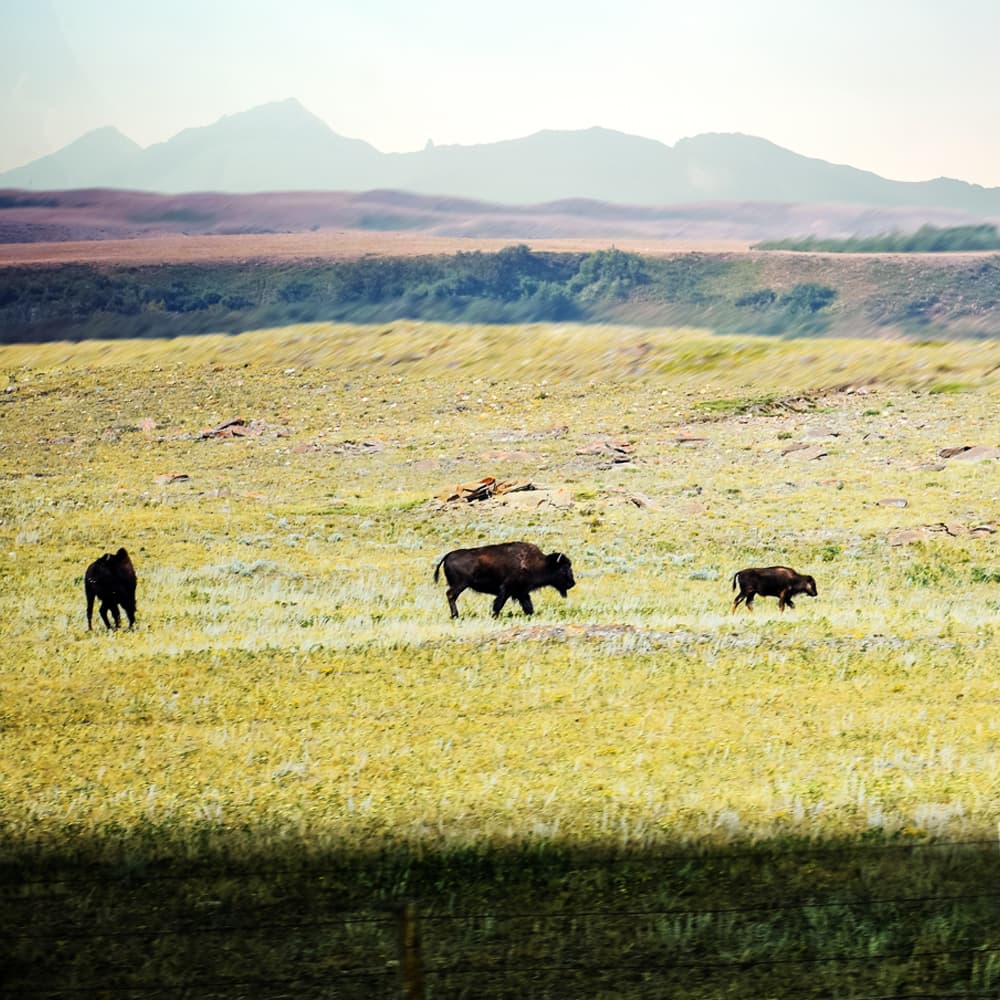
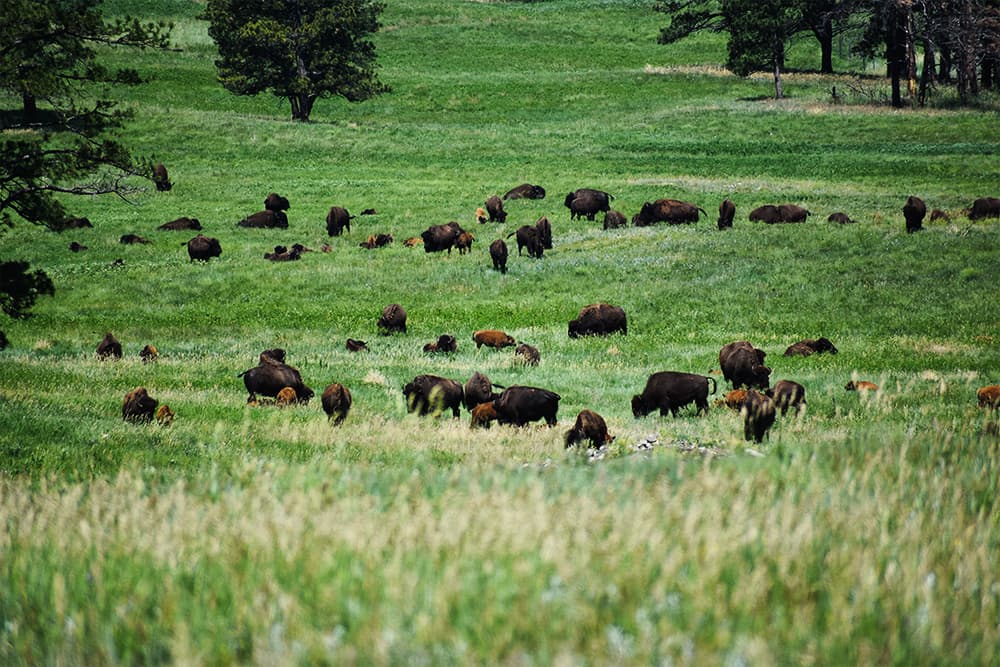
Since moving to the upper Midwest, I’ve had the opportunity to see quite a few bison and herds in Montana, South Dakota, and Minnesota.
Living in the Twin Cities, I’m 20 minutes from a herd of wild bison that’s just been reintroduced to the area, and it’s so exciting to watch their progress as they rediscover their old stomping grounds.
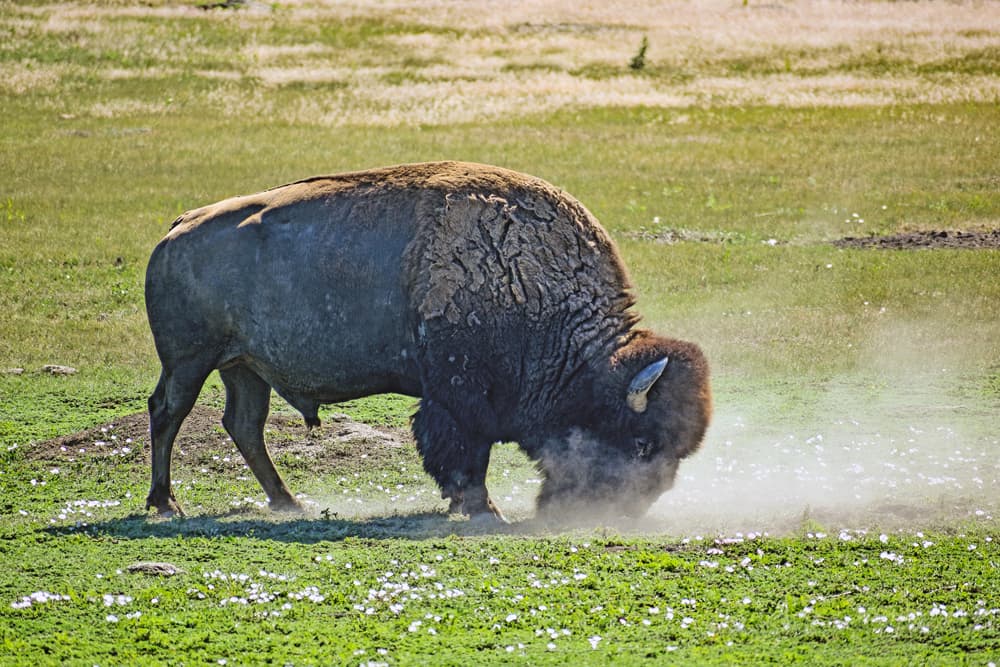
They are truly magnificent animals, and their SIZE (and power!) is nearly impossible to capture in a photo.
Whenever photographing bison, I’ve been in a car, and at a safe distance – for their safety and ours. The photos in this post are all my own, so feel free to print and use them as references with kids or in a classroom.
The photo below shows a bison and her calf, but look closely, and you’ll notice another little traveling companion along for a ride…! Perched on the back of the mama bison is a brown-headed cowbird.
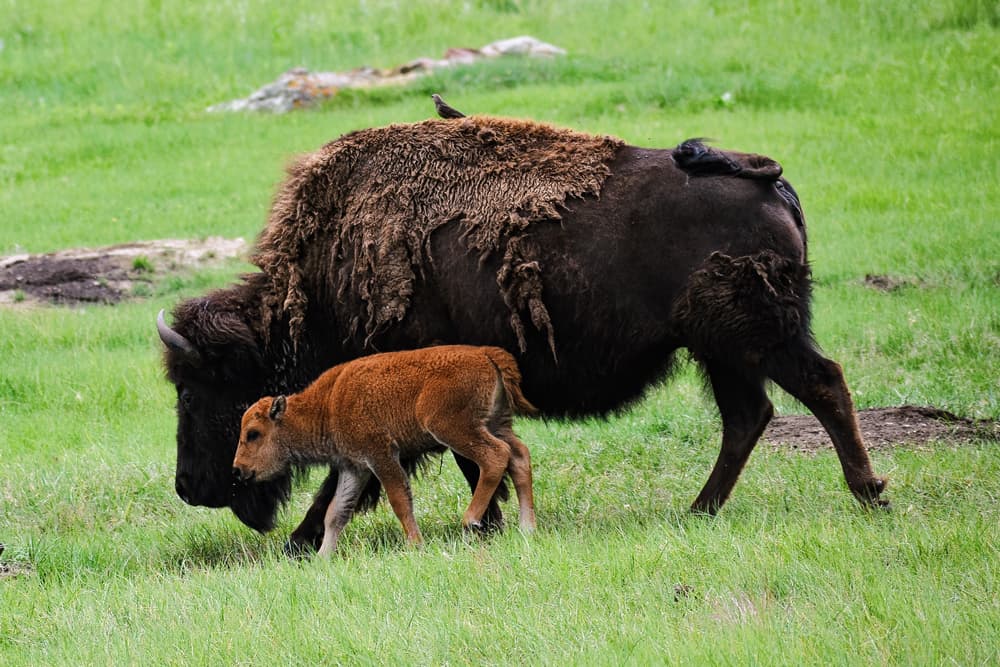
With their thick beards, bison typically pick up quite a few bugs in those long prairie grasses. The clever cowbirds have learned to take advantage of this free, easy meal, and will hop on a bison for a quick bite to eat.
This little detail is a great example of a small addition kids can include in their own bison art pieces to add a bit of storytelling, background, and personality. Maybe instead of a cowbird, there’s a prairie dog, pronghorn, elk, or wolf in their landscape.
Watch my video of a bison herd at Custer State Park in Custer, South Dakota (Note: this was taken from a car at a much further distance than it appears.)
Music: Back on the Wagon by John Bartmann
The National Parks Service has a wonderful free printable bison lesson plan (along with an extensive collection of bison stories) you can use with students for a full afternoon of National Parks nature-inspired learning.
Instead of creating a flat piece of artwork, use your bison to create a 3D diorama of a National Park scene at Yellowstone, the Grand Tetons, or Badlands National Park.
Kids can add landscape features, like Yellowstone’s geysers, or include facts about the bison’s role in park ecosystems.
Make a paper or cardboard bison cutout you can use as a shadow puppet to tell stories about bison. Or recreate a timeline of American history using multiple bison puppets or bison silhouettes to represent different eras.
Have kids color and customize the bison template and turn them into flyers, card sets, or travel posters meant to inspire wildlife awareness.
Take style cues from mid-century-inspired travel posters, or WPA-style National Park posters highlighting wildlife. They can write facts about how conservation efforts have helped bring back the American bison from near extinction.
As a side note, if you enjoy National Parks posters as much as I do, you MUST visit the Fifty-Nine Parks Print Series project and website. To be clear, this is not an affiliate, I just adore the entire series and effort!
Decorate or create art using multiple bison templates to show how the bison might look during different seasons—green fields in spring, snowy scenes in winter, and golden fall leaves.
You broaden the scope of this art project by including a lesson about how animals adapt to seasonal changes.
For more fun art & play activities using kitchen supplies take a peek at our kids’ constellation art project, or visit this BIG collection of our favorite hands-on kitchen tools and activities for little ones!
Loving the art exploration opportunities? Summer is the perfect season to try our scrap supply pool art, make a set of scrape-painted surfboards, or incorporate a little movement with a kinetic paper playground art invitation.
GETTING READY TO TRY this?
I love seeing all the ways people make these ideas their own! If you're sharing the results of one of our projects, mention or tag me with @barleyandbirch, or share it in the comments of one of our Pinterest project pins.

Comments are closed.





great bison art! i was looking for bison art and you truly delivered. thank you for the bison art.
Happy to hear it!!
Thank you for this! I am the director of a before and after school program. This summer we are doing a travel around America theme and learning about different states. We are going to be learning about Yellowstone and I was looking for a fun bison craft to help the kids learn about the animals in the park. I am so happy I stumbled on this craft. It will be perfect! I think the older kids will be fascinated that they can paint with coffee grounds and the younger kids always love getting to use a paint brush so it will be great!
Hey Alex, thanks so much for your message – it made my day! I’m glad you found our bison art too, and hope you all have fun with it as you “travel” to Yellowstone (and beyond – sounds like an awesome summer program!). It’s always fun to paint with something unexpected and it makes the room smell GLORIOUS. 😀
Hello,
I experimented with the coffee grounds and could not get the results that you did. Any tips?
Hi Megan! Here are a few things to try…(1.) Are you using a thicker paper like the watercolor paper we used? The benefit of the watercolor paper or thicker cardstock is that it pulls in and holds the color of the grounds – it also has a little more “tooth” to it, so some grounds will stick to it to help create that furry bison look. (2.) If the issue is that you’re not getting a dark enough color and it looks more like a watered down beige, maybe try a fresh ground and/or a darker roast and let it sit on the paper a few minutes longer/add a second layer OR (3.) Add a couple of tablespoons of HOT water to your grounds – let it steep and cool for a few minutes before adding a bit of cooler water to make your wash.