
Kids Paint Chalk and Pastel Projects . Spring Activities for Kids . St. Patricks Day Kids Projects . Summer Activities for Kids . Textile Projects for Kids
A DIY No-Smudge Chalk Pastel Rainbow Pillow

Amanda Eldridge

Our spring season is filled with days to celebrate and occasions for gift-giving. From St. Patrick’s Day to birthdays to Mother’s Day, I’m always trying to think up ideas for small but special handmade gifts the kids I work with can give.
These dreamy mini chalk pastel rainbow softies perfectly fit the bill, as they’re simple to make, a lovely spring gift for anyone, and a great opportunity for an art activity. PLUS, I have a secret ingredient that will keep these DIY softies smudge-free and colorfast.

Last week I started experimenting with alternatives to paint on fabric and found that chalk creates the most lovely watercolor effect! The final gloriously rainbow outcome was everything we had hoped for and MORE. The project was simple but fun for the kiddos, and the colors blended so beautifully.

I used a brand called ButterSTIX which is dust-free, but you can substitute chalk soft pastels. Like our DIY melted crayon art, this project would provide an easy opportunity to use up some old supplies or broken soft pastels.
For more rainbow fun, try making a deconstructed rainbow art collage, or an easy rainbow ribbon noisemaker!
Note: We prefer to shop locally or use what we have at home, but this list contains Woodpeckers Crafts, Etsy, Blick Art Materials, Bookshop.org and/or Amazon affiliate links for reference. As affiliates (and Amazon Associates), we make a small commission on qualifying purchases.*
BASIC SUPPLIES:
OPTIONAL SUPPLIES:
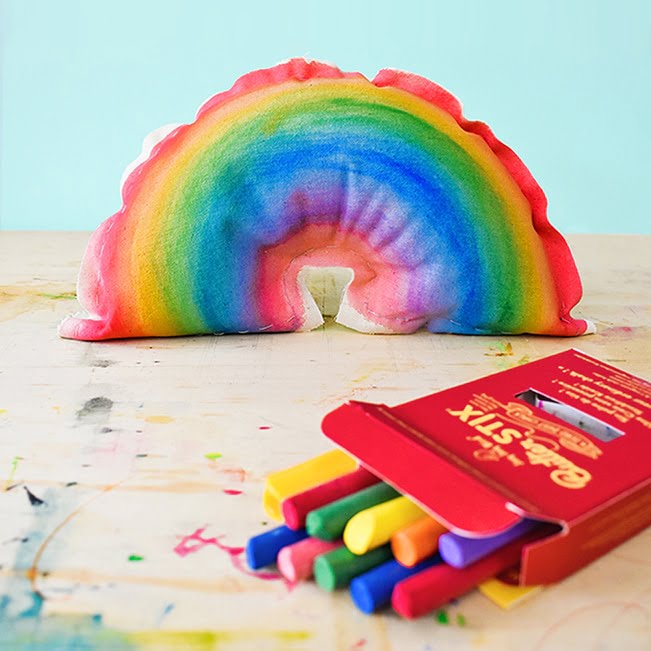
Before you begin, be sure your fabric has been washed and dried. You may want to cut a small piece of test scrap fabric and try coloring & washing with water to get a little preview of how they work before you start on your rainbow!
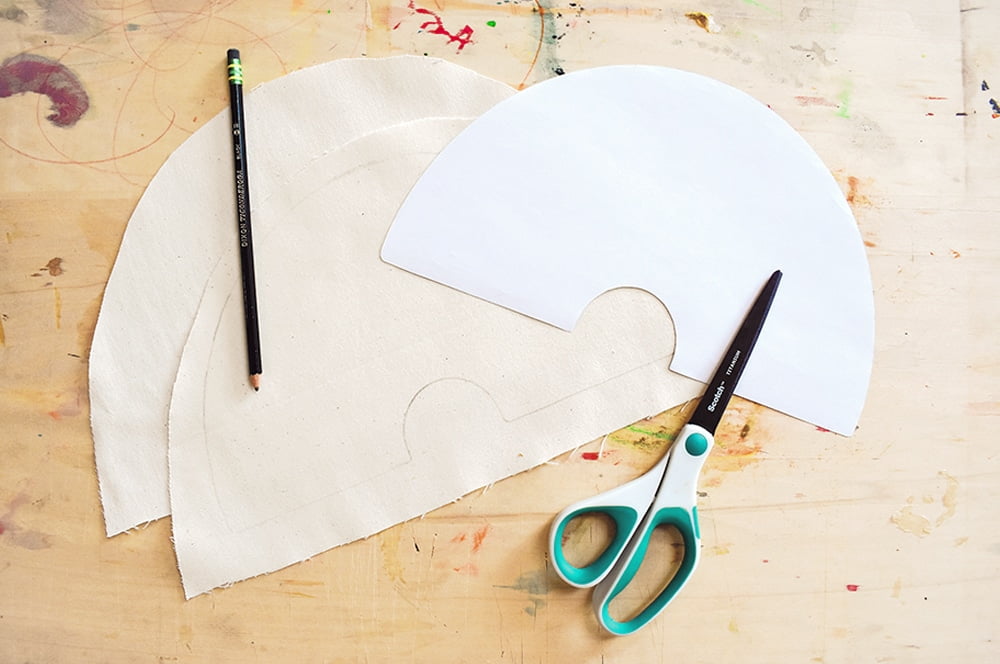
Sketch your rainbow outline (or trace our template) onto doubled-up cotton fabric and cut out 2 rainbows, leaving a 1-2″ border of extra fabric around the edges.
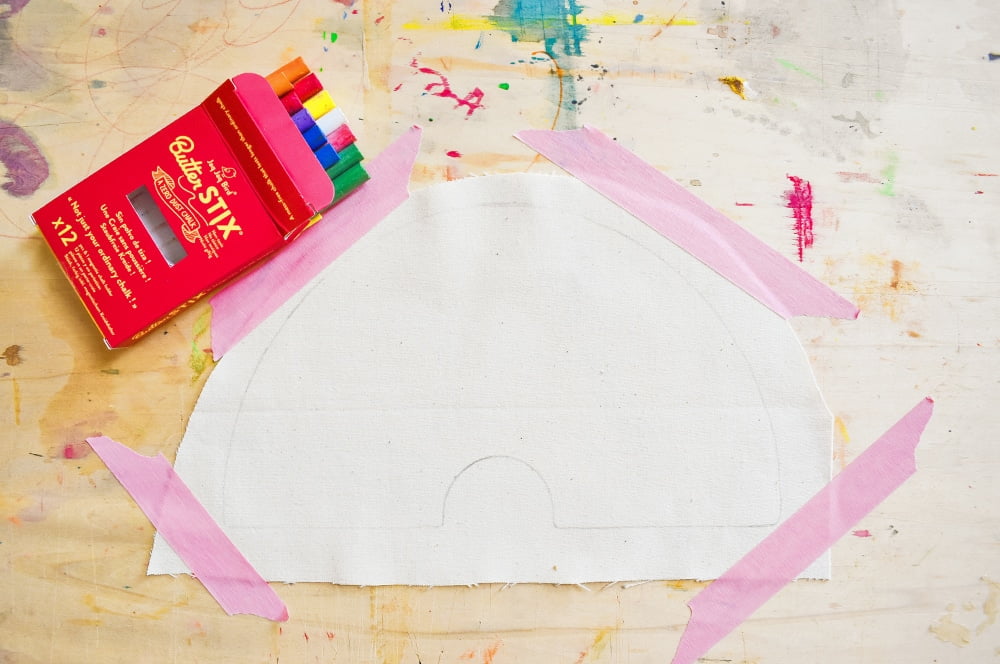
Using masking tape or similar, tape the top and bottom edges of one of your rainbows down to prep for coloring.

Use your pastels to color your rainbow any way you’d like! The more color you add, the brighter your rainbow will be, so we added thick, dense layers of chalk.
Just like watercolors, chalk pastels will blend together to create new colors when water is added, so think about where you’re laying down your colors (for instance, blue next to orange will create a brownish color).

Using a paint or foam brush dipped in water, start blending your pastels until they start to look like watercolors. You can color with your pastels again to fill in spaces or create deeper, more vibrant colors. You can also use your fingers to blend colors together or blend out chalk lines.
*Note: To keep from muddying up the colors, I found it was easiest to stick to washing one color at a time and blending like colors, wiping off our brush on a paper towel when necessary. If your colors do get a little muddy after adding water, just go back over them with your chalk pastels – they’ll brighten right back up!

Pour a small amount of textile medium into a bowl, and gently brush over your finished rainbow. It will look like it’s lightening your colors and creating pastels, but the white medium dries clear, so the vibrancy will come back as soon as it’s fully dried.
Be sure not to skip this step and make sure the full area has been covered, as the textile medium permanently fuses your chalk with the fabric, ensuring that it won’t rub off.

Let your rainbow air dry, OR for a quick dry, hit it with a hairdryer for about 10 minutes. After your rainbow has completely dried, you need to heat-set it for permanency and washability. Use an iron on high heat for 3-5 minutes, or just toss it in the dryer for about half an hour.
Put a piece of scrap fabric or a dishrag/towel between the rainbow & your iron to keep your iron clean and ensure none of the paint transfers to it as it’s being set.
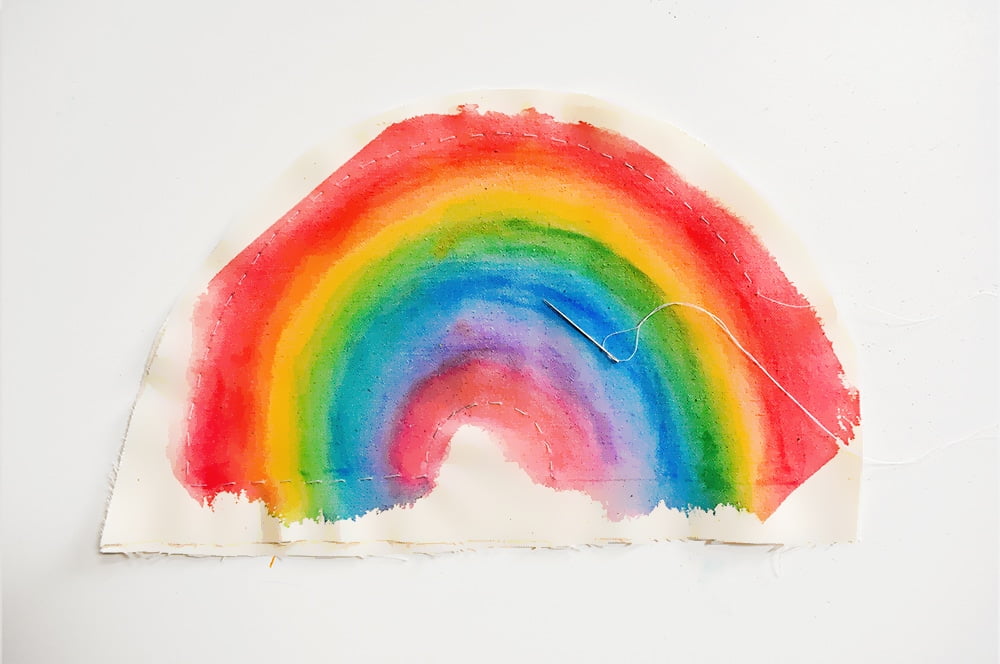
Now your rainbow is ready to be sewn into a cute little softie! Stack it on top of the second rainbow, line up the edges, trim to about 1/2″ from your rainbow outline to create a clean edge, and start sewing along your traced outline.
I used a simple running stick and sewed it myself as I was working with younger kids. For older kids, this is a great starter sewing project! Leave one bottom edge open for stuffing.
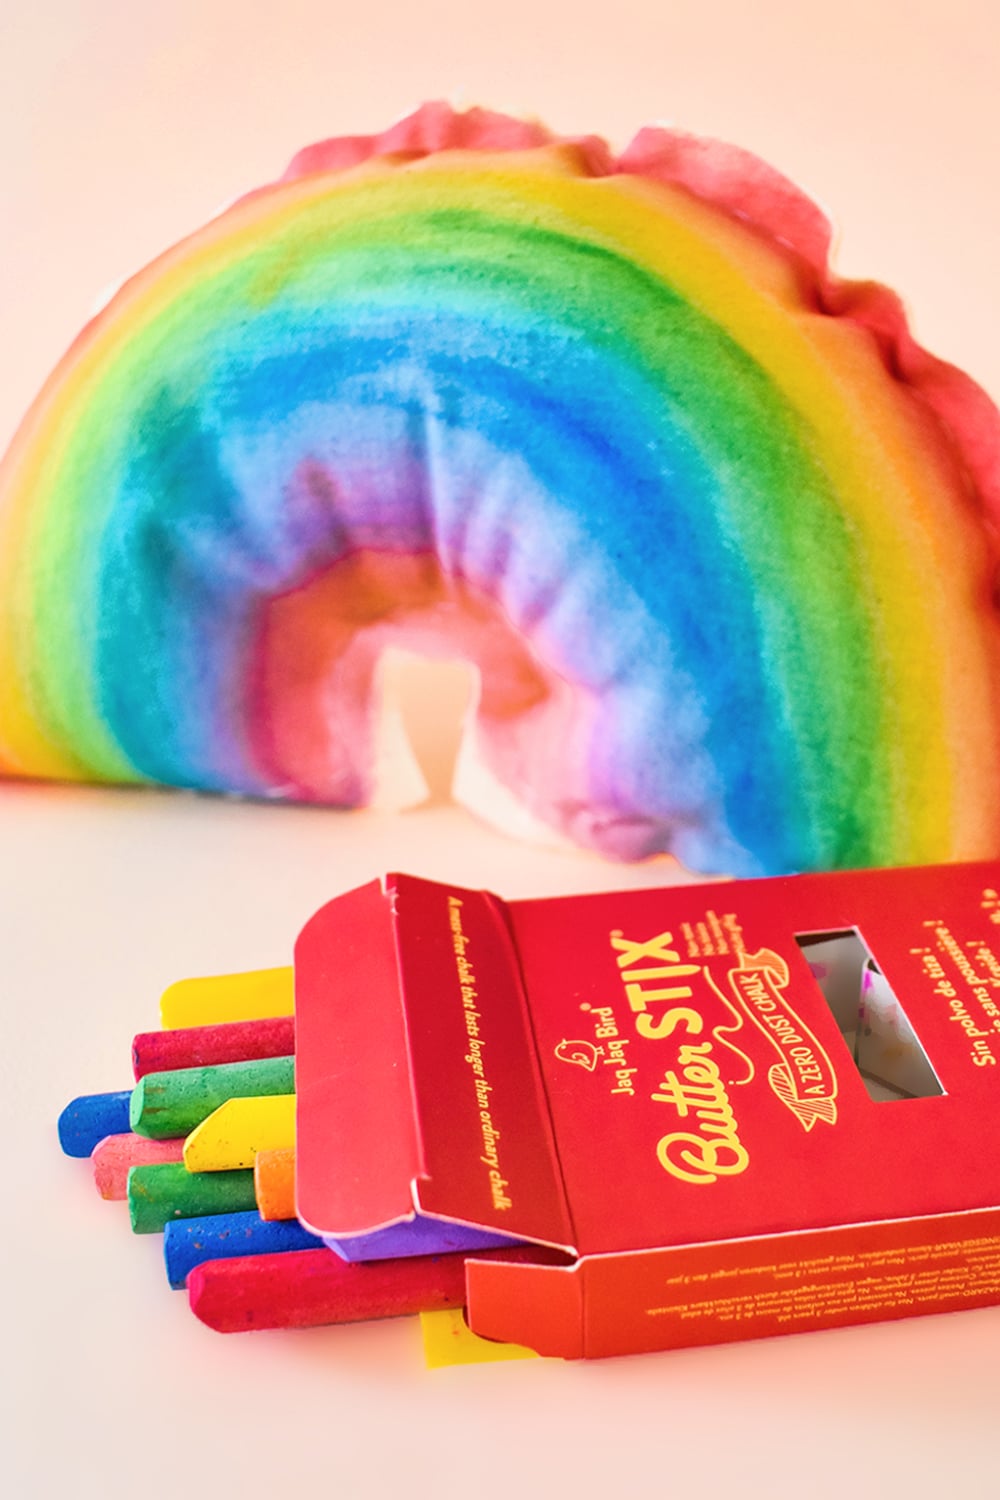
Gently fill your rainbow with stuffing, and finish by sewing the end shut. Ta-da! Your lovely handmade mini softie is ready to be used or gifted!
Quick Note: I haven’t tried washing our softie yet, so although the textile medium should allow it to be washed safely, I can’t guarantee the results. I’ll update this after I’ve tried it out, but if you find it necessary, just remember that it’s recommended to wait about a week or so before washing.
Wash in cold water on a gentle cycle – preferably in a cloth garment bag.

If you’re a rainbow art fan, you’ll definitely want to check out our deconstructed rainbow paper collages or hop over to our rainbow unicorn art tutorial for a video introduction to scratch art! For you softie lovers looking for more easy sewing projects, Crabcakes, our DIY crab softie is the most adorable beginner project (and made from upcycled supplies!)
*A note about affiliate links: We strive to use simple, earth-friendly supplies that can be purchased locally whenever we can, but sometimes we find the best universally available options, a rare eco-friendly find, or a niche product only available on Blick Art Materials, Amazon, Etsy, or Woodpeckers Crafts. When included in our supply list, these products are affiliate links, and if you click through to make a purchase we receive a small commission that helps us re-order these supplies!