

Can you even believe it’s already back to school time?! With all the excitement and preparation for school-aged kids, I’ve found that the littles who are left behind often feel pretty left out, which can lead to a major case of scowls & whines.

If you’re looking for a fun distraction that your kid is REALLY going to get into, look no further than this simple DIY wood tablet (or laptop!) toy. Kids are enthralled by the gadgets and gizmos they see adults using, and though I’m not a huge fan of screen time for toddlers,

I do think we can teach them to use tech creatively and responsibly. This little faux tablet has a “screen” that can be drawn on over and over again and can easily be converted into a laptop for pretend play (without the negative effects of an actual screen).

Bonus? This quick little project is SO great for road trips, and its magnetic cover allows kids to keep their drawings safe from smudges and accidental erasures until they’re ready to open it and start on some new art or “work”.
For more simple and imaginative kids’ wood crafts, visit the tutorials for our kid-made scrap wood sculptures, or surprise your little ones with an incredibly chic (but simple) handmade DIY beach dollhouse!
Note: We prefer to shop locally or use what we have at home, but this list contains Woodpeckers Crafts, Etsy, Blick Art Materials, Bookshop.org and/or Amazon affiliate links for reference. As affiliates (and Amazon Associates), we make a small commission on qualifying purchases.*
BASIC SUPPLIES:
OPTIONAL SUPPLIES:

As you read through the directions, keep in mind that you can follow our exact instructions, but you can also easily modify this to work with pieces of wood that are any size! You can also resize our templates to fit your own project by trimming them to fit your specific dimensions or printing them at a smaller/larger size.
Securely clamp your wood pieces to a flat surface. Using your drill and spade/Forstner bit, make a small, shallow hole that’s the same depth and diameter as your magnet in both pieces of wood. You’ll sink your magnets into these later (these will hold our tablet/laptop closed when not in use). If you don’t have a drill handy, skip this step – you can easily go without them, or glue on a couple of thin craft magnets later.
Sand the heck out of your wood pieces to make sure all the edges and surfaces are nice and smooth. If sanding gets you down, you can make this a little easier on yourself by buying a pre-sanded piece of wood (most craft woods are, and box stores and lumber yards always have a decent selection of pre-sanded plywoods as well). 
After sanding with medium grit, I move on to fine-grain sandpaper to sand down all the sharp corners so they have nice soft, rounded edges (see the comparison above). Wipe down with a tack cloth or washcloth to get all the fine wood dust bits off.
Using a pencil, lightly trace the outline of your “screen” 
If you plan on finishing your wood, this is the time to do so. If you’re going to paint a screen on, make sure you cover or avoid that area, otherwise, your paints won’t adhere to the surface. Using an acrylic or foam brush, finish with 2-3 coats of polyurethane, wax, or earth-friendly bio poly finish to make sure it’s super spill/stain proof and any chalk or dry erase marks can be easily washed off.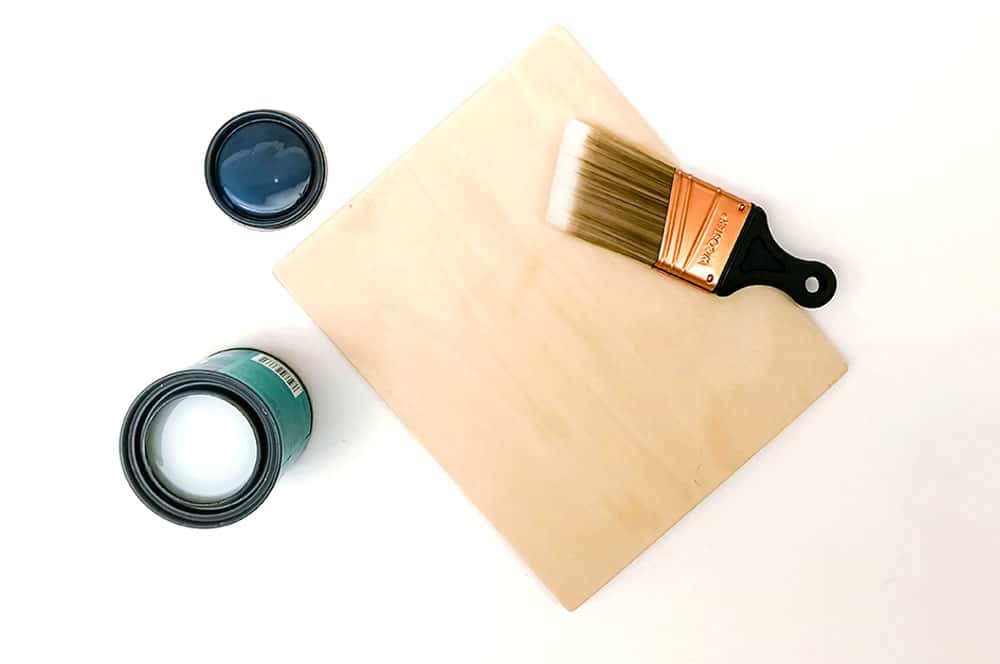
Apply a small dab of gorilla glue (or similar) to your magnets and sink into the holes you’ve made in the top/bottom of your laptop pieces. *Important note: make sure your magnets are facing each other so that they will be attracted when closed -not pushing apart!* Also, a little public service notice – wood glue doesn’t actually work on magnets (learned that lesson the hard way…don’t ask).
Attach the hinges with small wood screws (our hinges came with these). Test out the placement before you screw them in to make sure your tablet will completely open and close. We attached ours to both 1-inch sides so the tablet could be opened to sit flat on the table.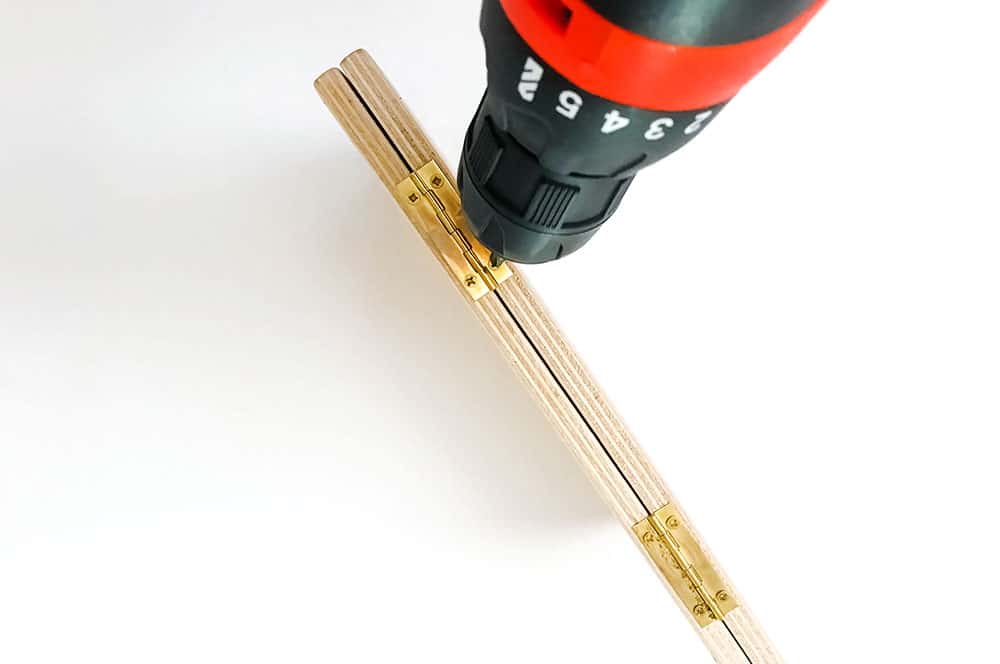
There are so many ways to do this, but we wanted a screen that could be cleaned off and reused, so we painted 2 coats of white chalkboard paint on ours. You can leave it a blank white screen, or paint a simple browser window on with a small brush. 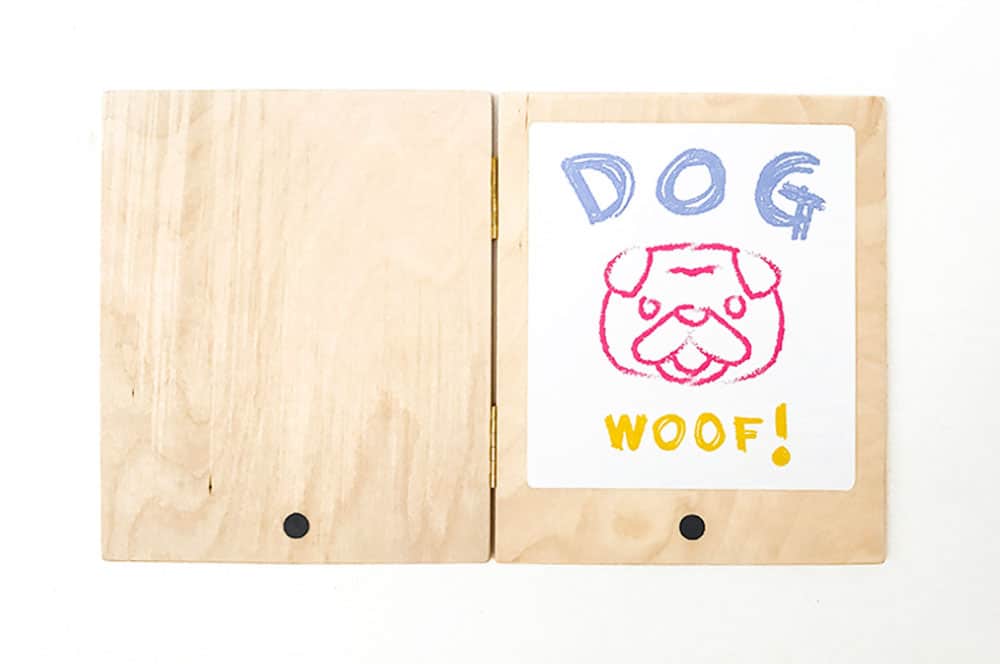
If you’d rather not deal with the mess and drying of paint, you can cut adhesive dry-erase sheets down to size and just stick them right onto the wood! We actually cut a few pieces of these and found we could stick them on, pull them off, and reuse them right over our chalkboard paint.
Your kids can add a logo, name, stickers – anything you can think of to make it their own! We even added a little logo on the back to make ours extra legit.
There’s so much creative and imaginative play to be had – dig right in little techies!
You eagle-eyed readers may have noticed that we made some special stickers for our tablet/laptop. We wanted to give a little shout-out to some companies, websites, and apps we’ve run across or used that are great creative tech encouragers for kids.

It’s only a small sampling of what’s out there, but here are a few of our favorite resources for fostering healthy screen-time habits for kids ages 4 to 18…

*A note about affiliate links: We strive to use simple, earth-friendly supplies that can be purchased locally whenever we can, but sometimes we find the best universally available options, a rare eco-friendly find, or a niche product only available on Blick Art Materials, Amazon, Etsy, or Woodpeckers Crafts. When included in our supply list, these products are affiliate links, and if you click through to make a purchase we receive a small commission that helps us re-order these supplies!
GETTING READY TO TRY this?
I love seeing all the ways people make these ideas their own! If you're sharing the results of one of our projects, mention or tag me with @barleyandbirch, or share it in the comments of one of our Pinterest project pins.

Comments are closed.



It’s a pity you don’t have a donate button! I’d without a doubt donate to this brilliant blog! I suppose for now i’ll settle for book-marking and adding your RSS feed to my Google account. I look forward to new updates and will share this site with my Facebook group. Chat soon!