

These upcycled DIY scrap wood toy cars and trucks are fun handmade miniatures that kids can help make and decorate for small-world transportation play and make wonderful DIY gifts.
“Zip! Beeeeeep! ZOOM! Honk, honk!” The familiar sounds of city streets buzzing with activity!
I don’t know about you, but I’m definitely a “buzzy streets” kind of person.
I have a hard time going to sleep without hearing the low hum of idling trucks, the steady rhythm of trains clanking along the tracks, and the zooming of cars that lulled me to sleep while living in bigger cities.
Use the links below to jump straight to a specific topic of interest in this article…

The sights and sounds of busy city vehicles are a huge part of the “city” experience, so while prepping for some city small-world play, I rummaged around the scrap bin to see what I could use to make a set of miniature motor vehicles.
Press play on the short video below for a preview of our DIY toy taxi in action!
A couple of months ago my uncle (a woodworker extraordinaire!) gifted me a big box of wood scraps that I’ve just been dying to put to good use, and they worked PERFECTLY for this little toy car set!
Of course, my favorite part of this DIY is that it’s a building process your kids can easily take part in or complete independently. Tools aren’t necessary, and you can use pre-cut scraps or prep by pre-cutting and sanding your own before craft time.

Although this scrap wood car and truck tutorial is city-themed, you can absolutely use these same DIY ideas and instructions to make micro machines that fit whatever theme you plan on playing with. From tiny tractors to train cars to trolleys.
Make another kind of artful small-world toy vehicle using the tutorial for our cardboard food trucks, or give your cars a miniature garage in a kid-built city by taking some inspiration from our own recycled cardboard box neighborhood and cardboard city landscape book.
Note: We prefer to shop locally or use what we have at home, but this list contains Woodpeckers Crafts, Etsy, Blick Art Materials, Bookshop.org and/or Amazon affiliate links for reference. As affiliates (and Amazon Associates), we make a small commission on qualifying purchases.*
BASIC SUPPLIES:

Follow our simple step-by-step process to make functional toy cars and trucks for small-world play and an engaging and creative kids’ building project!
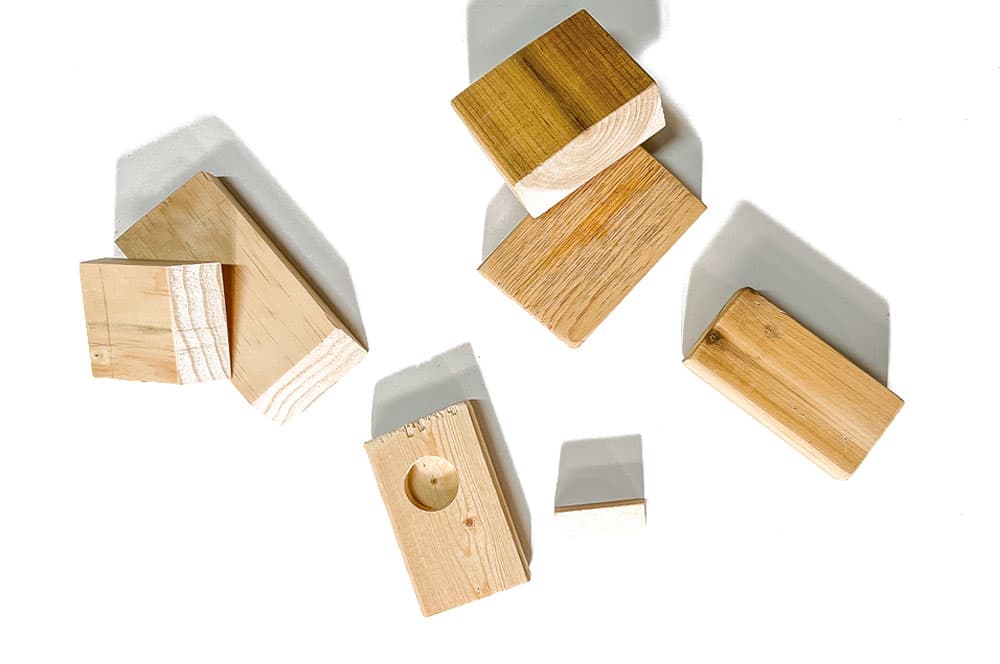
I happen to have lots of wood scraps available, but if you don’t have scrap wood around the house, you can reuse an old set of building blocks or buy a bag of assorted scraps (you truly can find anything on the internet). Aside from trimming a few pieces to get the correct length, I pulled these blocks straight from the box – most of them measure about 1-inch by 2-inch x 4-inch.
If your kids like this kind of scrap wood building and you find yourself trimming lots of smaller pieces of wood often, here’s a handy tool tip: Find yourself a Japanese pull saw! I was having a heck of a time trying to trim these scrappier pieces to the right size using my jigsaw and old hacksaw, so on advice from my uncle, I bought my first pull saw a couple of weeks ago, and it is a GAMECHANGER. It cut my sawing time in half and cuts like BUTTER, so I don’t have to worry about accidentally splitting the wood scraps or really roughing up the edges.

Right from the get-go, you can see how the basic forms of the scraps work together to create fantastic foundations for cars and trucks. Try out different combinations of blocks and play with the different sizes and shapes to make a car body.
There are SO many different styles of vehicles in real life – you can reference pictures or design your dream car.
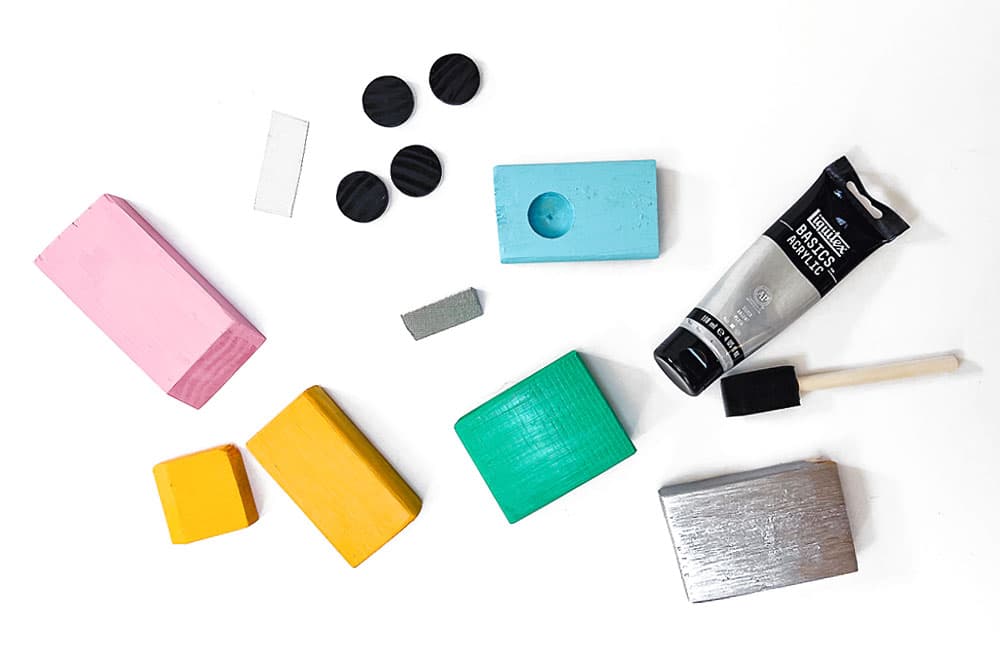
Using acrylic paint and a foam brush, paint your car pieces in various fun colors. Let your kids pick their palettes, then go to town painting. I used pretty basic solids for my own play vehicles, but this is a great opportunity to let loose and go wild if that’s your bag!
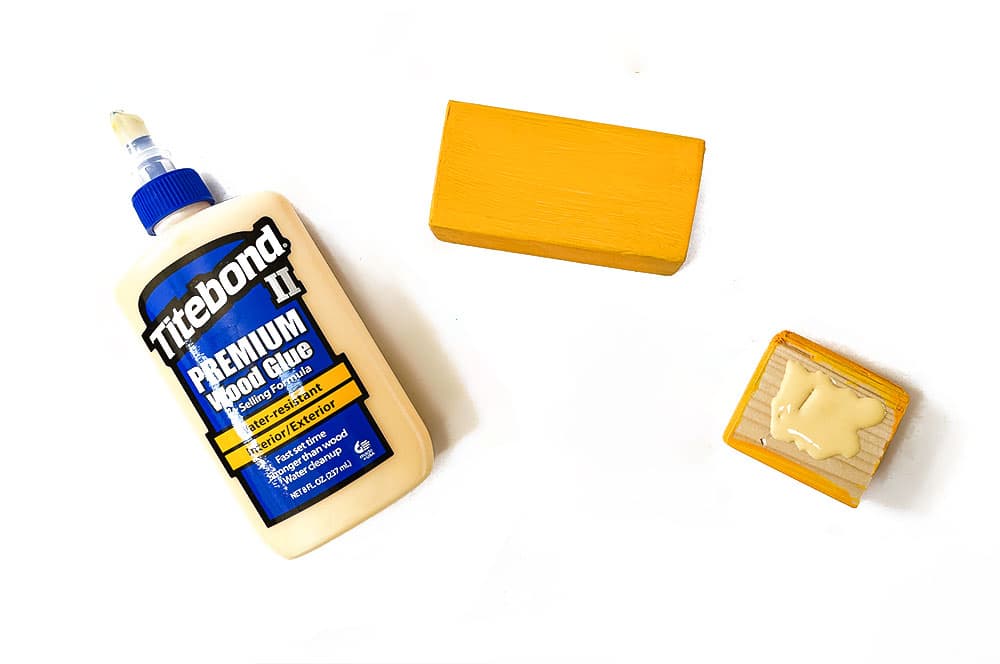
Once dry, glue your cars and trucks together with wood glue, a hot glue gun, or craft glue. I wanted these to be as durable as possible, so I used water-resistant wood glue. It’s not terribly tacky and washes off hands easily, so I think it works well, but If you don’t have wood glue, a hot glue gun or craft glue wood certainly works as well.
Tip: My uncle has drummed it into me, so I’d be remiss if I didn’t mention it here…the best way to ensure an easy cap-opening experience when working with glues? Clean off the tip with a damp paper towel once you finish using it.
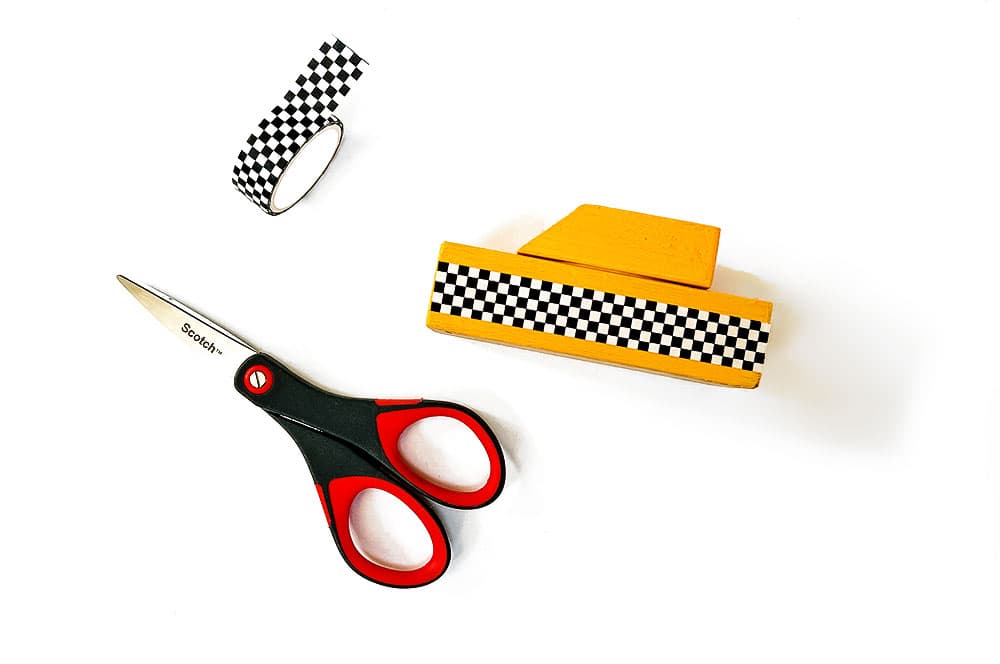
Now, this is where our cars REALLY begin to come to life! It’s time to add the details that make them look like miniature versions of the real deals. For our taxi, for instance, we wanted to add some essential details that would REALLY give it that classic taxi cab look.
For the checkered sides, we used strips of washi tape. Painted square dowel pieces create the headlights and cab light on the roof of our car.
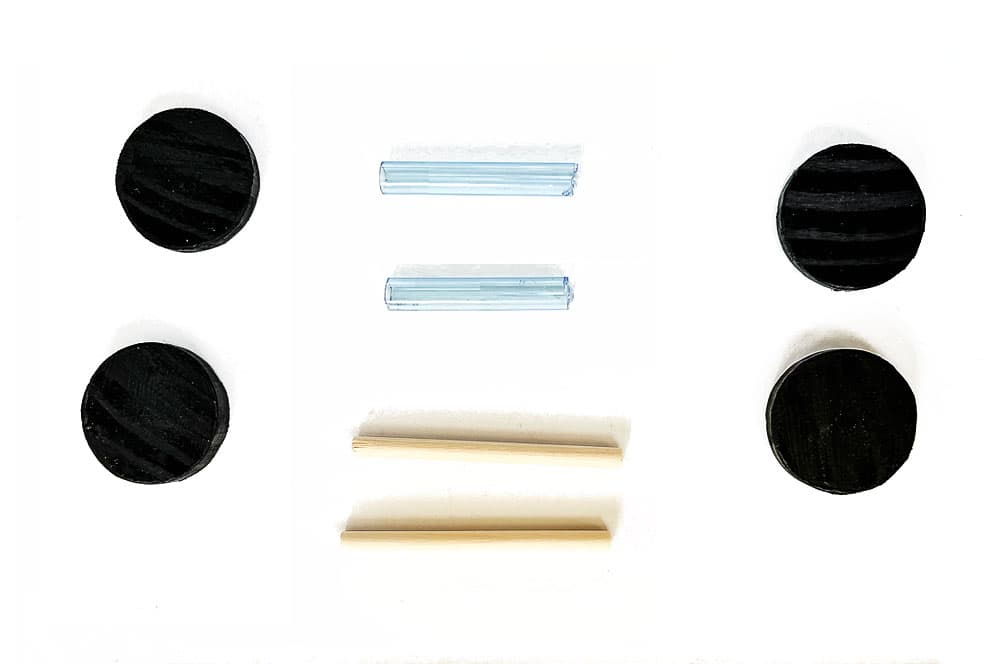
A car wouldn’t be a car without the all-important wheels, right? I opted to try a few different kinds – wood wheels, recycled plastic wheels, moving wheels, and stationary wheels. The working wheels take a bit more time but are well worth the effort, in my opinion – in part because it’s a great engineering exercise for kids.
To create the axles, I used a couple of pieces trimmed from a plastic straw and 2 lengths of craft dowel that were a bit smaller than the straw in diameter.

Using a glue gun or craft glue, glue the two trimmed plastic straw pieces to the bottom of your car. Push your dowels through straws, then glue the bottlecap or wooden wheels to either side.
Tip: Although you can use craft glue, a hot glue gun makes the process much easier because the hot glue dries so much faster. I didn’t have to mess with propping the wheels up or wait for small areas to dry before moving on to the next step.

As a quick alternative to the functional wheels, you can glue plastic bottle caps to the sides of your toy cars instead. I used a hot glue gun to affix recycled water bottle caps to either side of each car. Quick, easy, and just the right scale!
Our fashionable fleet of DIY scrap wood toy cars and trucks is ready to hit the road! One of the best parts of using this as an art project for kids is that THEY get to customize their own little toy vehicle in any way they choose. Do you have a kiddo who is obsessed with Lightning McQueen or wants their own miniature Fast and Furious wheels collection?
Personally, I can not get over our vintage Fisher Price-inspired convertible and mini pink Cadillac (and yes, of course, I WAS singing Aretha’s Freeway of Love while painting).

Small-world play is a wonderful way to introduce little ones to concepts like traffic safety. Cut some out of black construction paper, pull out a few peg dolls, and discuss then practice “stop” and “go” or “walk” and “don’t walk” as their little wooden car winds around the paper roads. You could even make simple cardboard or paper traffic signs.
Vehicles play an important role in our lives. From transit to trash – they all have unique jobs and have different impacts on our environment. I remember this classic Sesame Street truck segment greatly impacting me as a kid. It helped me understand each specific truck’s purpose, and it also got me thinking about how we use them. Building and playing with your own set of vehicles can be a great segue into discussions about ecology and the future of vehicles.
Projects like this one provide a wonderful opportunity to practice cooperation, communication skills, open-mindedness, and respect for the opinions of others.
A miniature toy car racing ramp, a cardboard car garage, a tiny cardboard car wash? You can make them all (and recycle a cardboard box simultaneously!)
Have a birthday party for a car lover coming up? Use these as handmade car-themed party favors or DIY gifts. Better yet, have party-goers make their own toy cars as a creative birthday party activity.
Put a piece of paper in a cardboard box, roll (or drag) the wheels of your miniature cars through a dollop of paint, then take them for a spin over the paper, creating overlapping zoom-y, colorful “tire” marks. It’s a real process art treat for little dragsters!

For open-ended process art play with scrap wood, try making your own scrap wood sculpture project for kids, or an imagination-building thingamaboard (what’s that? Anything you want it to be!). Take your small world play woodworking to the next level with a diverse DIY peg doll set and modern, dreamy DIY dollhouse made from wood scraps – a simple build with stunning results!
*A note about affiliate links: We strive to use simple, earth-friendly supplies that can be purchased locally whenever we can, but sometimes we find the best universally available options, a rare eco-friendly find, or a niche product only available on Blick Art Materials, Amazon, Etsy, or Woodpeckers Crafts. When included in our supply list, these products are affiliate links, and if you click through to make a purchase we receive a small commission that helps us re-order these supplies!
GETTING READY TO TRY this?
I love seeing all the ways people make these ideas their own! If you're sharing the results of one of our projects, mention or tag me with @barleyandbirch, or share it in the comments of one of our Pinterest project pins.


