

Create your own one-of-a-kind Wednesday Addams doll with a little bit of DIY magic! Using our printable plushie pattern, some basic sewing skills, and a bit of paint, you can make your own Wednesday doll and bring everyone’s favorite dark-haired goth girl come to life!
Wednesday Addams – a modern-day icon? Her love of true crime, quick sarcastic wit, and flair for dark fashion have certainly made her a favorite in THIS household for decades.
And who among us hasn’t wanted to vexingly declare, “I’ll clean my room…for your mortal soul…!”. Yes, friends, we are all Wednesday. And now she’s become our new favorite homemade Halloween toy!

With specific design details inspired by Charles Addams’ original cartoon, along with a couple of small nods to classic Tim Burton and vintage Edward Gorey, this squeezable softie Wednesday is a delightfully dark combination of spooky and kooky.
For anyone afraid this might be too advanced, breathe easy – I’m not a naturally-born seamstress (or even at all patient when it comes to sewing). So much like my DIY crab softie tutorial or DIY bean bag gnomes, I used quite a few little hacks that make this an easy parent and kid afternoon project you can complete together.

Make little monsters of a different kind with the tutorial for a handmade vampire puppet, or our DIY monster treat pails. Or use leftover yarn to make a gorgeous spiderweb mobile (inspired by artist Eva Hesse!).
Note: We prefer to shop locally or use what we have at home, but this list contains Woodpeckers Crafts, Etsy, Blick Art Materials, Bookshop.org and/or Amazon affiliate links for reference. As affiliates (and Amazon Associates), we make a small commission on qualifying purchases.*
BASIC SUPPLIES:
OPTIONAL SUPPLIES:
Before you begin, a minor but important prep step: be sure to wash and iron your fabric first – especially if you’re using muslin, you’ll want to soften it up with a wash first.
Another quick note: if you plan on getting kids involved, you might find it helpful to sew the body together, then let them jump in for the painting portion (painting in any way they like – it doesn’t have to look like our Wednesday)!
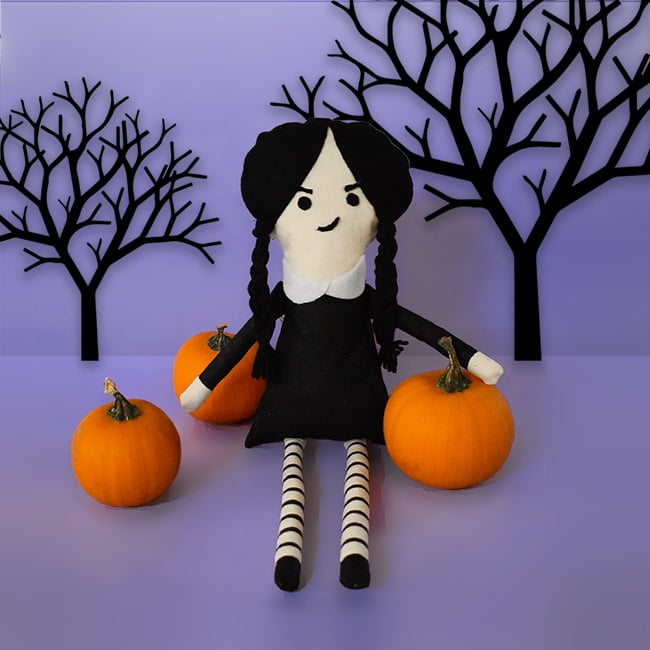
Learn how to make a darling Wednesday Addams doll using our step-by-step tutorial and printable sewing pattern.

Download, print, and cut out our DIY painted doll softie template. Trace the pattern pieces onto your fabric, then cut them out, leaving about a half-inch of extra fabric all the way around the edge.
*NOTE: The hardest part of this project for me was turning the super-skinny muslin arms & legs inside out. If you want to make that portion a little easier on yourself, you can make the extremities a little wider (adding even a 1″ border around the original template would make it very easy – and would still look very cute)!
You’ll be sewing the body, then flipping the pieces inside out for a clean edge, so if you traced the template directly onto your fabric, be sure to stack your main body and individual arms & legs so any pen marks are facing outside and are visible (as shown on our main body above).
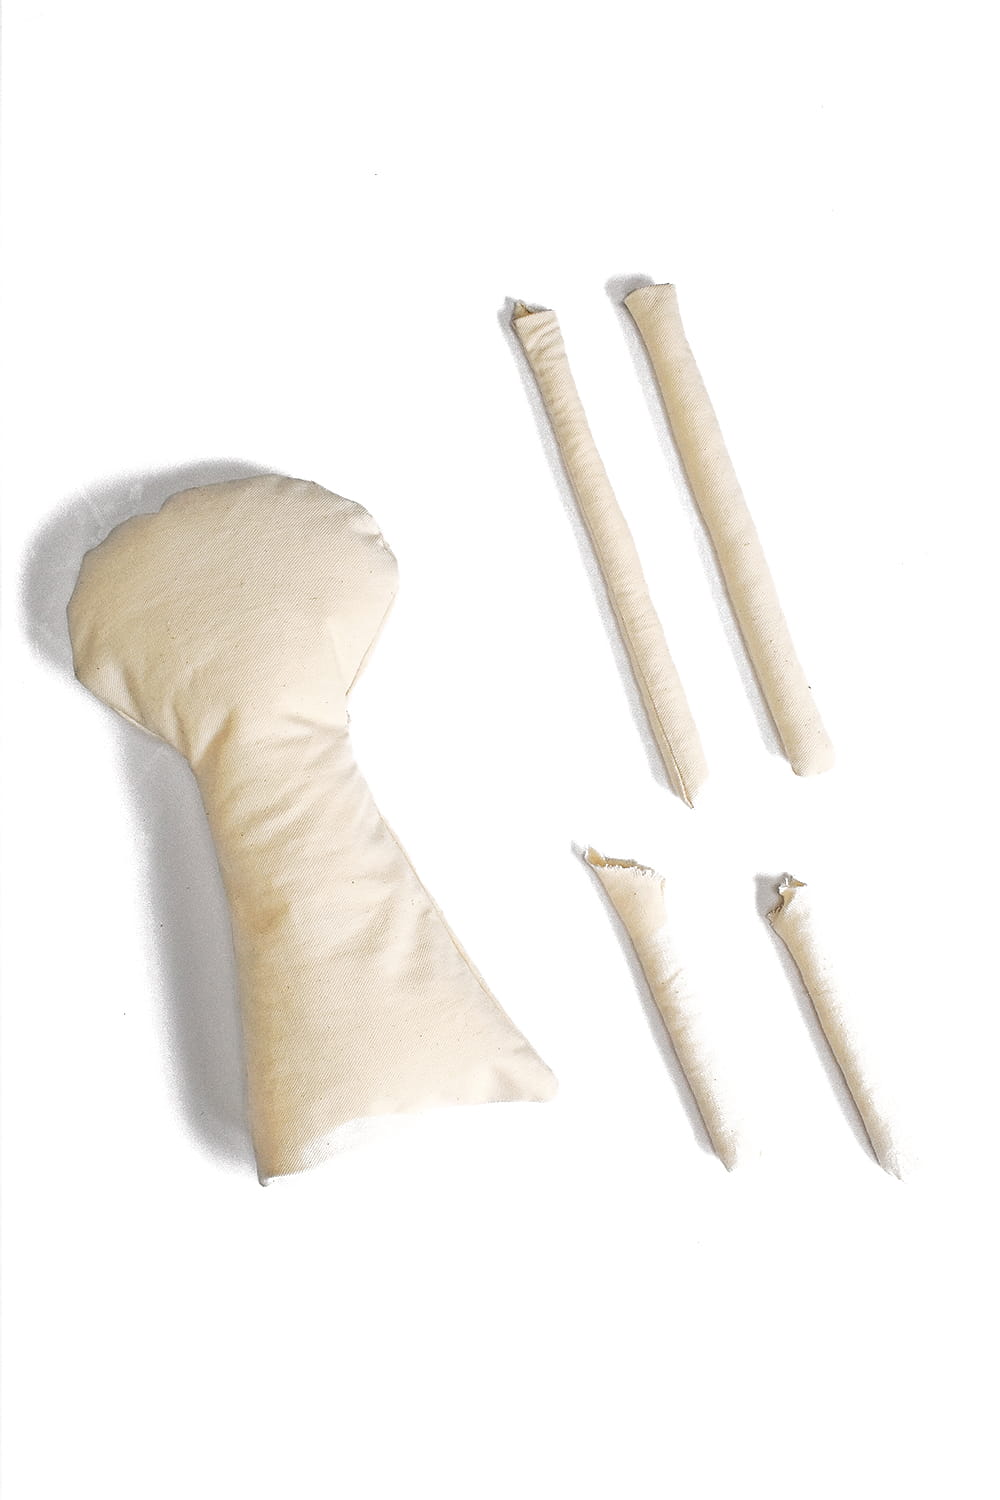
To speed up the process. we used a sewing machine to sew the main body + individual arms and legs. You can hand sew if you’d prefer or don’t have a sewing machine available.
Sew your pieces, leaving one end of every piece open for stuffing. Flip each piece inside out – if your legs and arms are as thin as ours, you can use a pin to help you pull the fabric through. Stuff with polyfill or similar, then sew up the ends of each.

Sew your legs and arms to the body using a simple whip stitch. This is also a good time to add the black felt hair pieces. I used a running stitch and black thread to sew them on.

I tire of sewing quickly (ha!), so I decided to paint on the dress, shoes, and socks. I won’t wash or heavily use my Wednesday, so I used black acrylic paint. If you anticipate needing to wash yours, you’ll want to use black fabric paint instead or mix your acrylic paint with a fabric gel medium.
If your kids are too young for needlework or uninterested in sewing, this is a step they can take over for themselves! Invite them to paint Wednesday’s dress onto the doll, using a basic black OR with other paint colors and patterns, giving her their very own unique style!
Begin by painting the front, let it dry, then flip and paint the back.

Once your paint has dried, you can glue or sew on the two pieces of Wednesday’s white collar.
I added facial features by gluing on two small felt eyes, then adding a mouth and eyebrows cut from black yarn (secured with glue only).
It’s incredible how much a slight change in the expression can change your softie’s entire demeanor, so spend some time playing around with different options and see what you prefer! You can also use paint, buttons, stitches, or a black permanent marker to add your face.

To finish, cut approx. (18-21) 12″ pieces of black yarn to make Wednesday’s braids. Tie a knot at the top, separate it into three sections, and braid. After you’ve braided about 4-5 inches, tie off and cut.
Use the remaining yarn to make your other braid. When both braids are finished, trim any excess from around the top knots, and attach them to the front and bottom of your hairline with a needle and thread.
For the real Wednesday fanatics out there, you can also make a mini headless version to use as Wednesday’s doll Marie Antoinette. You can use this pattern (printed at 50 percent) or our paper people templates to create the basic doll shape. This would also make a wonderful companion project for kids to try sewing on their own.

If you’re making your own Wednesday Addams, you’re either watching the new Wednesday series, or are
Wednesday looks right at home surrounded by this frightful collection of DIY bat taxidermy – perfectly horrific kid-made Halloween decor!

As a special added bonus, our Wednesday Addams plush is part of my friend Trixie’s Sew A Halloween Softie event. Visit her site for over 30 free printable Halloween sewing projects kids can make or help put together!
*A note about affiliate links: We strive to use simple, earth-friendly supplies that can be purchased locally whenever we can, but sometimes we find the best universally available options, a rare eco-friendly find, or a niche product only available on Blick Art Materials, Amazon, Etsy, or Woodpeckers Crafts. When included in our supply list, these products are affiliate links, and if you click through to make a purchase we receive a small commission that helps us re-order these supplies!
GETTING READY TO TRY this?
I love seeing all the ways people make these ideas their own! If you're sharing the results of one of our projects, mention or tag me with @barleyandbirch, or share it in the comments of one of our Pinterest project pins.

Comments are closed.



I love how you’ve painted on the dress, shoes and socks. It’s a great alternative to having to sew on the dress seperately. Makes it quicker and I’d say kids would love the chance to paint them on! Love your Wednesday!