

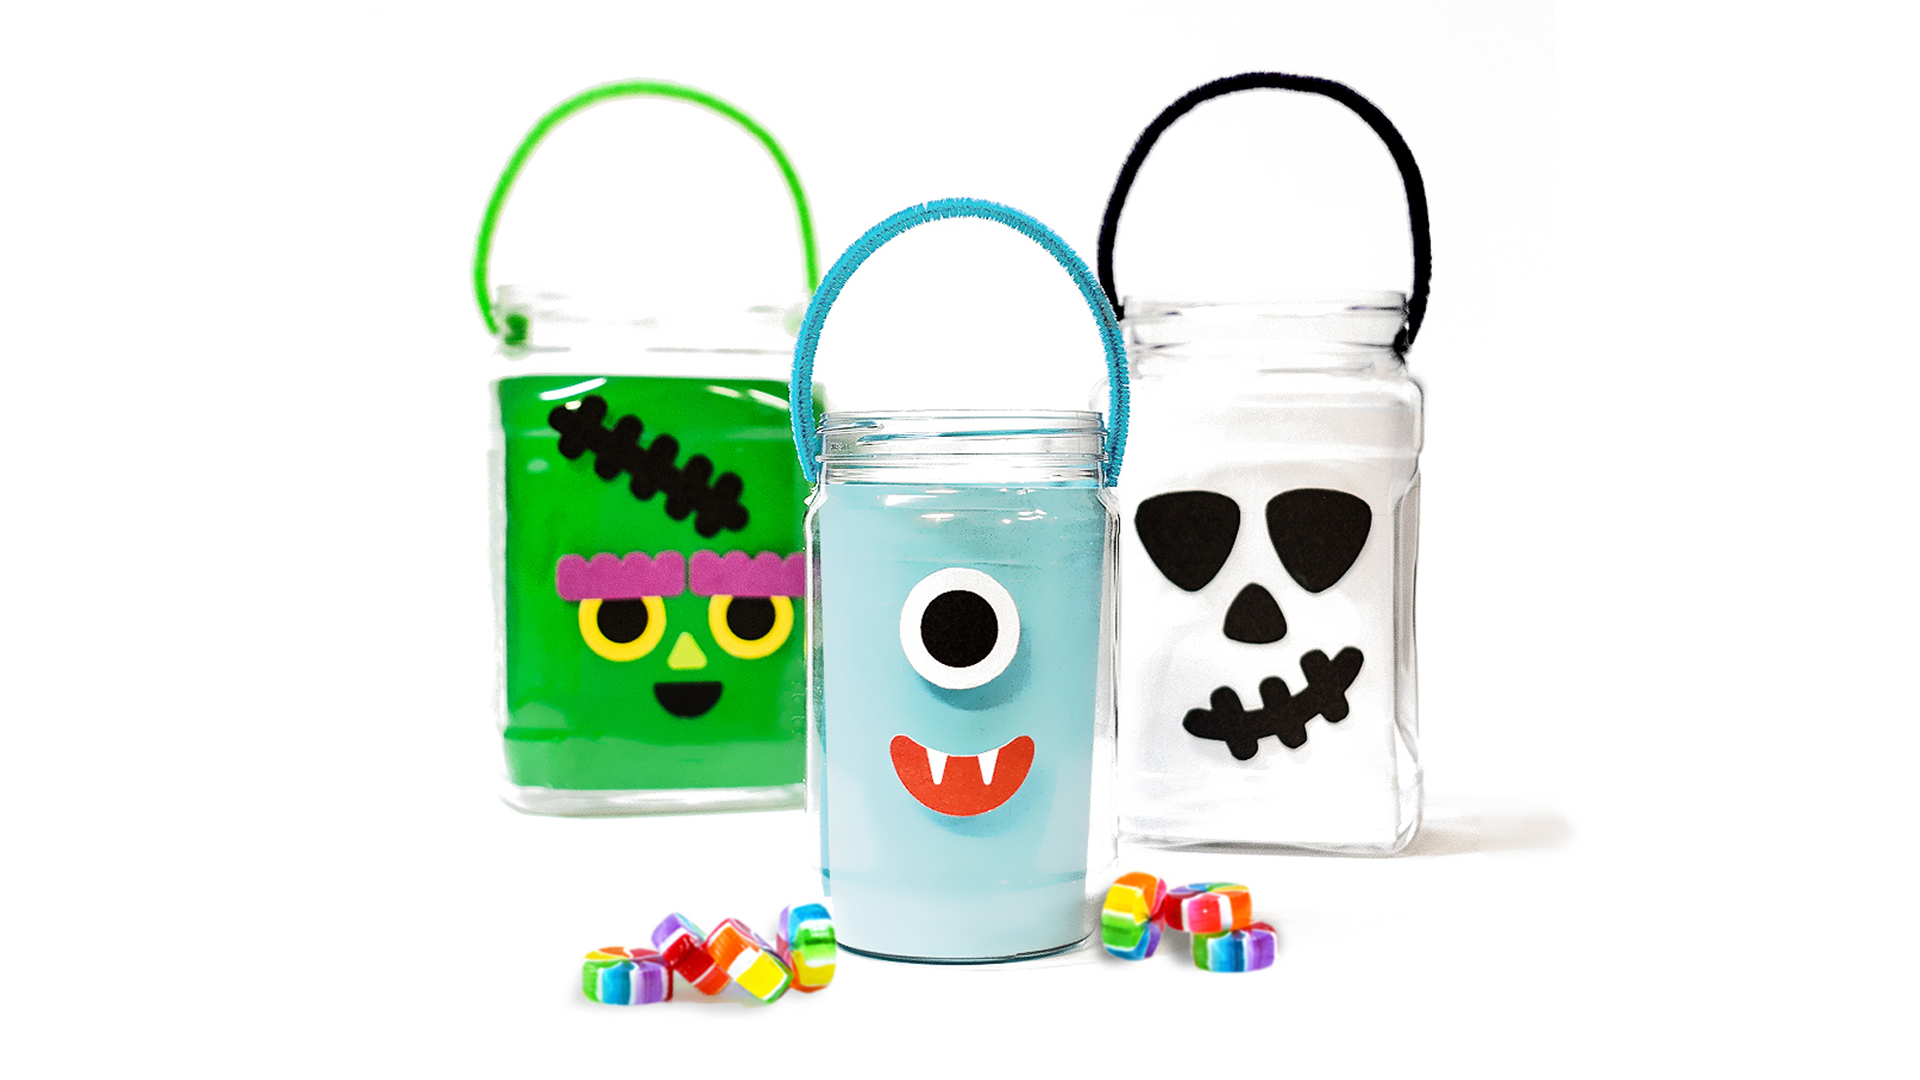
Perfect for Halloween night, these not-so-spooky DIY monster trick-or-treat buckets are not just a fun recycled Halloween craft for kids, but also double as kid-safe lanterns!
I was working in the lab late one night…when I stumbled upon a box of empty plastic containers taking up tons of much-needed shelf space. Oh, the horror!
Having just designed a set of Frankenstein, skeleton, and vampire faces, it occurred to me these ready-for-the-recycling-bin containers could be cleared from the shelves and put to good use as DIY trick-or-treat buckets. The perfect upcycled monster mashup!

They’re quick and easy, don’t require paint or drying time, are durable enough to go door-to-door, and are an absolutely adorable accessory for kids to take trick-or-treating.
Watch the simple tutorial video below for different ways to bring this project to life…
Using a collection of containers (an old peanut butter jar, a recycled nut container, etc.) and a sheet of our printed faces, I whipped up this trio of iconic monsters in literal minutes.

Though I created a printable, using this upcycle as a Halloween art project is a no-brainer. Present paper-lined pails, drawing supplies, and construction paper as an opportunity for kids to draw and cut out their own monster features. Make a mummy teat pail, whip up a werewolf candy collector, or create a creature the world has yet to discover.

For more freaky trick-or-treat night fun, design a pair of your very own chic witch or warlock boots, make black cat luminarias, design a candy mandala, or costume your own paper skeleton decorations.
Note: We prefer to shop locally or use what we have at home, but this list contains Woodpeckers Crafts, Etsy, Blick Art Materials, Bookshop.org and/or Amazon affiliate links for reference. As affiliates (and Amazon Associates), we make a small commission on qualifying purchases.*
BASIC SUPPLIES:
OPTIONAL SUPPLIES:
FOR KID-SAFE LANTERNS:
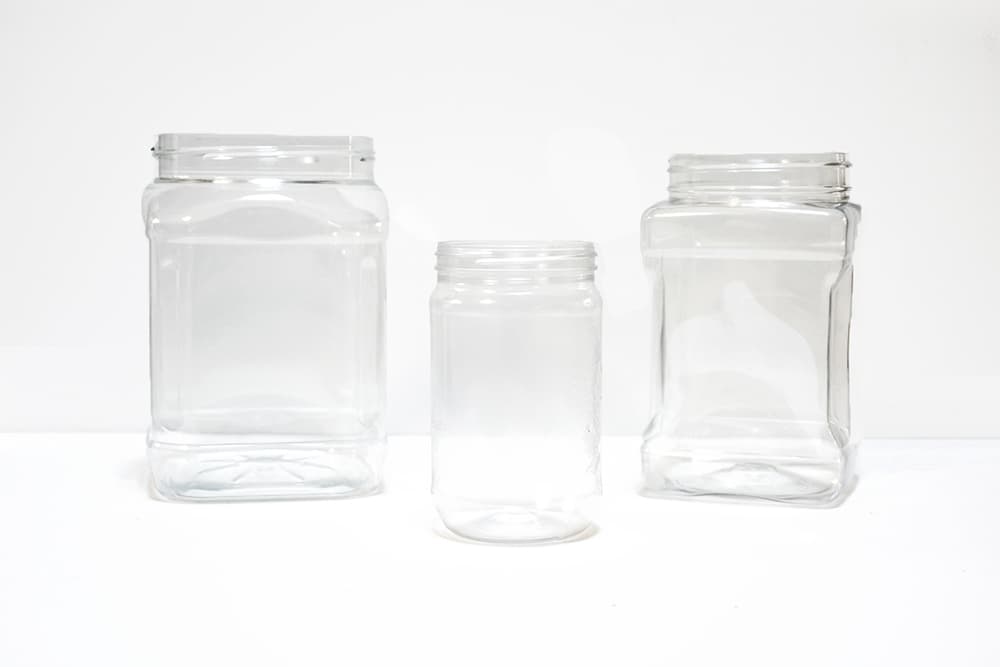
Take a look at some of the plastic containers you have around the house – a peanut butter jar, snack packaging…I quickly found quite a few containers I could recycle into treat pails. You’ll want to make sure they’re a comfortable size for your kids to toss treats into. Prep by rinsing and taking off any labels.
My second step in preparing the containers to become trick-or-treat pails was by drilling two small holes on either side of the top of each jar with a drill bit. We’ll use these for our handle. You can also use a hammer and nail to make the holes, or wrap a piece of floral wire or ribbon underneath the rim and tie the handle to it if you’d like to skip drilling holes.
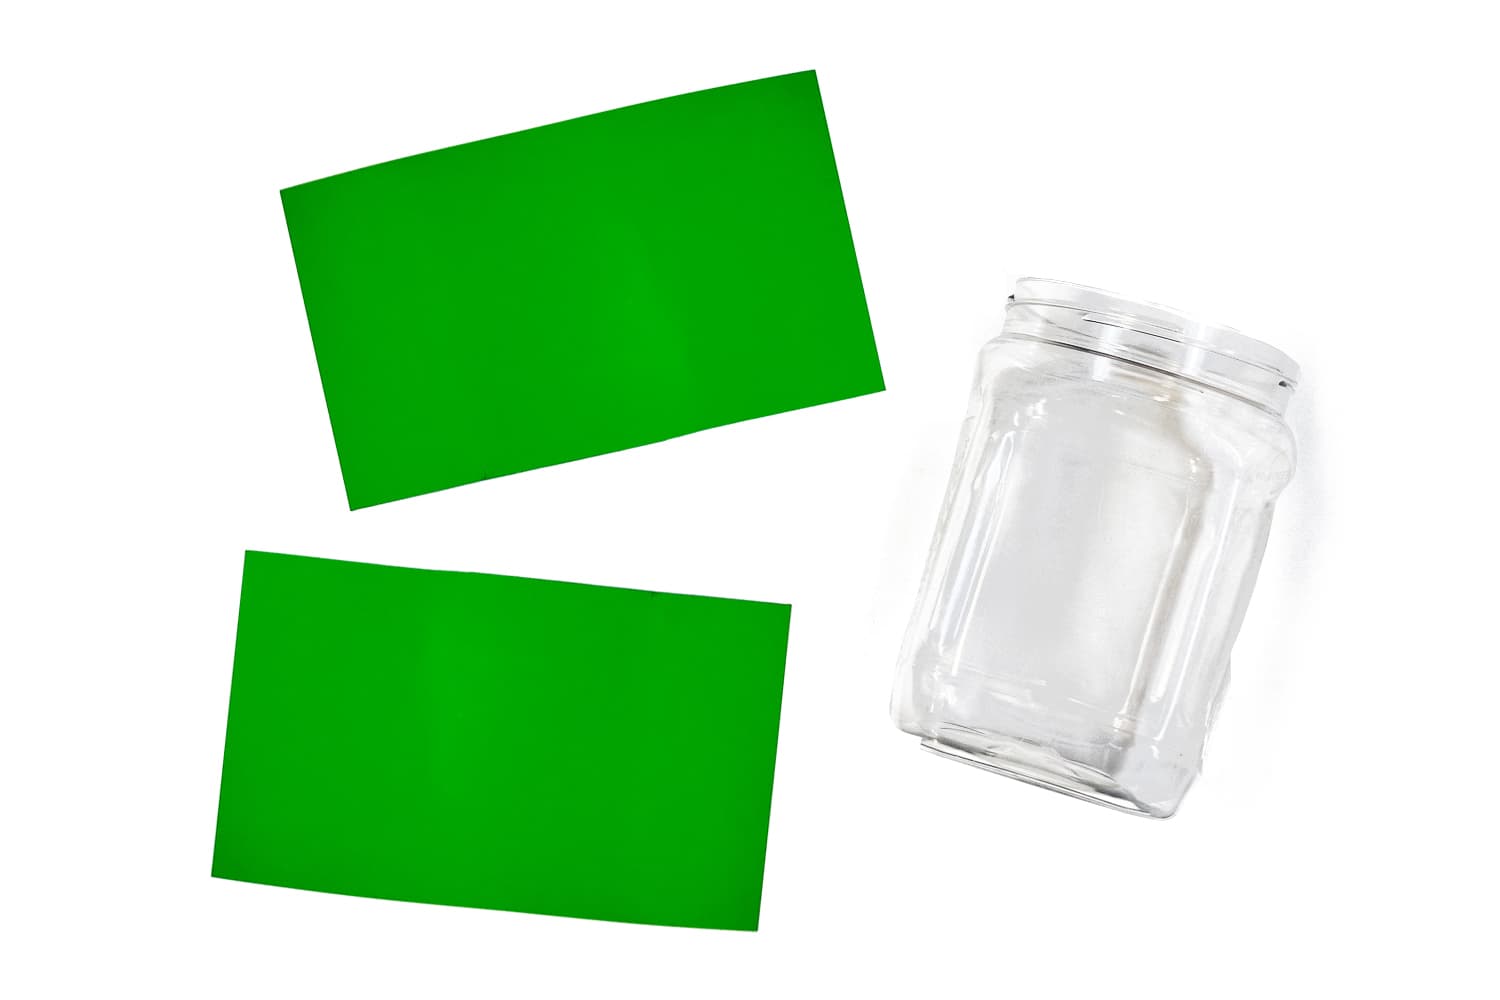
Cut a couple of strips of paper that are the same height as your container to use to line the inside of your monster treat pail.
Insert and secure with a couple of small pieces of clear tape if necessary.
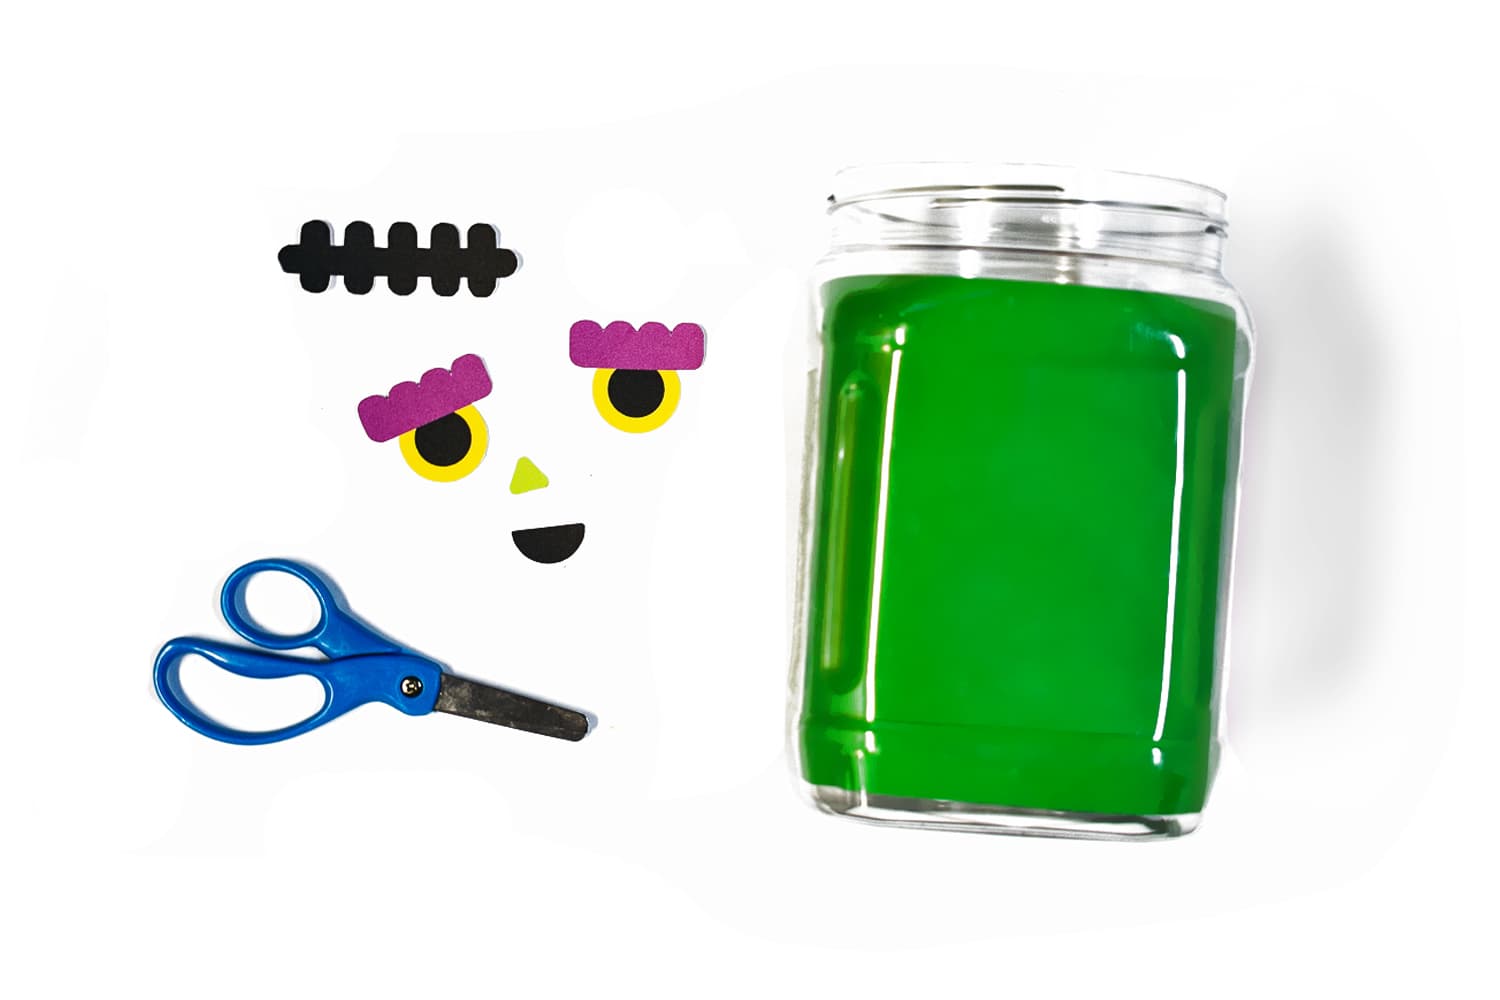
You can download and print our free printable monster trick-or-treat pail templates, or cut out your own monster features!
We used the first page of our template set for all of these treat pails, but if you need a larger size, you can use the second page. For SUPER quick DIY treat pails, print our trim-to-size monster pail template pages. Trim to fit the height of your jar, then slip inside for an instant monster pail!

Use a glue stick to glue your monster’s features to the outside of your treat pail. I noticed a big benefit of using square containers once getting to this step – they sit flat. This is a huge plus if your kids are making these on their own.
Headed outside with these? You may want to use Mod Podge instead of a glue stick for maximum durability.
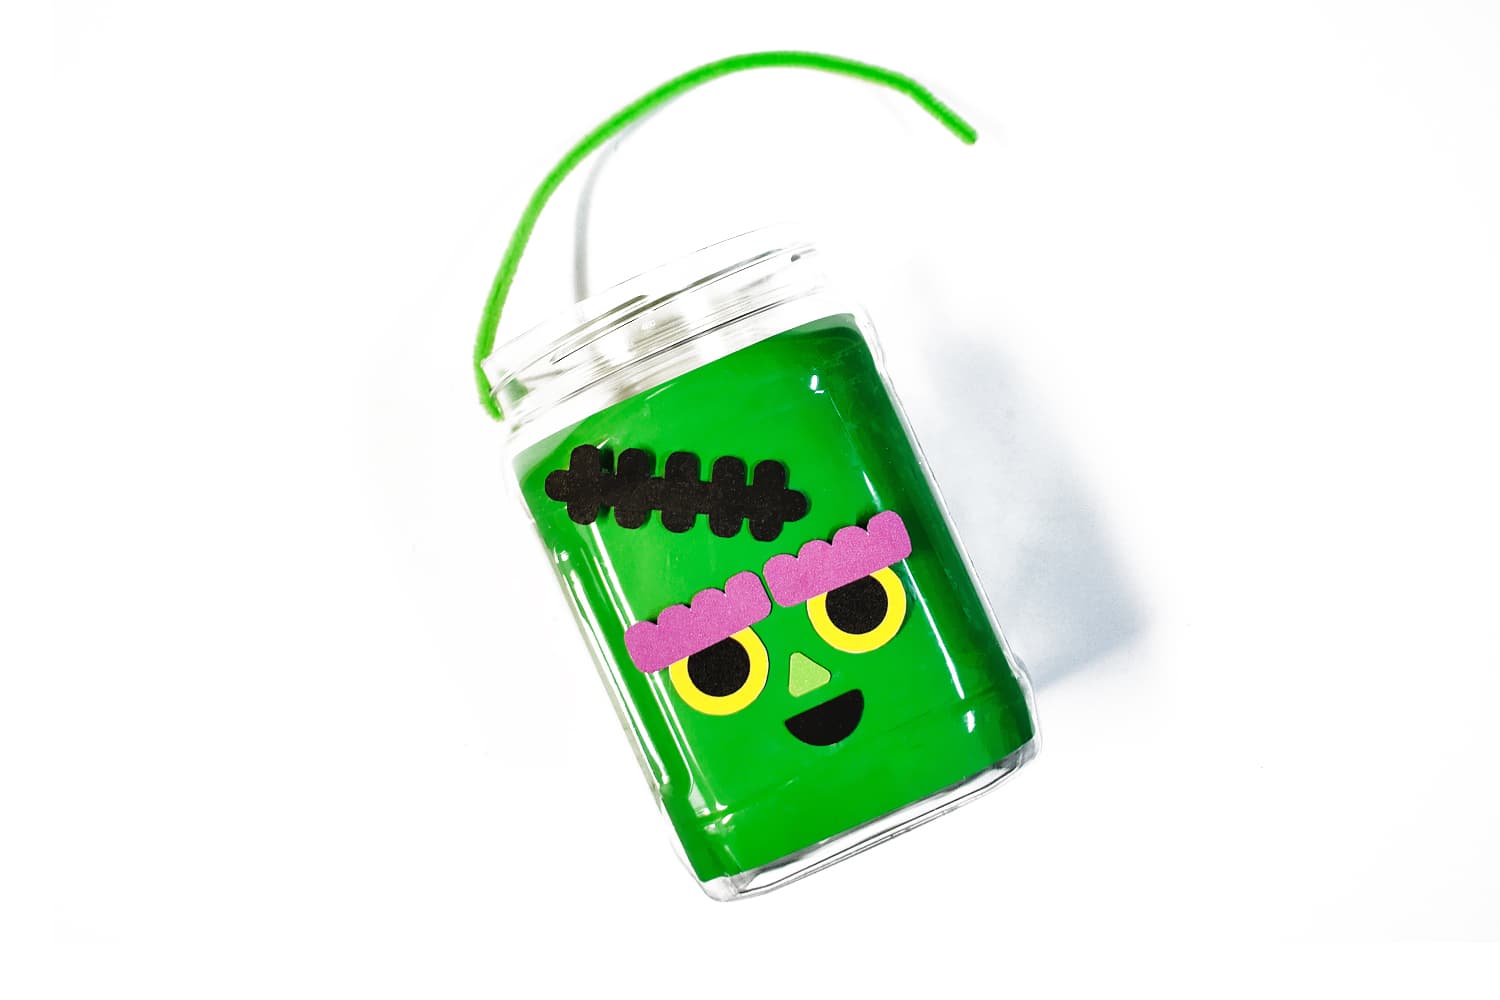
Thread a pipe cleaner or ribbon through the holes on either side of your treat pail rim and tie each end in a large knot to secure.
One recycled plastic container…endless DIY trick-or-treat pail possibilities! With a few simple substitutions, you can use the same process we used for our monster treat pails to make a multitude of handmade Halloween candy buckets!
Here are just a handful of our favorite DIY trick-or-trick bucket ideas…
Line the inside of the plastic container with a piece of orange paper and use black construction paper or paint to create a classic jack-o’-lantern face. Add a green pipe cleaner for a stem handle.
Your little trick-or-treaters can also use these as mini lanterns to light their way on Halloween. Instead of using them for treats, drop a glow stick, flameless candle or tealight in (affixed with a glue dot or piece of tape to hold it in place).
Line your container with black paper (or spray paint) and add green paint drips around the rim on the outside for a bubbling potion effect. Attach a plastic spider or two for an extra creepy touch.
Line your container with black paper and add bat wings cut from heavy black cardstock. For a creepy vampire bat, use white and red paint or paper to create dripping fangs.
Line your container in paper candy corn colors – white on top, orange in the middle, and yellow on the bottom.
Line your container with black paper and use white paint to create a spider web design. Add a big plastic spider, or tie on a pom-pom spider for a 3D effect.
Wrap your container in white fabric strips or white masking tape to create a mummy effect. Add googly eyes peeking out from the wraps.
Line your container with black paper, then decorate the outside with cat ears, eyes, and a mouth. Don’t forget the pipe cleaner whiskers!

These little monster faces can be used on just about anything to add a monstrously cute Halloween touch to favors, treat bags, and more...

For a Halloween activity that you can prepare in a pinch and stuff in your monster treat pails, download our free printable mini Halloween doodle books. Or dress up the cutest set of little haunts with our printable costume-a-ghost sticker set.
And be sure to queue up our Spotify Halloween playlist while you craft – monster-recommended,kid-approved, jams! Or find a new not-so-spooky kids read among our Halloween picture book collection.

*A note about affiliate links: We strive to use simple, earth-friendly supplies that can be purchased locally whenever we can, but sometimes we find the best universally available options, a rare eco-friendly find, or a niche product only available on Blick Art Materials, Amazon, Etsy, or Woodpeckers Crafts. When included in our supply list, these products are affiliate links, and if you click through to make a purchase we receive a small commission that helps us re-order these supplies!
GETTING READY TO TRY this?
I love seeing all the ways people make these ideas their own! If you're sharing the results of one of our projects, mention or tag me with @barleyandbirch, or share it in the comments of one of our Pinterest project pins.


