

Turn a grocery bag into a painted paper bag bear den or cozy miniature cave for hibernating wildlife and other small-world play setups with this easy DIY.

Autumn is turning to winter here in our neck of the woods, and the urge to curl up and hibernate is back with a vengeance! The long, dark evenings are a good excuse to curl up with a blanket and whip up some fresh wintery tabletop activities and play accessories.
Play the preview video below for a peek at our play setup…
Inspired by the season (and some local bear sightings), we’re exploring the lovely scenery of Canada this week with a trip to the Great Bear Rainforest of British Columbia, hoping to spot the elusive Kermode bear.
The second leg of our journey takes us to the frozen coasts of Northern Manitoba for a visit to the Polar Bear capital of the world.

I should be clear right off the bat that this specific bear cave was made for durability and LOTS of play usage over time – it’s designed to be tough.
If you’re looking for the 30-second process, you can make a fantastic cave from a paper bag by crunching it into a ball, opening it back up, and laying it on its side next to other play supplies.
There is a lot of magic in that kind of simple little den, and as long as you’re not interested in a more permanent play accessory, it definitely gets the job done.

Our rock-like paper bag cave makes the perfect bear den (and holds up to bears inside, bears on top, bears all over!). Using a doubled-over thick grocery bag and a simple stiffening agent makes this bear den incredibly sturdy so kids can play with it over and over.
For another woodland kids’ craft, use a shoebox and nature supplies to make a miniature hibernaculum, or build a tabletop winter sensory garden.
Note: We prefer to shop locally or use what we have at home, but this list contains Woodpeckers Crafts, Etsy, Blick Art Materials, Bookshop.org and/or Amazon affiliate links for reference. As affiliates (and Amazon Associates), we make a small commission on qualifying purchases.*

This tutorial will guide you through the process of creating a miniature bear cave using a paper bag, perfect for sparking imaginative small-world nature play in kids.

Cut open your paper bag, trim off the bottom and any handles, and spread it open – printed side up. Brush with glue (I used school glue and brushed it to the edges with a foam brush).
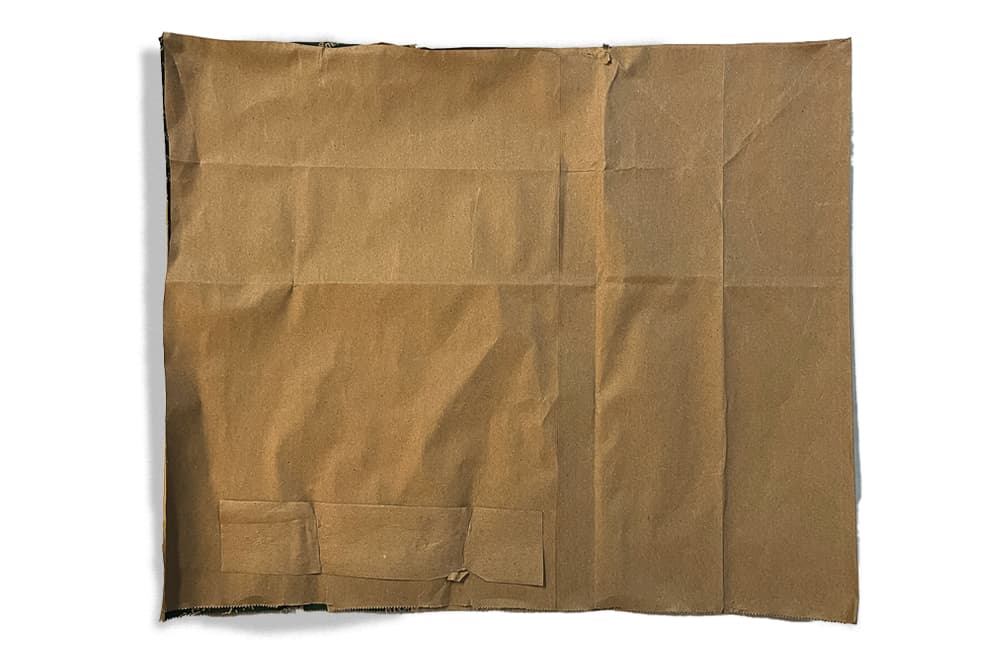
Fold the bag in half and give the glue about 5 minutes to set before moving on to step 3.
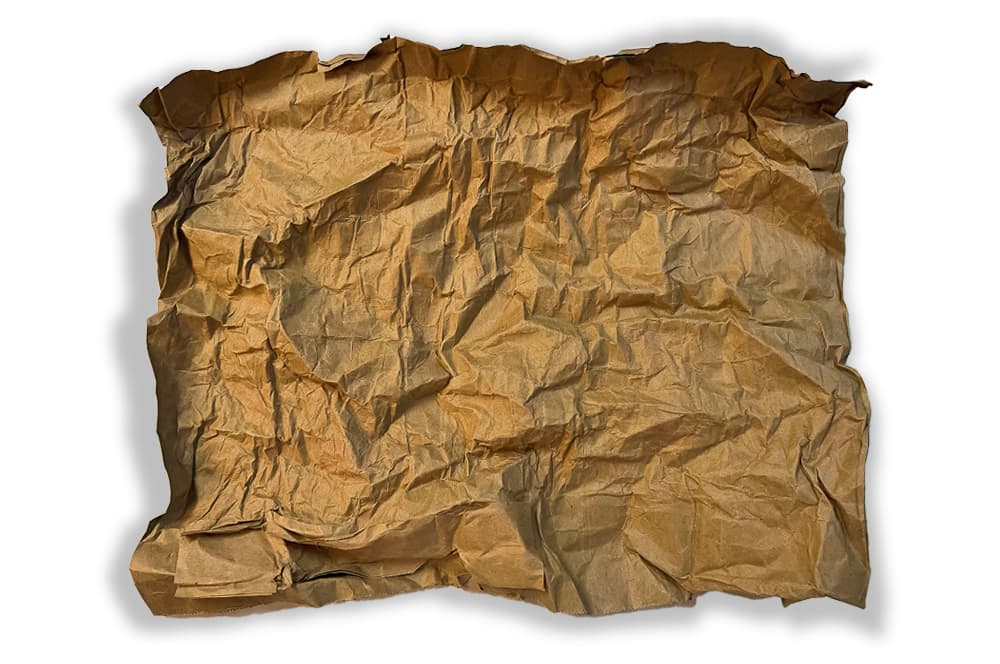
Gently roll, twist, and scrunch the paper bag to soften it. This gives it a great rocky cave-like appearance, but also makes it easier to shape.
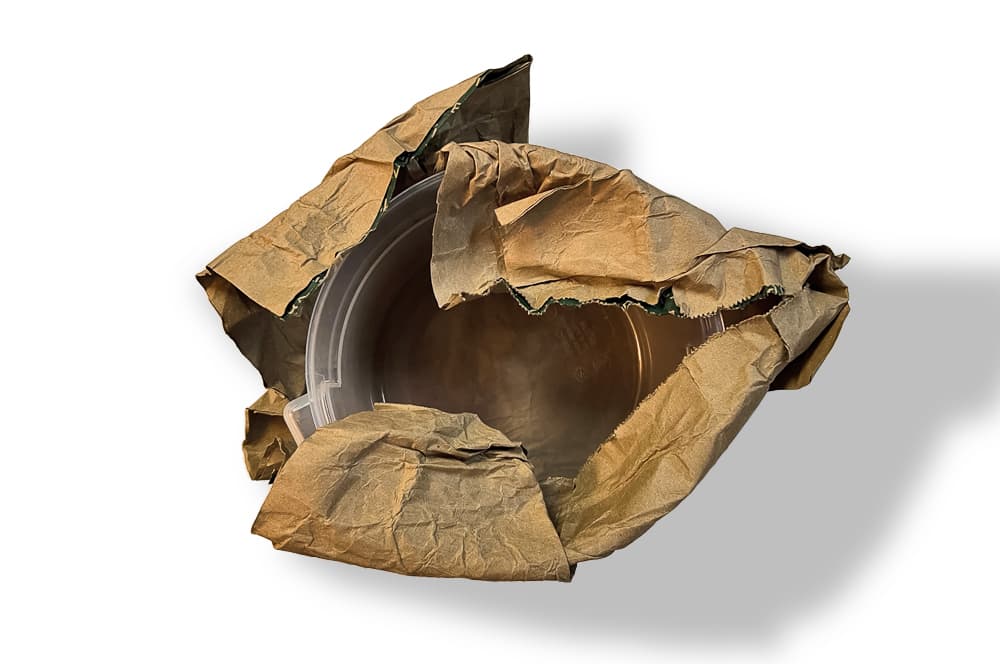
You can use a small to medium-sized bowl as a form for your cave. Mold your paper bag around the sides of the bowl, folding as needed (a bit like wrapping an awkward present).
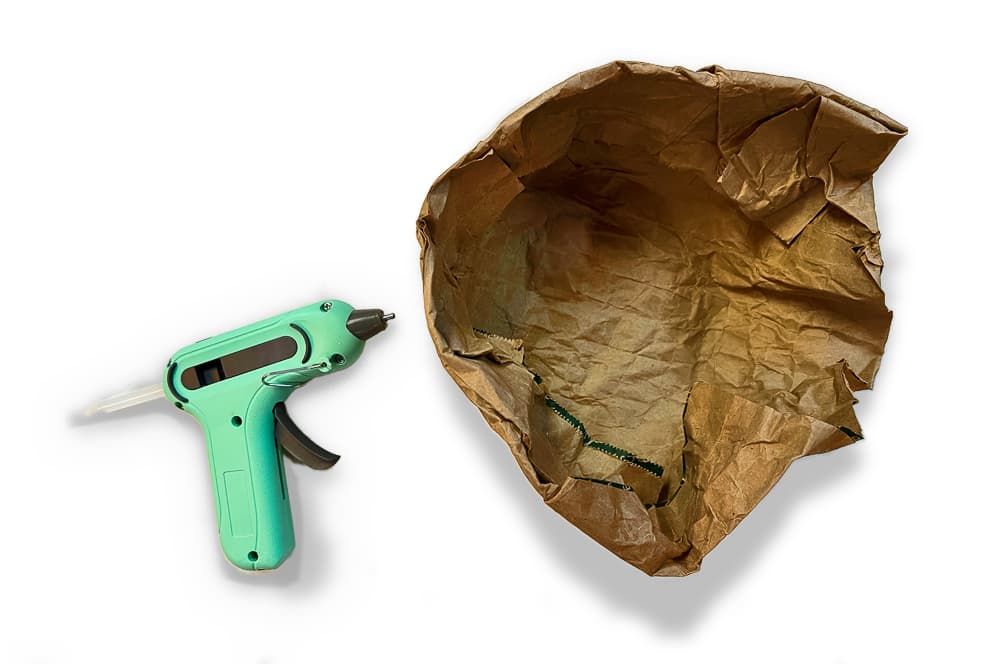
Take your shaped paper bag off of the bowl and use a hot glue gun to glue the folded sides in place.
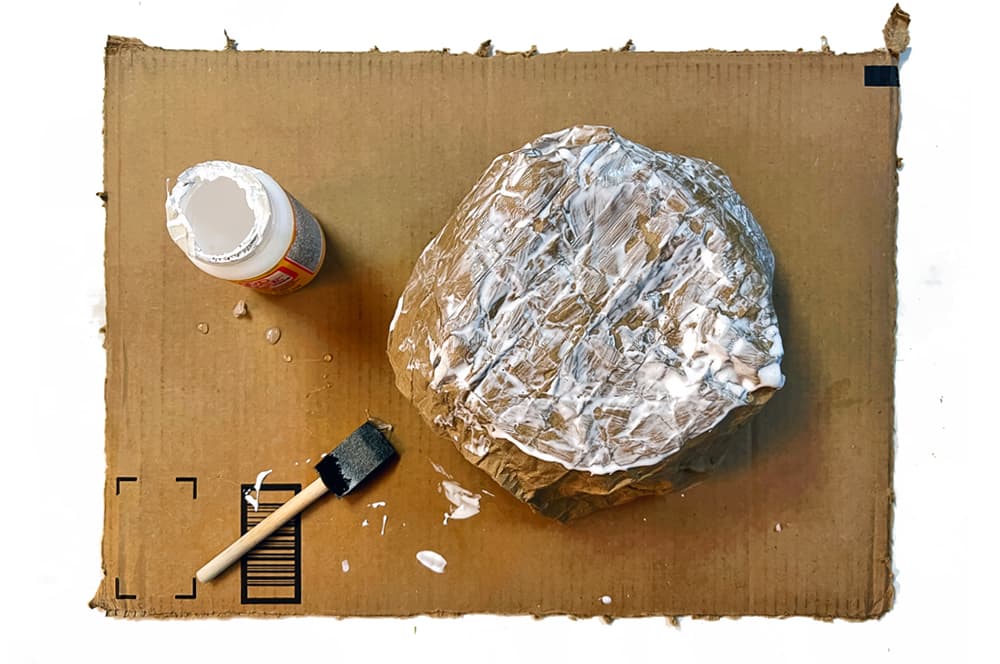
To help your cave keep its shape, brush the top with a coat of Mod Podge or clear school glue. Once dry to the touch (typically after 10 minutes, but you can use a hairdryer to speed it up), flip it over, and do a quick brush of Mod Podge on the inside as well.
The brown paper bag is a fine color for a bear den, so you can skip painting, OR try adding some extra color and texture as we did.
Brush or sponge paint onto your cave, then let dry. We brushed on a layer of dark grey acrylic paint, then dapped a lighter gray over top with a sponge.

You may have a set of miniature toy bears or wooden bears you play with, but for a *bonus* art activity, you can try sculpting your own set of bears.
These two chonky bears were made with polymer clay and baked (only because I had some I wanted to use up). You could use air-dry clay or modeling clay instead, it will just take a bit longer to dry.
Whatever clay you use, you can finish by painting with watercolors or acrylic paints. Our bears actually came out of the oven with some cool color markings, so I opted to skip any paint and enjoy the lovely natural color.

Half the fun of any small world is putting it together, right? A combination of miniature pine trees, bottlebrush trees, and natural materials from the backyard gave us the exact autumn and winter landscapes we were looking for.
Just like stumbling upon a magical corner of a tiny enchanted bear-filled forest, isn’t it?
Beyond bear play, this mini cave would make a great accessory for play with our handmade pixie peg dolls, the perfect lair for a sleepy dragon, or a forest gnome hideaway.

We typically think of bears as the quintessential “hibernators,” but did you know some bears (polar bears, for example) don’t hibernate over winter? Although they DO have dens, they don’t need to hibernate due to how they’ve evolved, with their thick white coats and how their bodies store energy.
You can use your dens to discuss which bears hibernate when they head in, and how they know it’s time to wake up for spring. Explore the spaces bears use for dens and how they stay warm all winter. And there’s no need to stick to bears!
Maybe you’ve made a paper bag fox den or winter home for wolves (two more animals that have adapted to winter and don’t need to hibernate).
Children can enact stories or create their own tales using the paper bag den and a toy bear or bear figurines, enhancing their creativity and storytelling abilities while reinforcing their knowledge of bear behavior.
You can add small accessories to your scenes to create more storytelling opportunities. Things like a flameless tea light to use as a campfire inside your bear cave, a paper or glass bead river, or cotton balls or felt to use as snow.
As another variation, kids can put on a fall woodland puppet show using cut-out bear shapes as stick puppets or shadow puppets.
Fill your miniature den with different natural materials, like leaves, pine cones, or faux fur, and let children reach in without looking, describing what they feel. This activity can help improve sensory skills and descriptive vocabulary.
Create a miniature nature scene, complete with your mini bear cave, fall leaves, felt pieces, or other fall small-world play accessories. Gather some toy animals and hide them under the leaves, in the cave, or wherever animals may naturally hibernate.
Invite kids to guess what kinds of animals they might find and where they might be, then let them search around the small scene to find each one.
You can also try a life-sized version of this (…see below!) and have kids role-play specific animals while one person goes on a hibernation search to find everyone.
Once you’ve finished building your cave small worlds, make life-sized bear dens with a big cardboard box (here’s a good example) or blankets and pillows like this cool under-the-table bear lair.
This mini bear cave is a wonderful prop for “bookish” play and pairs well with any of these lovely picture books about the hibernation habits of bears…
Note: We prefer to shop locally or use what we have at home, but this list contains Woodpeckers Crafts, Etsy, Blick Art Materials, Bookshop.org and/or Amazon affiliate links for reference. As affiliates (and Amazon Associates), we make a small commission on qualifying purchases.*

For more creative ways to recycle paper bags into creative kids’ projects, check out our adorable stuffed paper bag acorns or drop by the tutorial for paper bag mushrooms.
*A note about affiliate links: We strive to use simple, earth-friendly supplies that can be purchased locally whenever we can, but sometimes we find the best universally available options, a rare eco-friendly find, or a niche product only available on Blick Art Materials, Amazon, Etsy, or Woodpeckers Crafts. When included in our supply list, these products are affiliate links, and if you click through to make a purchase we receive a small commission that helps us re-order these supplies!
GETTING READY TO TRY this?
I love seeing all the ways people make these ideas their own! If you're sharing the results of one of our projects, mention or tag me with @barleyandbirch, or share it in the comments of one of our Pinterest project pins.


