
Once a year, we do a little time traveling with some of our besties & celebrate a spirit week inspired by another decade. THIS year, we’re headed back to the ’90s and wanted to kick it off with an after-school snack box full of throwback surprises…
Way back in my kid years, when I was still just experimenting with simple cooking, I was gifted the “Better Homes and Gardens Step-by-Step Kids Cookbook“. It was filled with 2 or 3-step recipes and was where I first discovered the joy of mini snack “hamburger” cookies.

A few years later, my sister and I would get a Mcdonald’s Hamburger Maker (do you remember those?!). Ironically, neither of us have ever eaten much meat – but for whatever reason, those darling little faux hamburgs left a lasting memory.
The OG recipe called for a York Peppermint Patty “patty,” and honestly, it was like WHOA – SO. MUCH. SUGAR. So I made up a mixture of VERY basic ingredients and melded my favorite bits and pieces of those childhood burger-themed treats to create this DIY ’90s-inspired snack – complete with a colorful two-tone DIY snack box!

These hamburger cookie treats are a super fun snack for kids to make themselves, especially at slumber parties, after school, or during kid-friendly cookouts.
They also have some protein, fiber, and less sugar than most cookies or processed snacks. And they pair perfectly with our healthier versions of homemade Ecto-Cooler and DIY Pop Rocks punch (total throwback!). So gather the kiddos and get ready to relive one of my classic ’90s snacks…
“Reader 1, Reader 1 – your ’90s meal is ready…!”

BASIC INGREDIENTS:
OPTIONAL INGREDIENTS:


Prep by making your “lettuce” first so it’s ready to go. In a small bowl, combine a 1/4 cup of shredded coconut and 2-3 drops of green food coloring (add more as desired). Once you’ve stirred until evenly green, your “lettuce” is ready to go!

Start by roughly crushing about 2 cups of Rice Krispies (or similar). You don’t want a powder, just slightly smaller bits. I poured the cereal into a baggie and then crushed it with the flat side of a mixing spoon, which worked well.
Pour into a small bowl, and stir in peanut butter until your mixture sticks together and holds form. Add about a 1/2 teaspoon of water, and 1 teaspoon of cocoa powder, stirring until thoroughly combined. If you’d like to add protein, you can mix in a tablespoon of protein powder. Form into small patties.

To really give these the royal hamburger treatment, brush half of your wafer “buns” with the tiniest bit of water, then sprinkle a few sesame seeds on the top. Looks just like the top of a real hamburger bun, right??

It’s time to begin building the hamburgers, so grab a vanilla wafer to use as your base bun and build it just as you would a real hamburger. Starting with a flat-side-up wafer, add a patty, dot with some red and or/yellow icing “ketchup” or “mustard,” sprinkle on some lettuce, and top with a seeded wafer.

If you’re serving these as to-go treats, you can cut a few small 5″x5″ squares of colorful tissue paper, wrap the burgers up and hold them together with a fun sticker! If not, you can save some paper and create a build-your-own-burger bar by serving the individual ingredients in small bowls.
How incredibly cute are these tiny “hamburger” treats?!?
The wrapped burgers served in a two-tone treat box take these right over the edge and make them a memorable to-go party treat or surprise snack. Scroll down for the full instructions!


DIY Snack Box – Step 1: Download and print out our ’90s Meal DIY Snack Box Template, then cut out as indicated.

DIY Snack Box – Step 2: Use an X-Acto knife to cut out the insides of the handles as indicated (note: 1 handle isn’t cut all the way around so it can close the box, and a dotted fold line is shown).

DIY Snack Box – Step 3: Once your 2 pieces have been cut out, fold along all fold lines. For super clean, straight fold lines, fold along a metal ruler or similar straight-edge. Once you’ve made your initial folds, you can run the flat end of your X-Acto knife along the folded edge (applying moderate pressure) to give it an extra sharp finish.

DIY Snack Box – Step 4: Add glue on the tabs on the right side of both pieces. Align and join the 2 pieces together to create your box.
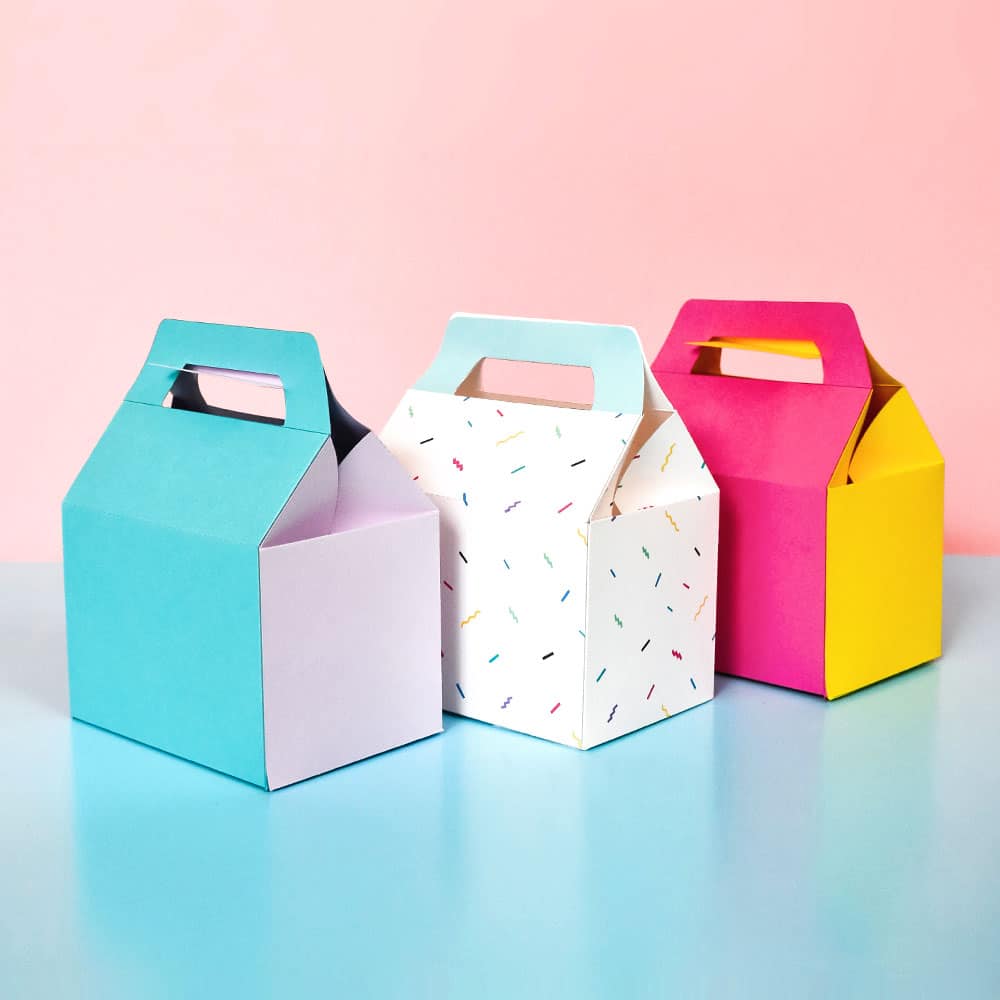
DIY Snack Box – Step 5: Fold the bottom of your box by pulling the “barley & birch” tab inward first, fold the 2 short sides on top, then fold down the last tabbed side. Tuck the flap underneath to create the bottom.
To keep the bottom of your treat box from opening, place a strip of strong, clear tape on the inside (you can add a piece to the outside as well for extra reinforcement). You can decorate your box with a little ’90s flair in the form of these free printable DIY slang stickers too!

“Can I get fries with that….?” Hamburgers and fries go hand-in-hand, right? Pair your mini hamburger treats with these healthy homemade “french fry” snacks:
For a warm fall treat, brush these with a bit of melted butter, sprinkle with cinnamon, and bake on a cookie sheet at 300 degrees for 10-15 minutes. Mmm…so good, and they have a hint of brown, just like the real thing!


Comments are closed.


Thanks for the great informational article about custom snack boxes.