

A few springs ago, I was inspecting the garden in the backyard when I heard the faintest little chorus of “cheep! cheep!”‘s coming from…somewhere….!
As I wandered around the yard, the sound grew louder until I finally found the source in a small hole in the trunk of an old tree. Too little to notice from the outside, a woodpecker had moved in, made a nest, and hatched a gaggle of noisy (hungry!) little baby birds.
Inspired by that pleasant backyard surprise, I made my own bright little birdhouse that’s hiding a surprise! And almost every piece of this happy home is a recycled supply – right down to the nest and baby birds inside – so you don’t have to run out to buy a THING!
Press play below to see the surprise hidden inside our birdhouse!
Be still my heart – check out that little cheeper in its festive nest! There’s nothing I love more than a craft that reveals projects and play opportunities beyond what you see at first glance. Because this birdhouse slides open and closed, it can be used again and again for play or bird-themed creation and art-making.
Your kiddos can make different types of birds or decorated eggs to tuck inside, use it to stash other kinds of spring surprises, or even turn it into their own DIY nightlight (keep reading for the simple supply swap!).
This is also a great project for siblings of different ages to work on together. The birdhouse build is fun for older kids to put together, while little ones will love the invitation to create a bird’s nest.

For more recycled spring animal crafts, learn how to make our (floating!) egg carton cup ducklings for an adorable spring sensory bin, or get your nature art on with a sweet spring fawn made from a cereal box and sticks!
Note: We prefer to shop locally or use what we have at home, but this list contains Woodpeckers Crafts, Etsy, Blick Art Materials, Bookshop.org and/or Amazon affiliate links for reference. As affiliates (and Amazon Associates), we make a small commission on qualifying purchases.*
BASIC SUPPLIES:
FOR THE PAPER BAG BIRD NEST:
OPTIONAL:
Use a ruler to measure approximately 4 inches up from the bottom of your juice carton (a milk carton works too!). Make a cut line all the way around the outside of your carton with a permanent marker or pen.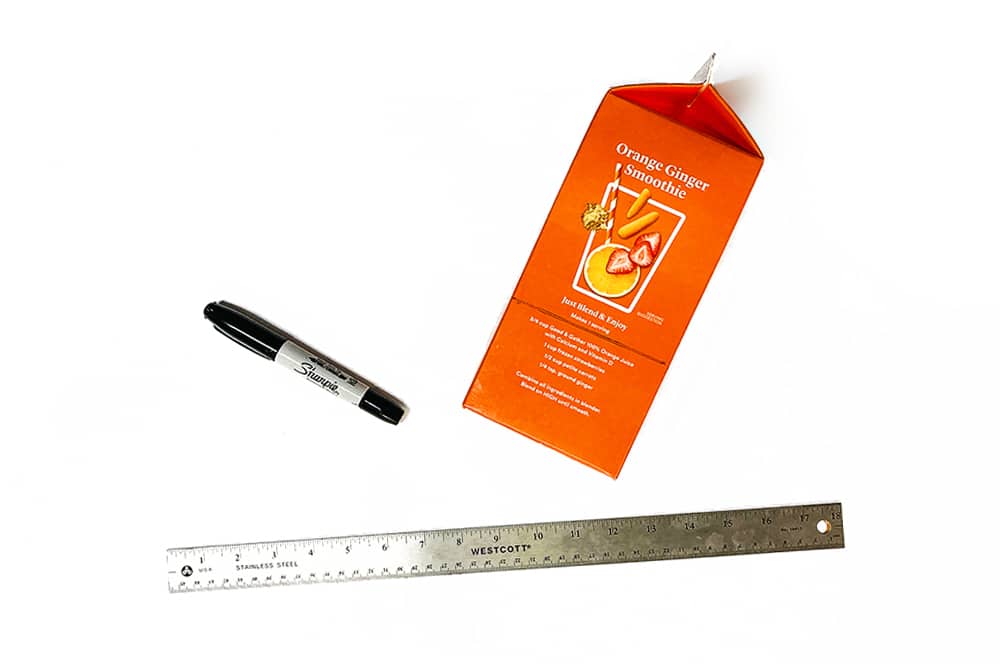
Use an X-Acto knife or scissors to cut off the bottom of your carton. Once the bottom piece has been cut, remove one side (we’ll be using this piece to hold our nest).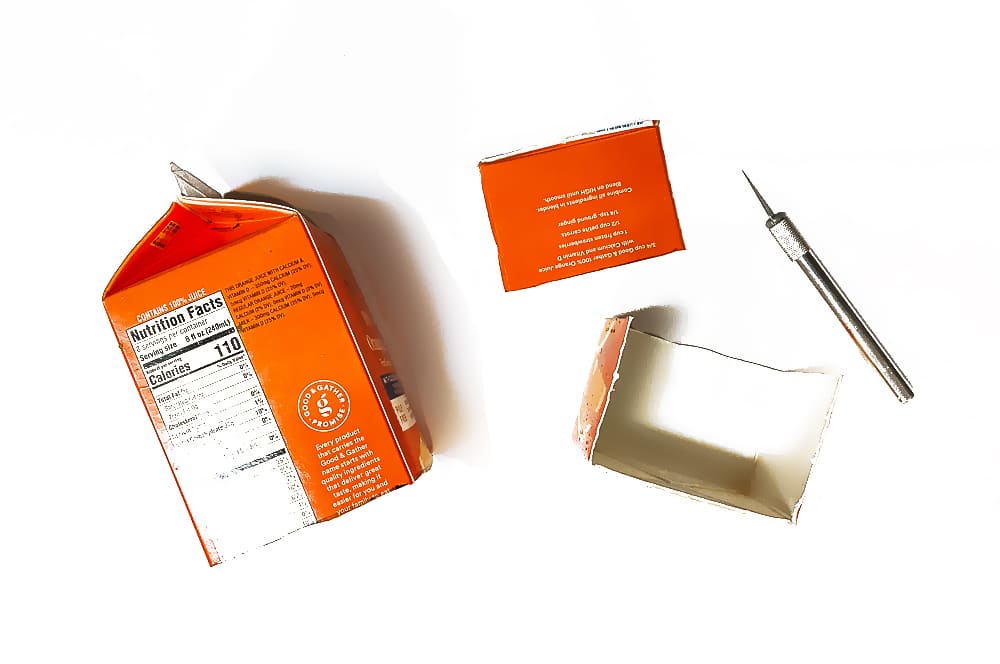
We used the side of our juice carton as the front of our birdhouse. Once you’ve decided what your “front” will be, flip your carton to the “back” and cut 2-3-inch slits up each side. When you’ve finished your birdhouse, this will make it easier to pop the top over the insert.
Trace along the outside of your juice carton lid (or anything similarly sized) for the hole in the front of your birdhouse. Carefully cut out with an X-Acto knife or scissors. 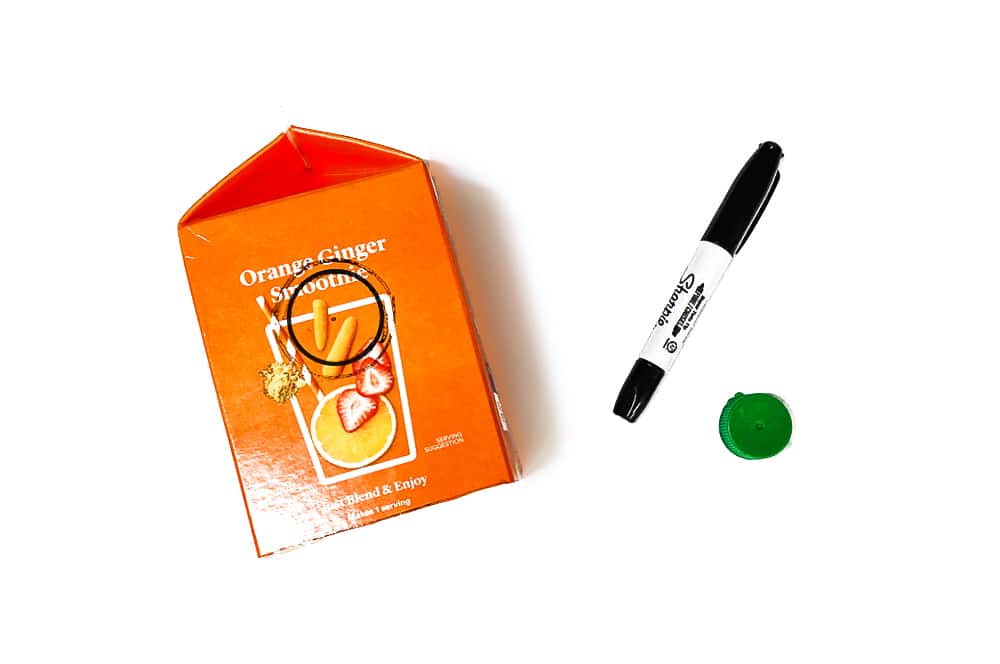
Use acrylic or tempera paint to paint the pieces of your birdhouse. The outside of our juice carton had a waxy finish that was hard to cover, so we mixed our acrylic paint with gesso to create a nice thick paint that only required one coat! 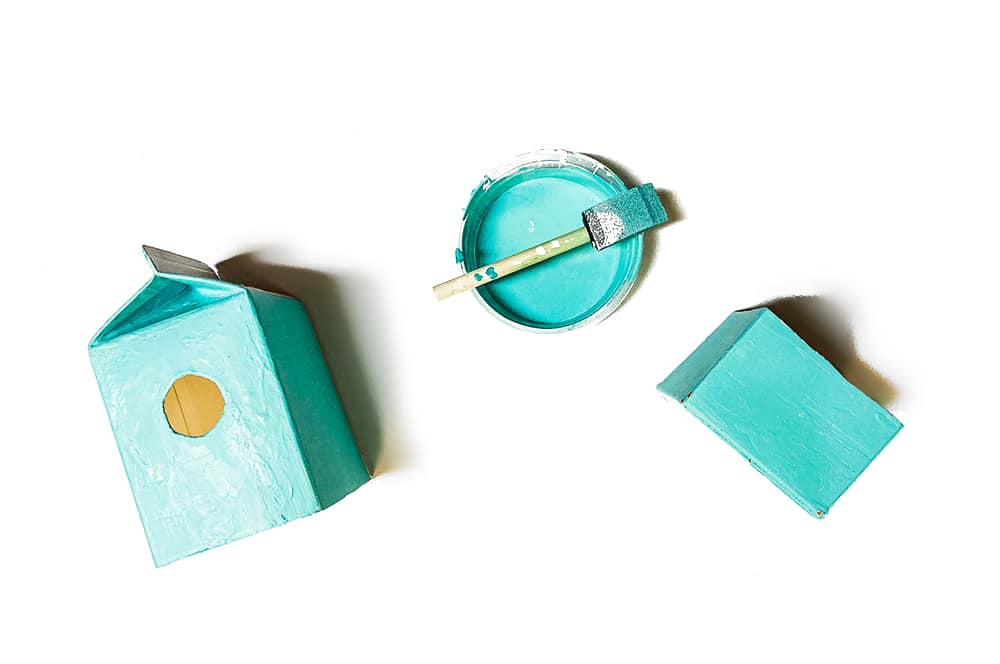
Note: we painted the sides of our nest insert, but if you’d like to keep it simple you can skip this, as it will be tucked up inside the birdhouse. You could also cover the outside with paper instead of painting.
To create the sections of our roof, we cut two small rectangles of scrap cardboard and peeled off the top to reveal the corrugation. 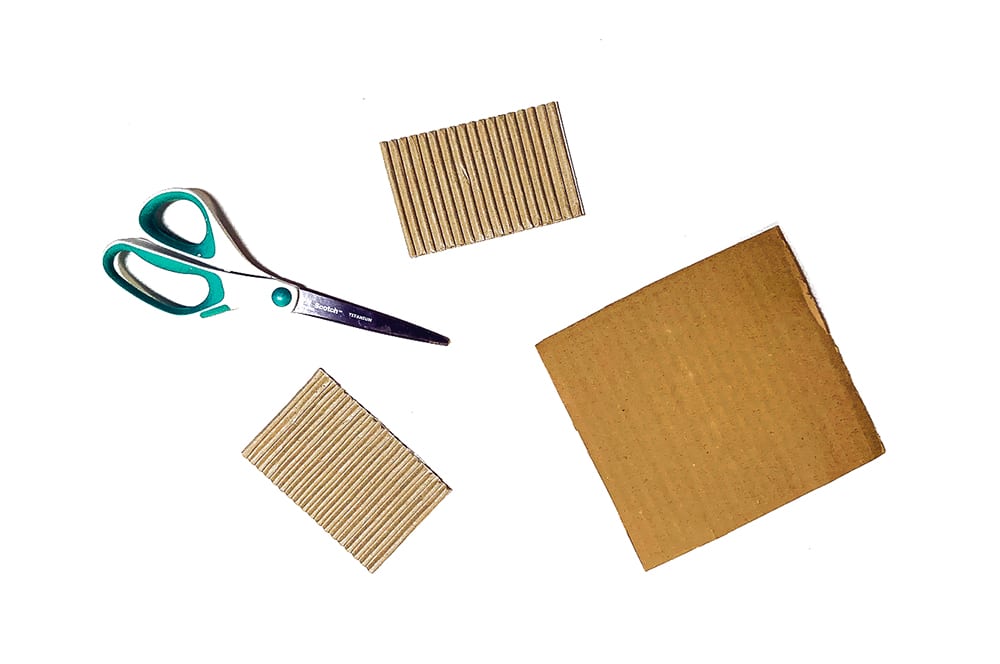
To create our birdhouse base, we cut out a large square of scrap cardboard. We painted our base green, but you can cover it with paper or simply leave it as is if you prefer.
Use a hot glue gun to glue the nest insert to the center of your base, and add the roof pieces to your birdhouse. 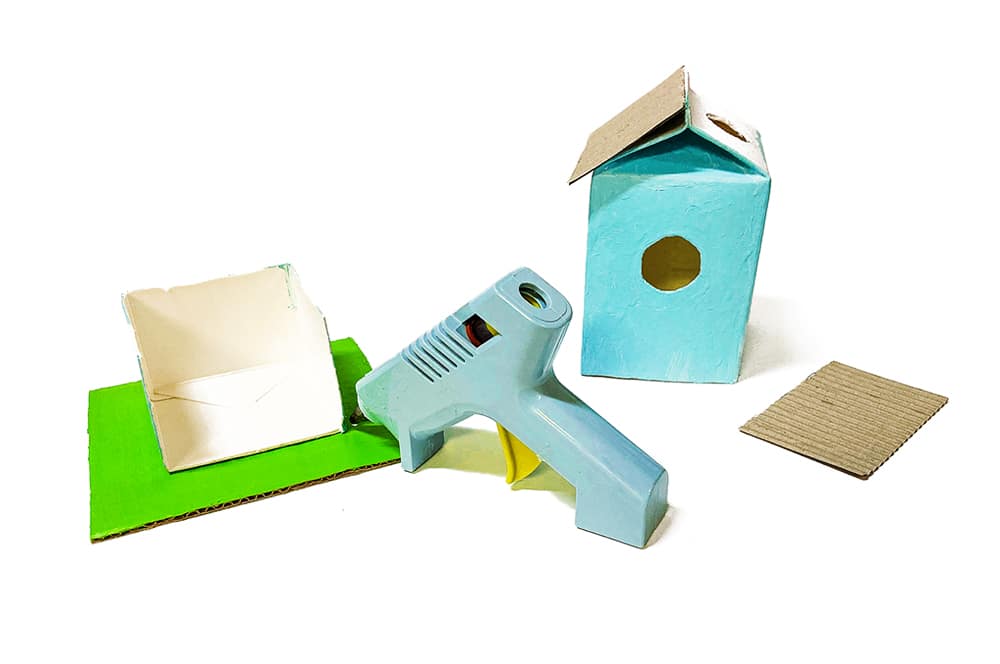
Time to build baby birds and a nest – this step makes a wonderful invitation to create! We made our nest by cutting off the top of a paper bag, opening it up, and rolling/scrunching the sides over. You can cut the top of the paper bags into strips and combine them with tissue paper, ribbon, or other decorative items to add colorful pizzazz to your nest. 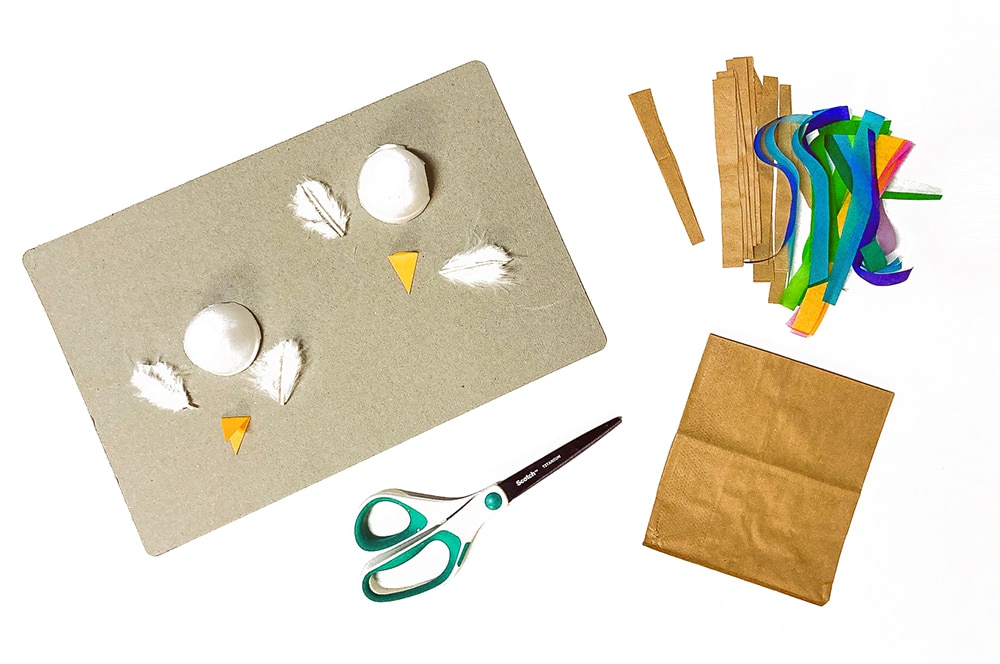
For the baby birds, we cut apart a pair of egg carton cups, glued feathers to the side, and glued a paper beak to the top.
Glue the nest into the juice carton insert, then glue the insert onto your painted square base.
To finish up, we used a hot glue gun to glue the end of a plastic straw onto the outside of our birdhouse to make a perch. You can use a small piece of stick, rolled paper, or a round wooden towel if you prefer! We also used a large needle to thread a leather tie through the top of our birdhouse so we could hang it. 
Now all that’s left is to pop your birdhouse pieces together! Gently slide the birdhouse over the nest insert, and slide all the way down until it covers your bird nest completely. You may have to squeeze the sides of your nest insert a little – it’s a snug fit. Hang your birdhouse up and wait to surprise unassuming family and friends…!
For a lovely little variation on this, you can take out your nest and tuck a flameless tealight or string of LED fairy lights inside to create your own DIY birdhouse nightlight!
After you’ve exhausted your birdhouse play, you could also recycle it into a bird feeder by gluing it back together and cutting out a large square on each side. This DIY juice carton owl bird feeder from Red Ted Art is fabulous upcycled inspiration!

I‘m so in love with our little upcycled birdhouse, and there are so many ways your kids can make this their own by using different supplies to decorate or construct their nests.

For more kids’ bird projects, make a bird nest helper, simple DIY mini bird feeders, or a recycled cardboard seed mosaic bird-friendly bird feeder.
For a few nature-themed spring crafts and activities, turn a shoebox into a cool DIY nature explorer’s kit for on-the-go outdoor investigation, or download a free printable nature scavenger hunt!

For kids who enjoy creating a habitat for their crafted creations, try making a cardboard secret garden – a perfect backdrop for your new birdhouse! Or create a green space for your baby birds to explore with our sensory play fairy forests.
*A note about affiliate links: We strive to use simple, earth-friendly supplies that can be purchased locally whenever we can, but sometimes we find the best universally available options, a rare eco-friendly find, or a niche product only available on Blick Art Materials, Amazon, Etsy, or Woodpeckers Crafts. When included in our supply list, these products are affiliate links, and if you click through to make a purchase we receive a small commission that helps us re-order these supplies!
GETTING READY TO TRY this?
I love seeing all the ways people make these ideas their own! If you're sharing the results of one of our projects, mention or tag me with @barleyandbirch, or share it in the comments of one of our Pinterest project pins.

Comments are closed.



What a FUNtastic project! All of the directions with the photos of all supplies and steps make this one a parent can easily supervise while carrying on conversation about season, wildlife, helping wild critters, and recycling. This is first-rate!